Create a border or background – Adobe InDesign CS4 User Manual
Page 416

408
USING INDESIGN CS4
Frames and objects
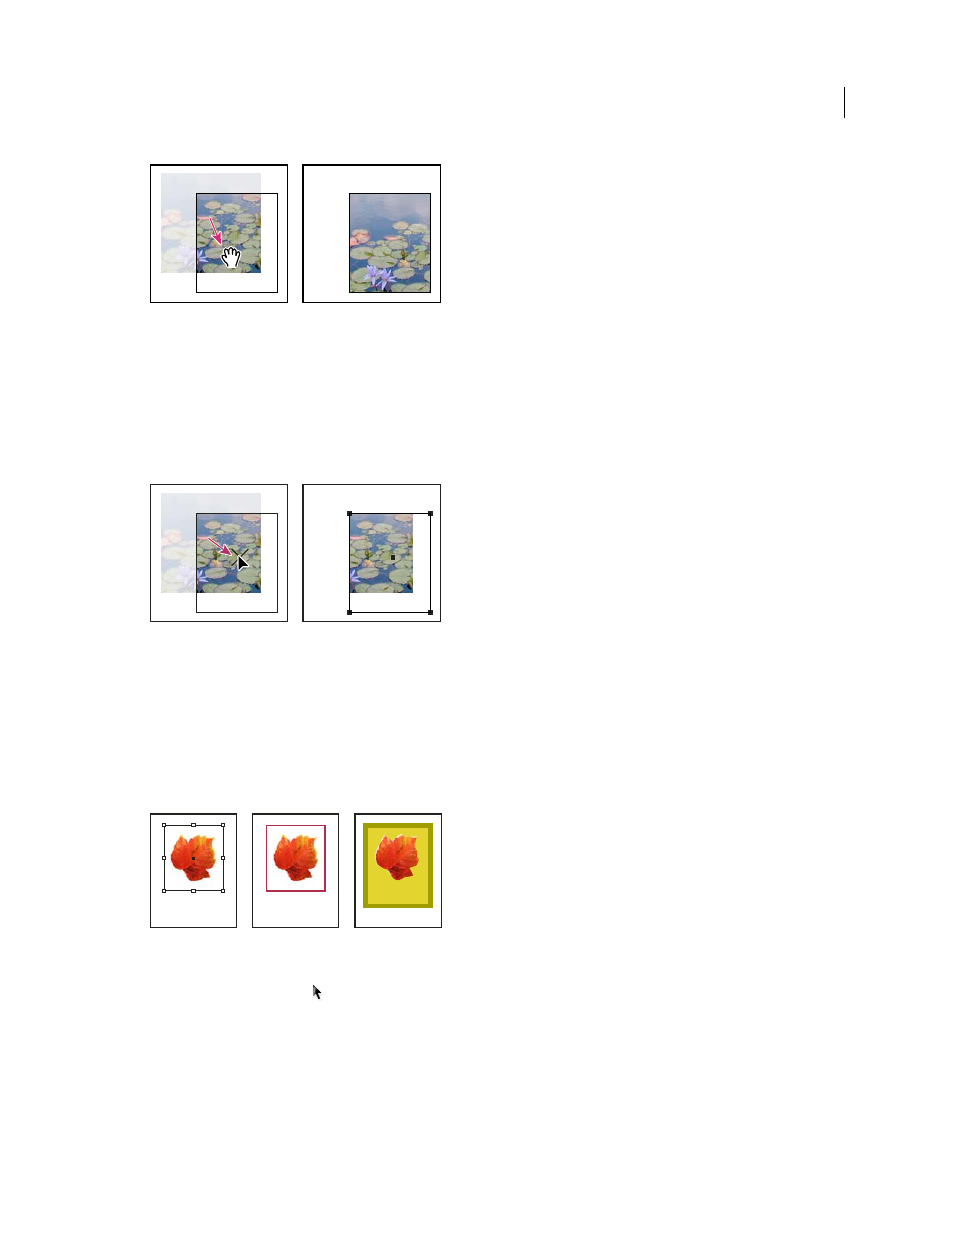
Moving the content, but not its frame
Note: If you hold down the mouse button on a graphic before you move it, a dynamic graphics preview (a ghosted-back
image) of the outside of the frame appears, but the preview of the image that moves inside the frame is not ghosted. This
makes it easier to see how you are positioning the entire image within a frame.
•
To move a frame without moving its content, select the Direct Selection tool, click the frame, click its center point
to make all of the anchor points solid, and then drag the frame. Don’t drag any of the frame’s anchor points; doing
so changes the shape of the frame.
Moving the frame, but not its content
•
To move multiple frames, use the Selection tool to select the objects, and then drag them. If you use the Direct
Selection tool to select multiple objects, only the item you drag is affected.
Create a border or background
A graphics frame is ideally suited for use as a border or background for its content, because you can change the frame’s
stroke and fill independent of the content.
Adding borders to graphics frames
A. Photo in graphics frame B. Frame with stroke applied C. Frame enlarged with both stroke and fill applied
1 Using the Selection tool
, click an imported graphic to select its frame.
2 To enlarge the frame without resizing the graphic, drag any bounding box handle outward. To maintain frame
proportions, hold down Shift as you drag.
3 Use the Swatches panel and the toolbox to apply a stroke and fill color.
4 Use the Stroke panel to adjust the frame’s stroke weight, style, or alignment.
C
A
B
Updated 18 June 2009
