Stroke panel options – Adobe InDesign CS4 User Manual
Page 344

336
USING INDESIGN CS4
Drawing
Applying strokes
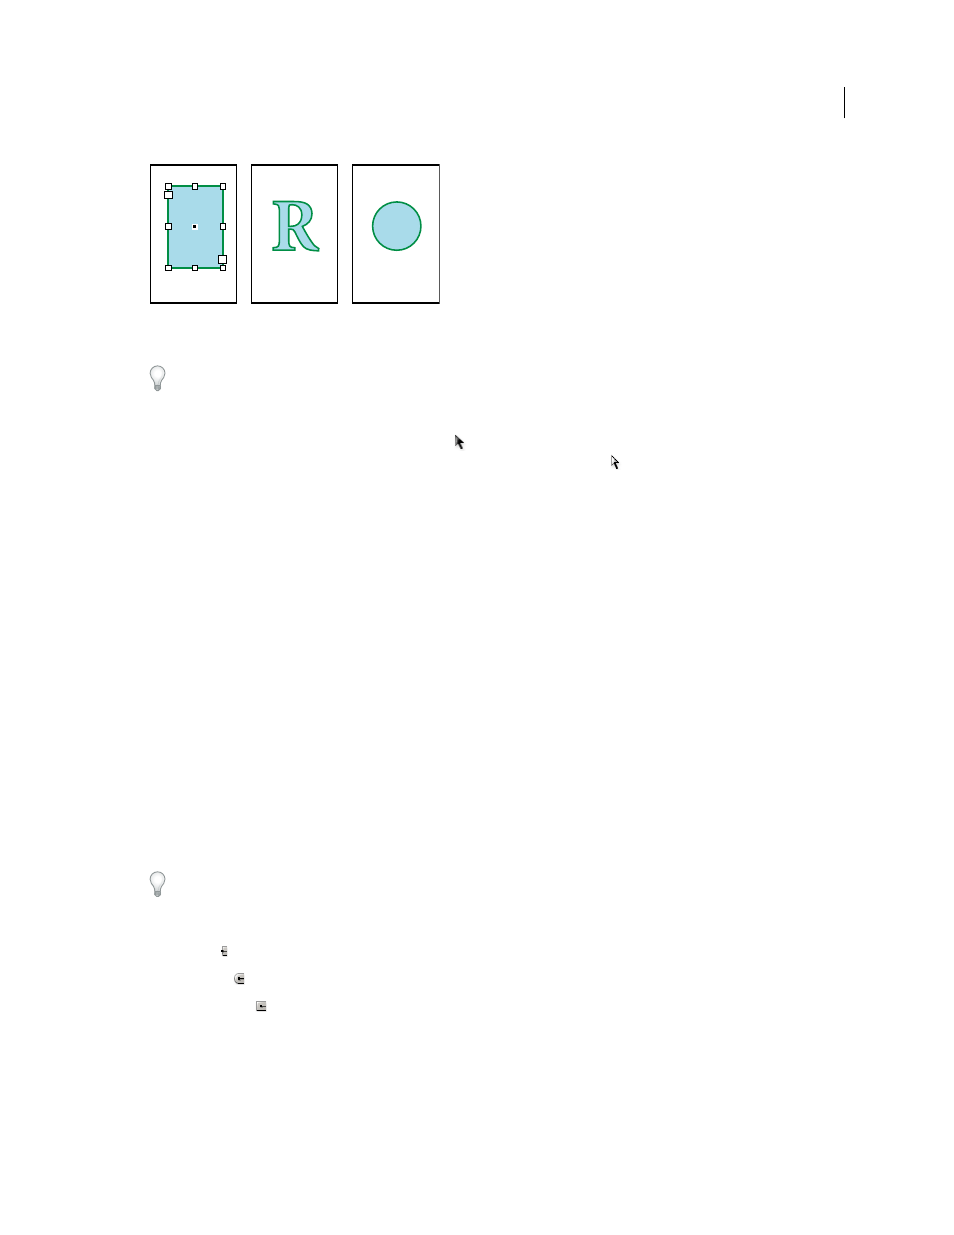
A. Stroke applied to text frame B. Stroke applied to text outline C. Stroke applied to circle
If you frequently use the same stroke settings, you can save the settings in an object style, and quickly apply the same
settings to any object. For more information, see “
196.
1 Select the path whose stroke you want to modify.
Note: When you select a path using the Selection tool , you activate a bounding box that encompasses the entire object.
If you want to see the actual path, select the path using the Direct Selection tool instead.
2 Choose Window
> Stroke to display the Stroke panel.
3 For Weight, choose a stroke weight in the menu, or type a value and press Enter or Return.
Note: Strokes thinner than 0.25 point may be too thin to see when printed on high-resolution output devices such as an
imagesetter. To remove the stroke, type a value of 0 (zero).
4 If additional options are not visible, choose Show Options from the panel menu to display the other stroke
attributes.
5 Change other stroke attributes as desired.
Note: If you want to change the stroke’s color, use the toolbox and Swatches panel. See “
437.
See also
Change the color, gradient, or stroke of text
Stroke panel options
Miter Limit
Specifies the limit of point length to stroke width before a mitered join becomes a beveled square join. For
example, a value of 9 requires the point length to be 9 times the stroke width before the point becomes beveled. Type
a value (between 1 and 500) and press Enter or Return. The Miter Limit does not apply to a round join.
You can include miter limit and stroke alignment settings in a paragraph or character style. Click the Character Color
section, and then click the stroke icon to make the options available.
Cap
Select a cap style to specify the appearance of both ends of an open path:
•
Butt cap
Creates squared ends that abut (stop at) the endpoints.
•
Round cap
Creates semicircular ends that extend half the stroke width beyond the endpoints.
•
Projecting cap
Creates squared ends that extend half the stroke width beyond the endpoints. This option makes
the stroke weight extend evenly in all directions around the path.
Note: You can specify a cap option for a closed path, but the cap will not be visible unless the path is opened (for example,
by cutting with the Scissors tool). Also, cap styles are easier to see at thicker stroke weights.
A
B
C
Updated 18 June 2009
