Working with frames and objects, Modifying objects using graphics frames, Paste an object into a frame – Adobe InDesign CS4 User Manual
Page 413: Remove a frame’s content, Indicates what’s selected, see

405
USING INDESIGN CS4
Frames and objects
3 In the Attributes panel, select Nonprinting.
See also
Working with frames and objects
Modifying objects using graphics frames
Adobe InDesign objects include any item you can add or create in the document window, including open paths, closed
paths, compound shapes and paths, type, rasterized artwork, 3D objects, and any placed file, such as an image.
If a graphic exists inside a frame (as all imported graphics do), you can modify it by changing its relationship to its
frame, as in the following examples:
•
Crop a graphic by making its frame smaller.
•
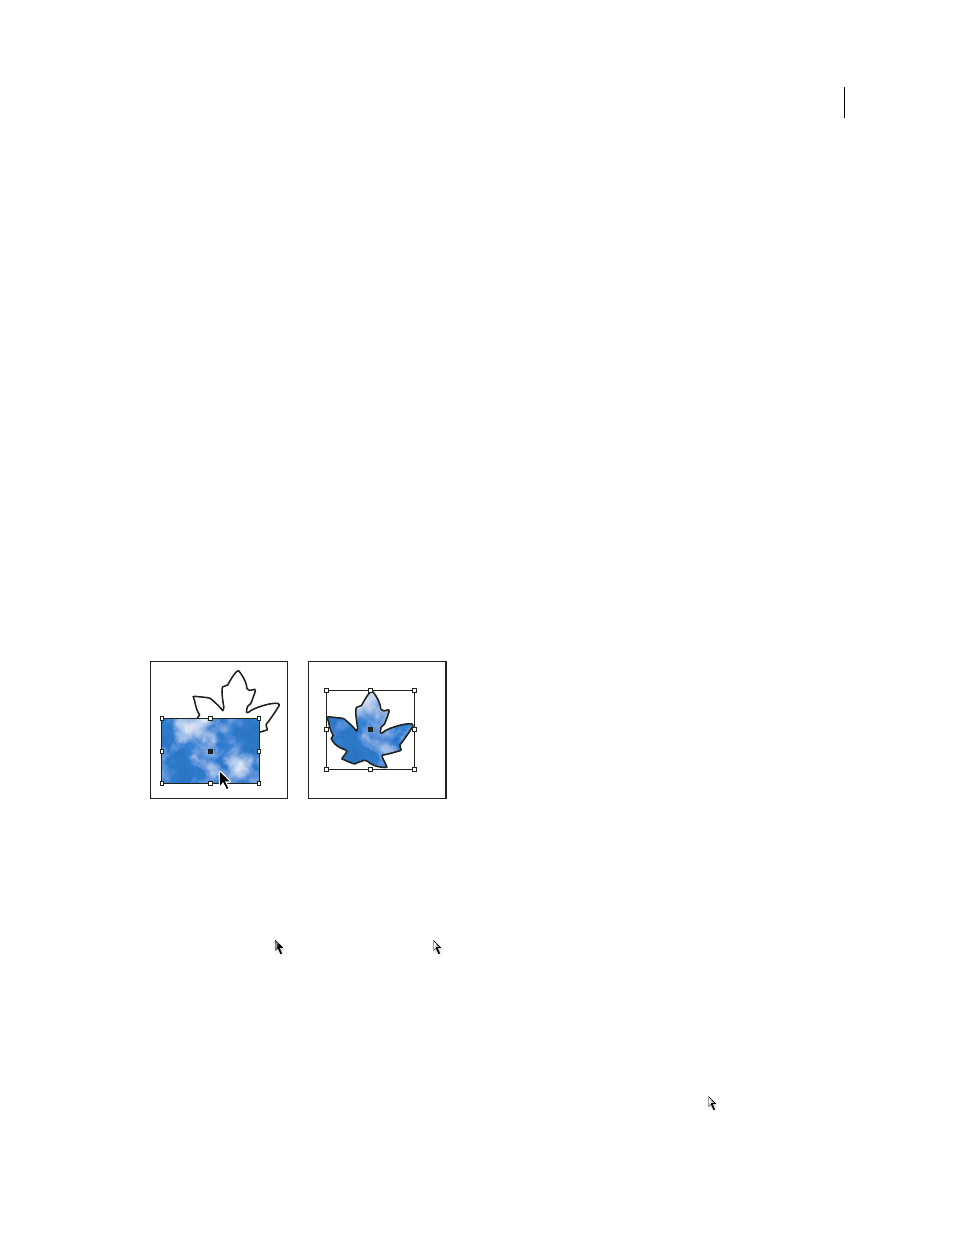
Create various masking and layout effects by pasting an object into a frame.
•
Add a keyline or outline to a graphic by changing the stroke weight and color of its frame.
•
Center a graphic against a background rectangle by enlarging its frame and setting the frame’s fill color.
Paste an object into a frame
Use the Paste Into command to nest graphics within container frames. You can even nest graphics into nested frames.
Background image pasted into a frame
1 Do one of the following:
•
To paste one object inside a frame, select the object.
•
To paste two or more objects inside a frame, group them first, because a frame can contain only one object.
•
To paste a text frame inside another frame and preserve its current appearance, select the entire text frame using
the Selection tool
or Direct Selection tool , not the Type tool.
2 Choose Edit > Copy (or Edit > Cut, if you don’t want to keep the original).
3 Select a path or frame, and then choose Edit > Paste Into.
Remove a frame’s content
1 Do one of the following:
•
If you’re removing a graphic or a text frame, select the object with the Direct Selection tool
.
Updated 18 June 2009
