Adobe InDesign CS4 User Manual
Page 367
359
USING INDESIGN CS4
Graphics
If you specify multiple pages, hold down Alt (Windows) or Option (Mac OS) while placing the file to place them all at
the same time, overlapping each other.
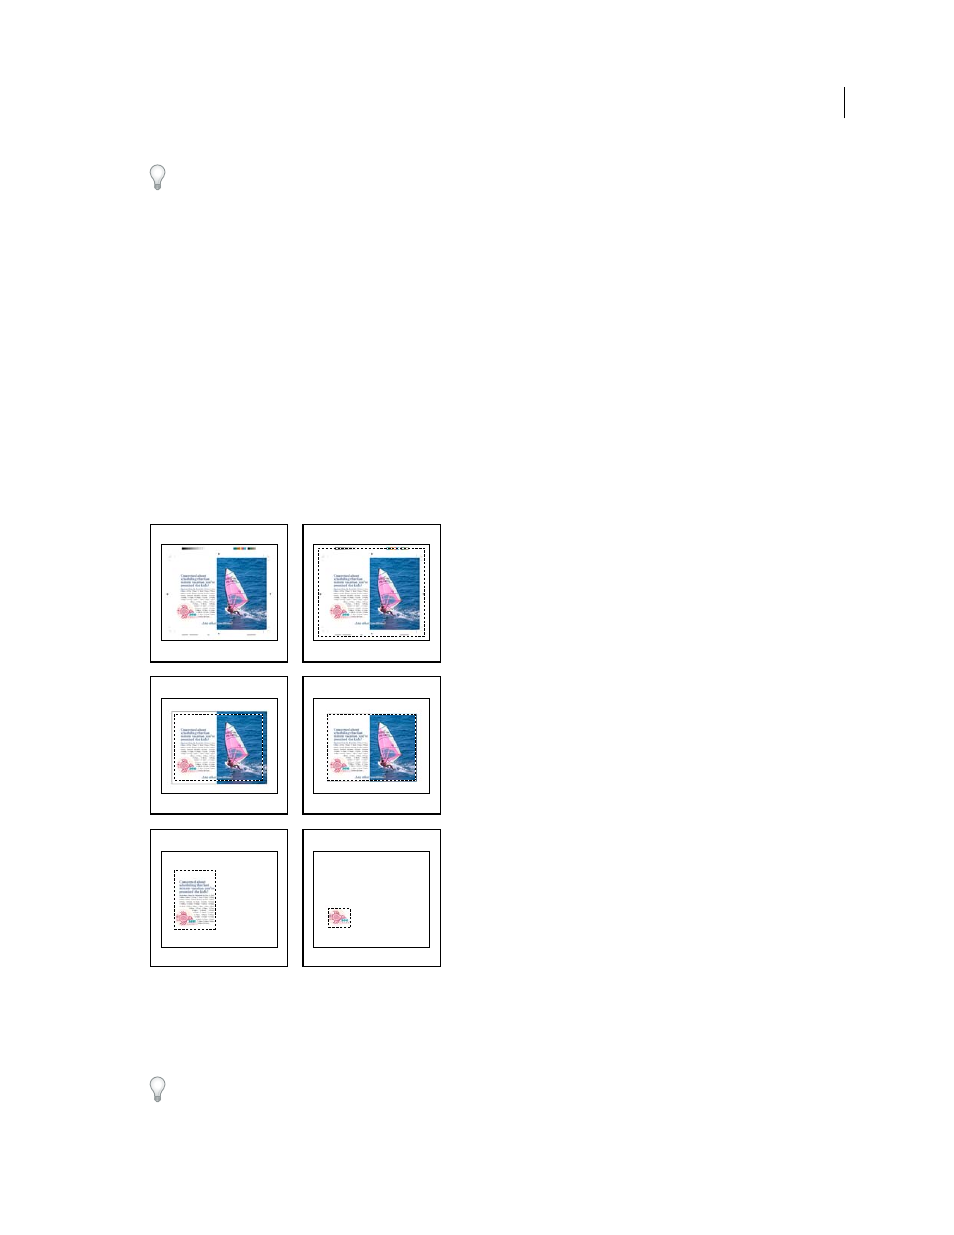
Crop To
Specify how much of the PDF page to place:
•
Bounding Box
Places the PDF page’s bounding box, or the minimum area that encloses the objects on the page,
including page marks.
•
Art
Places the PDF only in the area defined by a rectangle that the author created as a placeable artwork (for
example, clip art).
•
Crop
Places the PDF only in the area that is displayed or printed by Adobe Acrobat.
•
Trim
Identifies the place where the final produced page will be physically cut in the production process, if trim
marks are present.
•
Bleed
Places only the area that represents where all page content should be clipped, if a bleed area is present. This
information is useful if the page is being output in a production environment. Note that the printed page may include
page marks that fall outside the bleed area.
•
Media
Places the area that represents the physical paper size of the original PDF document (for example, the
dimensions of an A4 sheet of paper), including page marks.
Options for cropping placed PDFs
A. Media B. Content C. Bleed D. Trim E. Crop F. Art
Transparent Background
Select this option to reveal text or graphics that fall beneath the PDF page in the InDesign
layout. Deselect this option to place the PDF page with an opaque white background.
If you make the background transparent in a frame containing a PDF graphic, you can make it opaque later by adding
a fill to the frame.
A
B
C
D
E
F
Updated 18 June 2009