Entering the finished part contour, 3 w o rk piece descr iption – HEIDENHAIN CNC Pilot 4290 V7.1 User Manual
Page 397
HEIDENHAIN CNC PILOT 4290
397
6.3 W
o
rk
piece Descr
iption
Entering the finished part contour
The finished part contour includes:
Turning contour, consisting of
Basic contour
Form elements (chamfers, rounding arcs, undercuts, recesses,
threads, centric holes)
C-Axis Contours
Y-axis contours
The turning contour must be a closed contour.
Additional information:
see “Notes on defining contours” on page 404
see “Help Functions” on page 447
see “Assigning Attributes” on page 470
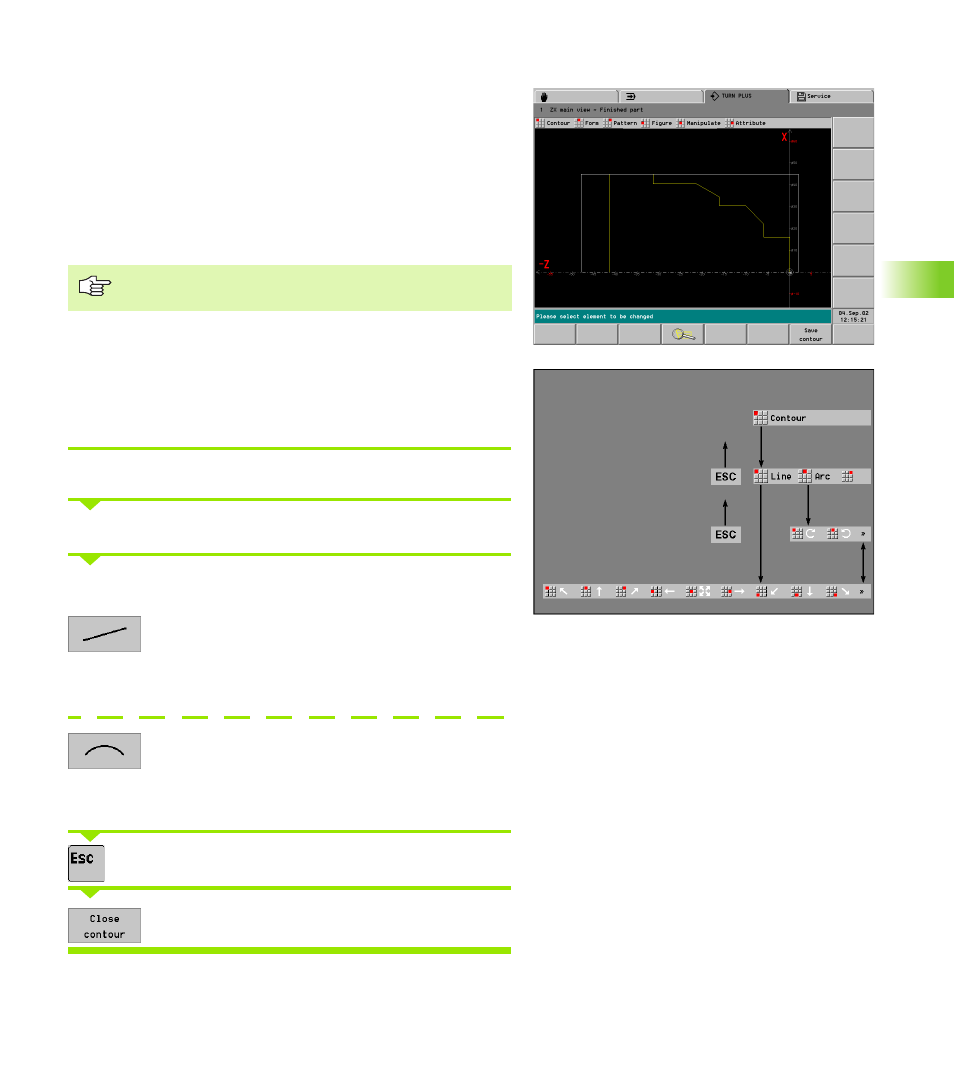
Entering the basic contour
Select “Workpiece > Finished part > Contour.”
Specify the starting point of contour.
Entering the basic contour element for element (see also the
illustration of the menu structure):
For linear elements:
Call the lines menu.
Select the direction from the menu symbols.
Describe the line segment.
For circular arcs:
Call the arcs menu.
Select the direction from the menu symbols.
Describe the arc.
Press the ESC key to go back one menu level.
If required: Close the contour.
Describe first the basic contour and then superimpose the
form elements.