Understanding the edge sharpen workflow, Working with the sharpen controls – Apple Aperture 2 User Manual
Page 462
462
Understanding the Edge Sharpen Workflow
The Edge Sharpen adjustment in Aperture is a professional tool that’s used to sharpen
photos. Using the Edge Sharpen adjustment controls in conjunction with the following
workflow makes it easy to achieve professional results.
To sharpen an image:
1
In the Edge Sharpen area of the Adjustments inspector or the Adjustments pane of
the Inspector HUD, set the Intensity slider to the maximum value to see the effect of
the operation.
2
Adjust the Edges slider so you can see which parts of the image are being sharpened.
If possible, adjust the Edges slider so that edges are sharpened, but noise and texture
in the image are not affected.
3
Adjust the Falloff slider so that the edge sizes you want sharpened the most are
accentuated.
4
Decrease the Intensity parameter value until the sharpening effect is appropriately
subtle. Values below 0.5 usually work best.
Working with the Sharpen Controls
You use the Sharpen adjustment controls when you need to modify Sharpen adjustment
control parameters that were applied to an image in a previous version of Aperture.
To sharpen an image using the Sharpen controls:
1
Select an image.
2
If the Sharpen controls are not shown in the Adjustments inspector or the Adjustments
pane of the Inspector HUD, choose Sharpen from the Add Adjustments pop-up menu.
3
Sharpen the image by doing one of the following:
 By default, the Intensity slider is set to 0.50. Drag the Intensity slider to the right to
increase the intensity of the sharpening effect on the image, and drag the Intensity
slider back to the left to reduce it.
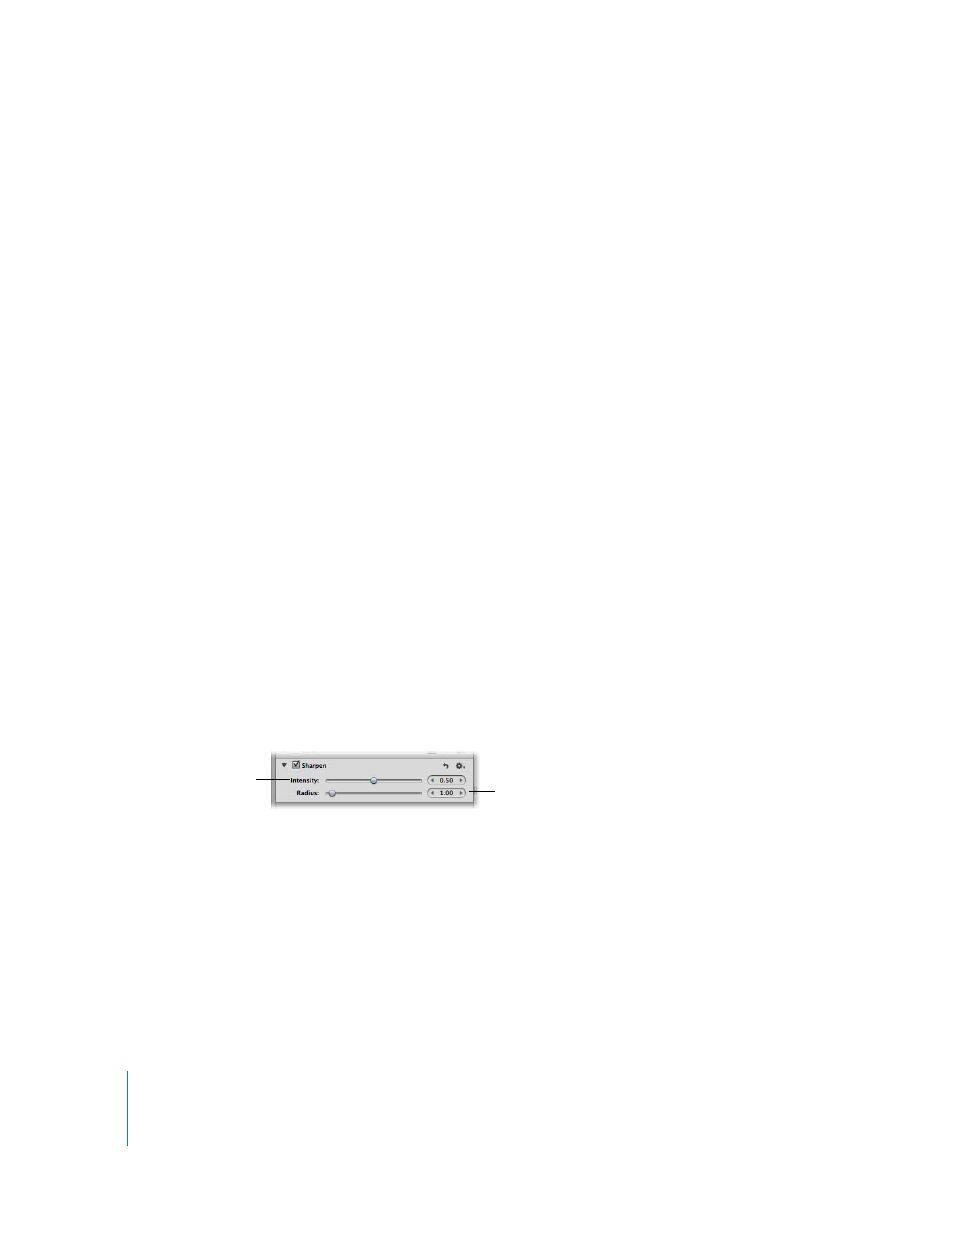
Use the Radius slider and value slider
to adjust the area over which the
sharpening adjustment is applied.
Use the Intensity slider
and value slider to adjust
the strength of the
sharpening adjustment.