Using the highlights & shadows advanced settings – Apple Aperture 2 User Manual
Page 438
438
To adjust the shadows in an image:
1
Select an image.
2
In the Highlights & Shadows area of the Adjustments inspector or the Adjustments pane
of the Inspector HUD, adjust the Shadows parameter by doing one of the following:
 By default, the Shadows slider is set to the left side of the slider control. Drag the
slider to the right to lighten the shadow areas of the image, and drag the slider back
to the left to reduce the lightening effect in the shadows.
 Click the left or right arrow in the Shadows value slider to change the brightness of
the shadows in the image by single increments, or drag in the value field.
The left arrow reduces the lightening effect in the shadows, making them darker. The
right arrow increases the lightening effect in the shadows, making them lighter.
 By default, the Shadows value slider is set to 0.0. Double-click the number in the
value slider, then enter a value from 0.0 to 100.0 and press Return.
Aperture isolates the shadow areas of the image and updates them as you change the
parameter value.
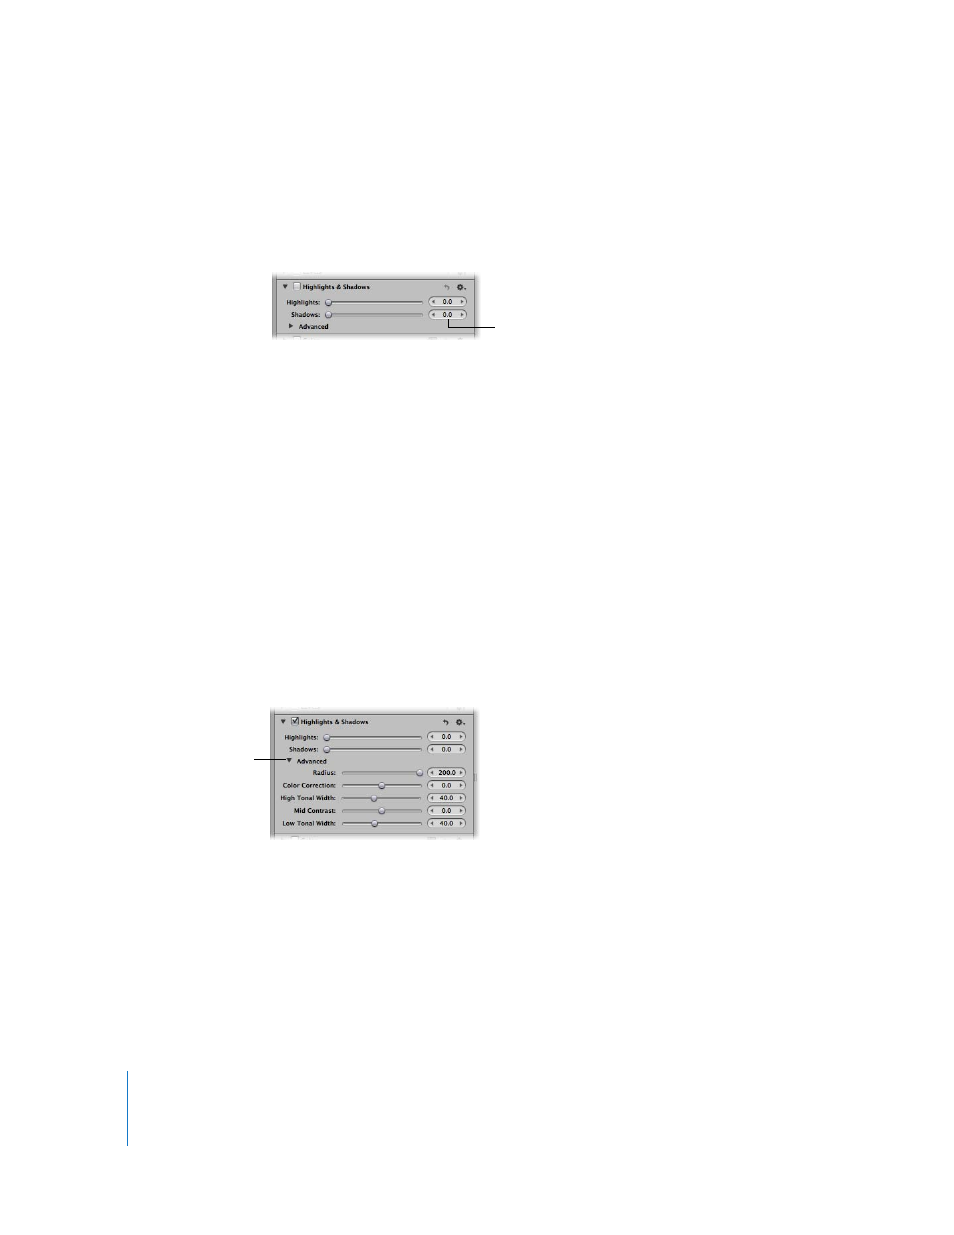
Using the Highlights & Shadows Advanced Settings
The Highlights & Shadows adjustment includes the following advanced parameters:
 Radius: Sets the area Aperture uses to determine each pixel’s tonality.
 Color Correction: Sets the amount of saturation applied during a shadows or
highlights adjustment.
 High Tonal Width: Sets the range of tones that are modified in the highlights.
 Mid Contrast: Sets the amount of contrast in the midtones.
 Low Tonal Width: Sets the range of tones that are modified in the shadows.
Use the Shadows slider
and value slider to adjust
the brightness values in
the image’s shadows.
Click the disclosure
triangle to reveal the
advanced Highlights &
Shadows controls.