Using the adjustment controls, Using sliders, P. 332) – Apple Aperture 2 User Manual
Page 332
332
Using the Adjustment Controls
Whenever an image is selected and displayed in the Viewer or in Full Screen view, you
can adjust it using the adjustment controls in the Adjustments inspector and the
Adjustments pane of the Inspector HUD. You can also adjust images in the Book
Layout Editor, Webpage Editor, and Light Table.
Note: The Crop, Straighten, Spot & Patch, and Retouch tools and adjustment controls
are not available for use in the Book Layout Editor, Webpage Editor, and Light Table, but
you can easily switch to the Viewer to make your changes.
To switch to the Viewer from the Book Layout Editor, Webpage Editor, or Light Table,
do one of the following:
m
Click the Show Viewer button at the top of the Browser.
When you have finished making the adjustment, click the Show Viewer button again to
return to the previous view.
m
If you have a system with more than one display, choose Alternate from the Viewer Mode
pop-up menu in the Viewer tool strip or the Full Screen view toolbar, then perform the
adjustments on the second display.
For more information about the Show Viewer button and the Viewer Mode pop-up
menu, see “
Viewing Images on Multiple Displays
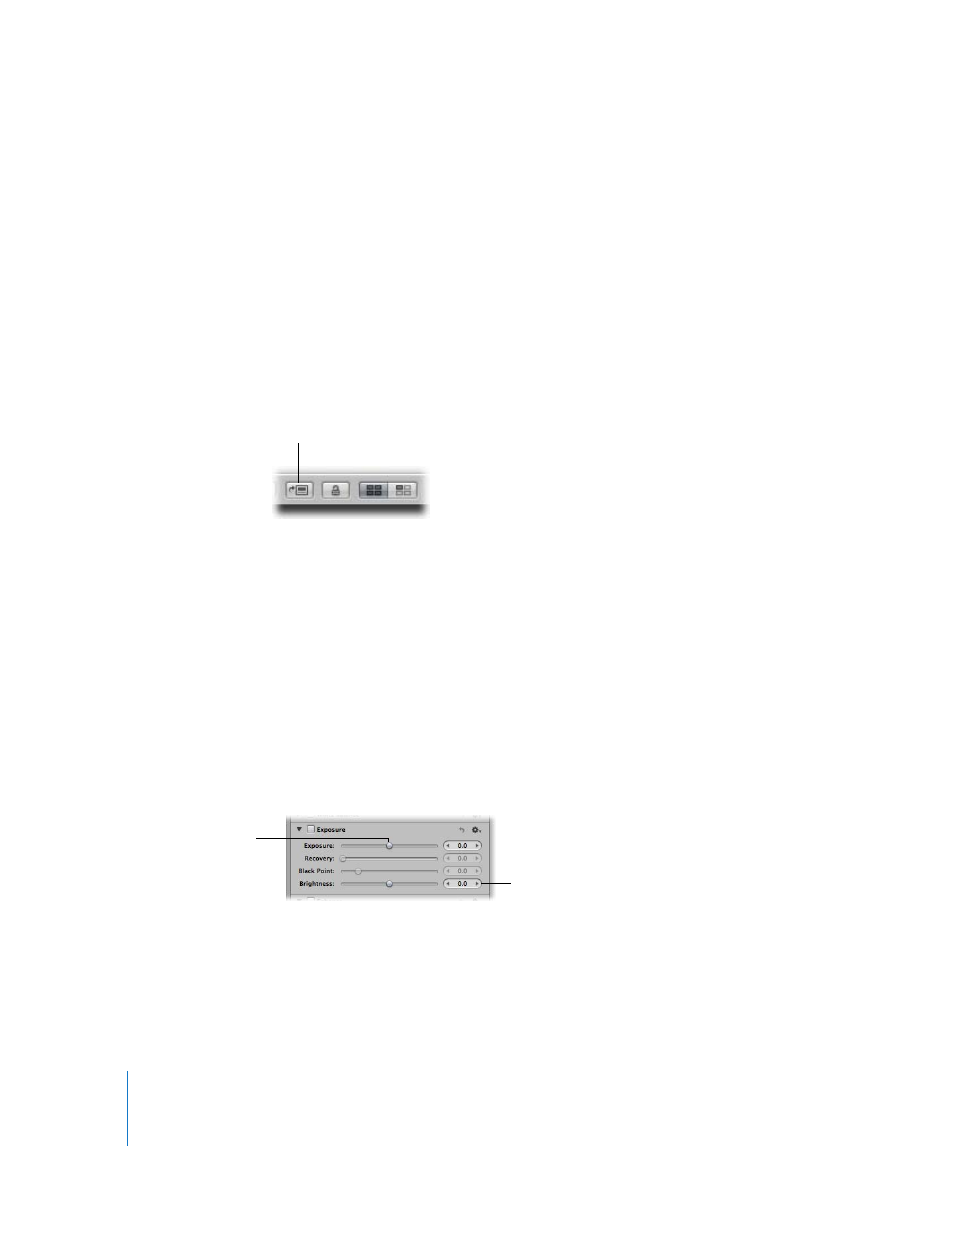
Using Sliders
There are two types of slider controls for changing parameter values—sliders and value
sliders. Slider controls have varying value ranges depending on the parameter.
 Sliders: Drag the slider left or right to set a value.
 Value sliders: Double-click the value and type a specific number in the value field,
click the left or right arrow, or drag inside the value field to set a value. Often, you
can type a much higher number in the value field than can be achieved by dragging
the normal sliders. When using value sliders, you can use a modifier key to make
value adjustments in small or large increments.
Show Viewer button
Drag this slider to
change the value for the
Exposure parameter.
Use this value slider to
change the value for the
Brightness parameter.