Apple Aperture 2 User Manual
Page 437
Chapter 15
Making Image Adjustments
437
III
To adjust the highlights in an image:
1
Select an image.
2
In the Highlights & Shadows area of the Adjustments inspector or the Adjustments pane
of the Inspector HUD, adjust the Highlights parameter by doing one of the following:
 By default, the Highlights slider is set to the left side of the slider control. Drag the
slider to the right to darken the highlight areas of the image, and drag the slider
back to the left to reduce the darkening effect in the highlights.
 Click the left or right arrow in the Highlights value slider to change the brightness of
the highlights in the image by single increments, or drag in the value field.
The left arrow reduces the darkening effect in the highlights, making them brighter.
The right arrow increases the darkening effect in the highlights, making them darker.
 By default, the Highlights value slider is set to 0.0. Double-click the number in the
value slider, then enter a value from 0.0 to 100.0 and press Return.
Aperture isolates the areas of the image with highlights and updates them as you
change the parameter value.
Adjusting Brightness Values in the Shadow Areas
of the Image
Adjusting the shadow areas is necessary when the shadow areas in an image are
underexposed. A good example is an image shot in a doorway, where the background
is correctly exposed but the foreground is a little underexposed. Adjusting the shadows
lightens the pixels in the shadow areas only, bringing out detail that would normally
have been shades of black or dark gray.
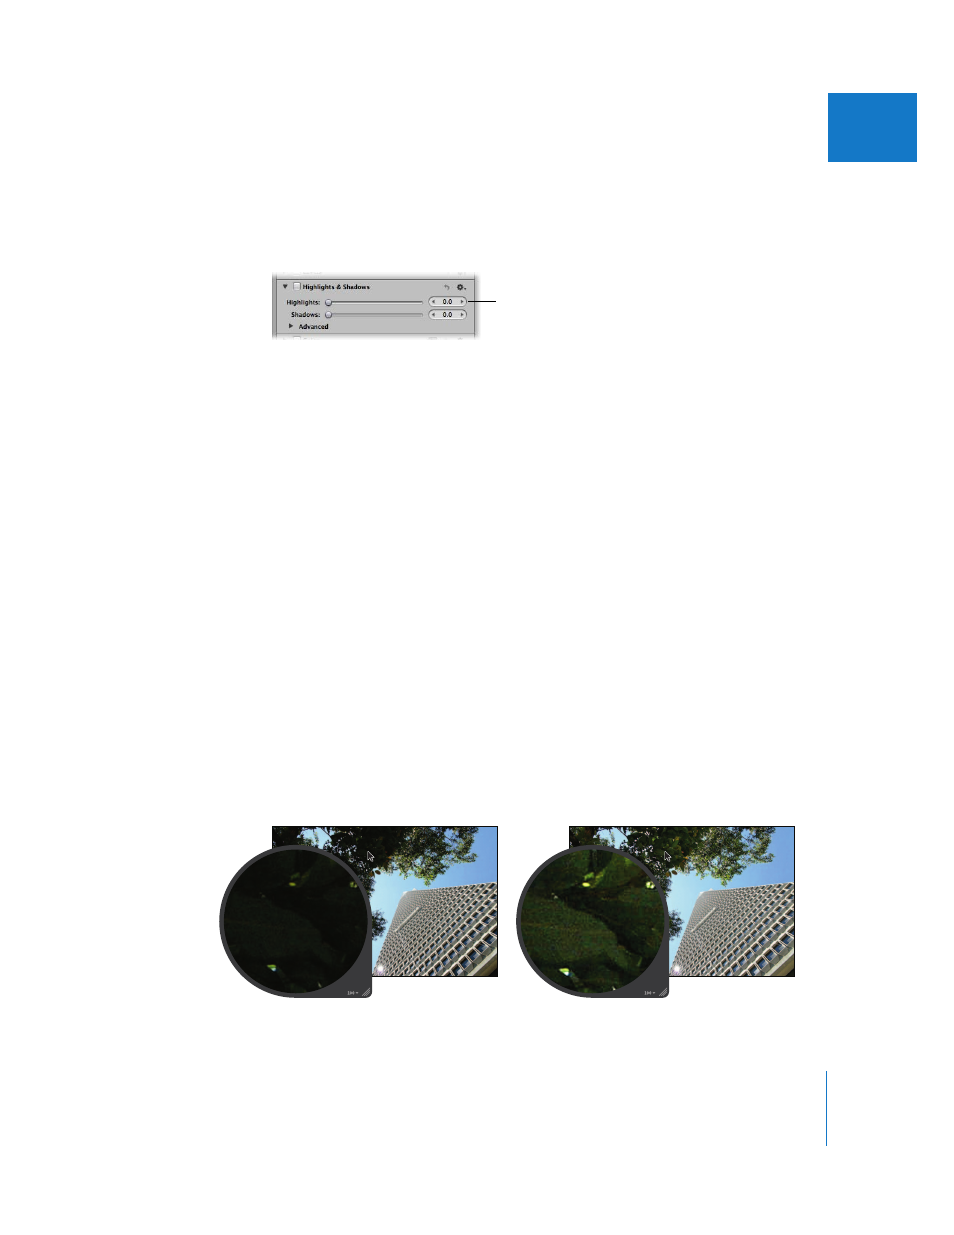
Use the Highlights slider
and value slider to adjust
the brightness values in
the image’s highlights.
Before Shadows adjustment
After Shadows adjustment