Using the alternate loupe – Apple Aperture 2 User Manual
Page 189
Chapter 6
Displaying Images in the Viewer
189
II
Using the Alternate Loupe
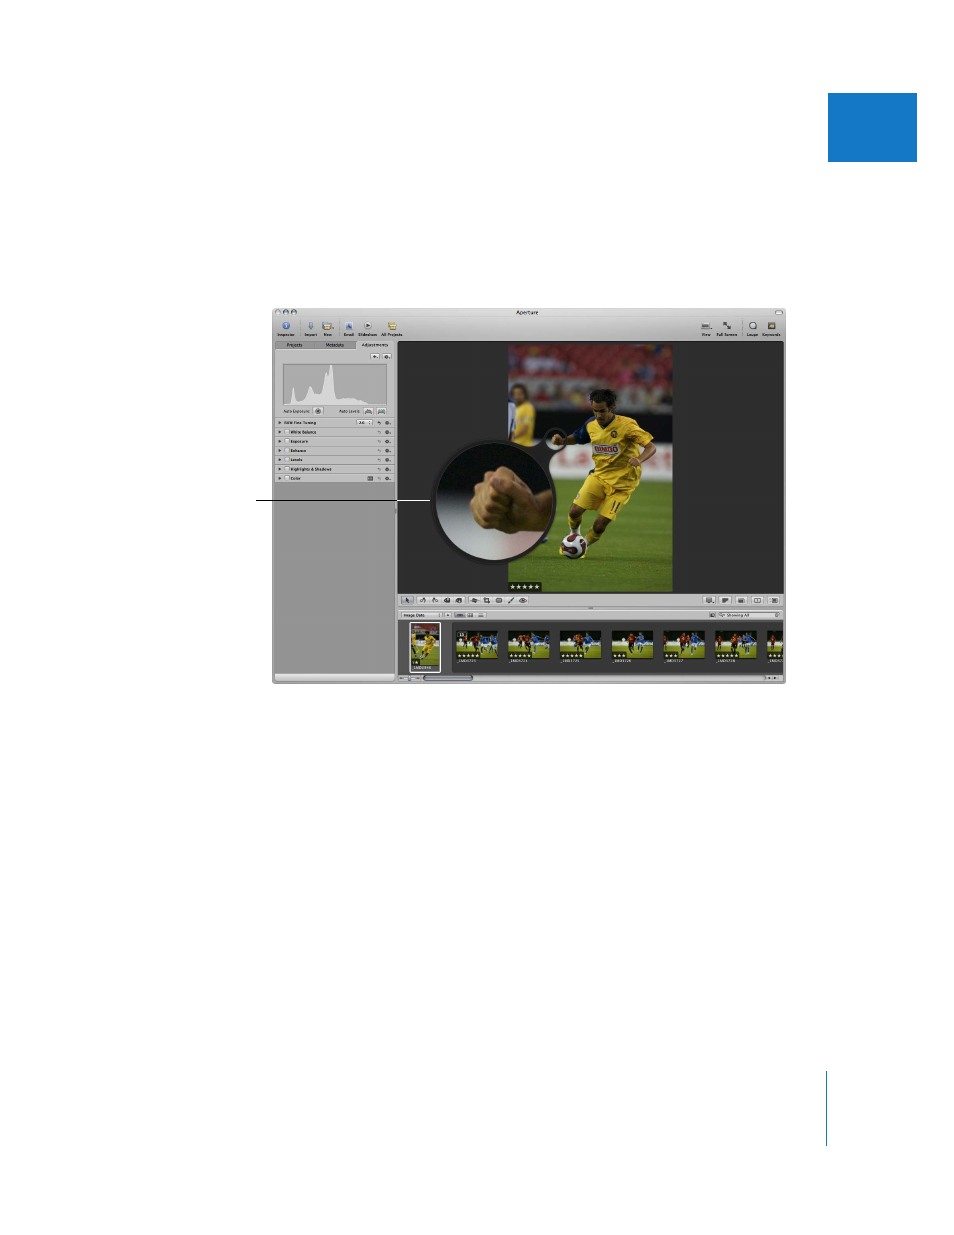
You can also use an alternate Loupe to examine parts of an image. You position the small
ring of the alternate Loupe over the portion of the image you want to see, and the large
ring shows a magnified view. It’s useful for making quick checks for dust specks, flaws,
fingerprints, or other issues. You can use the alternate Loupe on any image or thumbnail
in the Aperture library.
To show the alternate Loupe:
1
Do one of the following:
 Choose View > Show Loupe, or press the Grave Accent (`) key.
 Click the Loupe button in the toolbar.
2
If necessary, choose View > Use Centered Loupe to turn off the display of the
regular Loupe.
You can change the size of the alternate Loupe and increase or decrease its
magnification level.
To reduce the size of the alternate Loupe:
m
Choose View > Loupe Scaling > Decrease Diameter, or press
Shift–Option–Minus Sign (–).
To enlarge the size of the alternate Loupe:
m
Choose View > Loupe Scaling > Increase Diameter, or press Shift–Option–Plus Sign (+).
The alternate Loupe
shows a magnified view
of whatever is beneath it.