Adjusting custom colors using the color eyedropper – Apple Aperture 2 User Manual
Page 451
Chapter 15
Making Image Adjustments
451
III
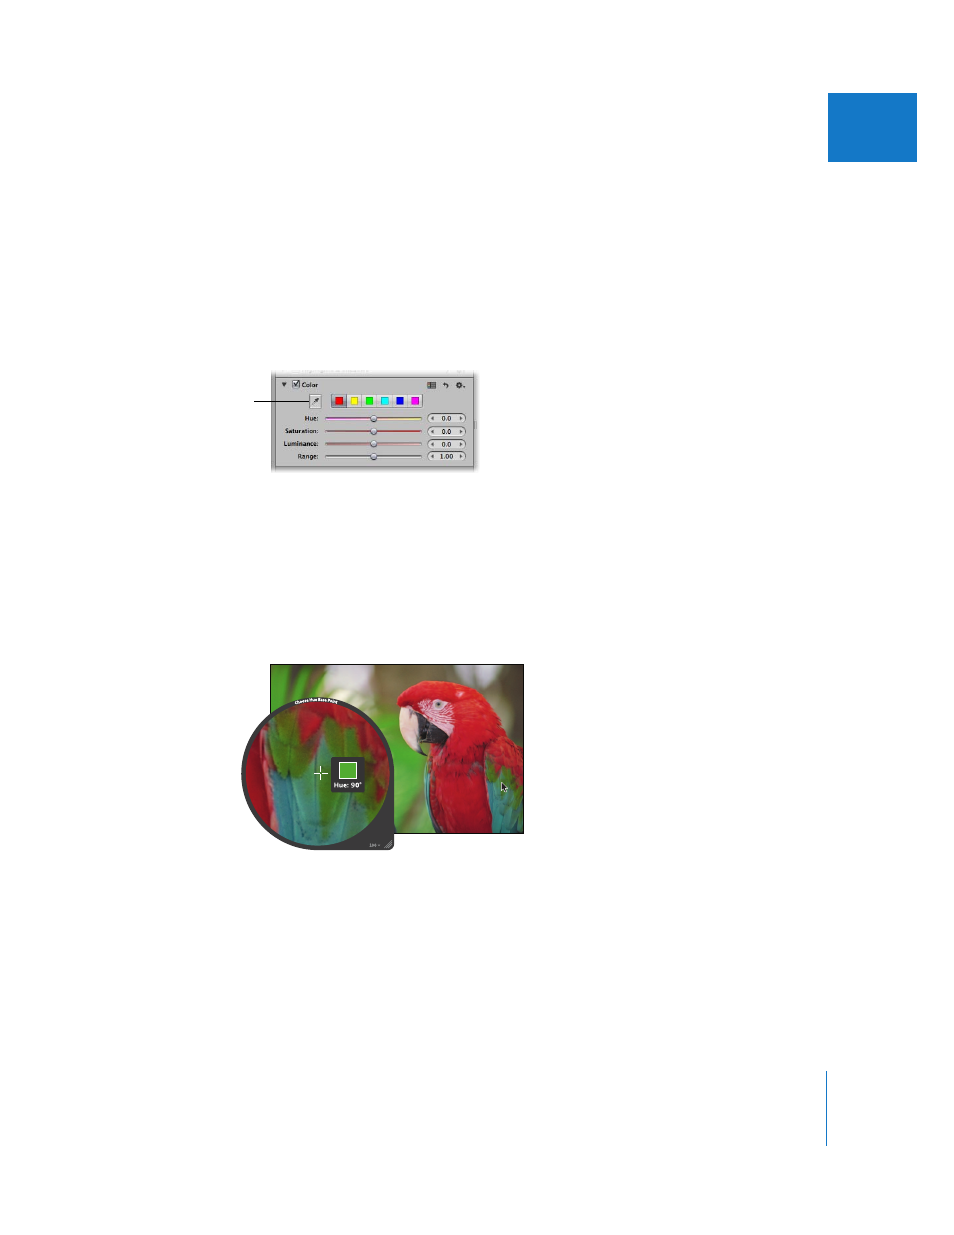
Adjusting Custom Colors Using the Color Eyedropper
If you require a more specific hue as a starting point for your color adjustment, you can
use the Color eyedropper to identify a hue in the image.
To adjust a custom color value in an image:
1
Select an image.
2
In the Color area of the Adjustments inspector or the Adjustments pane of the Inspector
HUD, click the color button with the hue closest to the one you plan to adjust, then
click the Color eyedropper.
The pointer changes to the Loupe, showing a magnified view of the target area. By
default, the Loupe is set to magnify the image to 100 percent (full size). If necessary, you
can increase the magnification of the Loupe by pressing Command–Shift–Plus Sign (+).
For more information about the Loupe, see “
3
Position the target area of the Loupe over the color in the image that you want to
adjust, then click.
The new hue is selected and becomes the starting point for color adjustments of that
hue. For more information about Color adjustments, see “
Click the Color
eyedropper and select
the color in the image
you want to adjust.