Rotating images with the straighten controls – Apple Aperture 2 User Manual
Page 401
Chapter 15
Making Image Adjustments
401
III
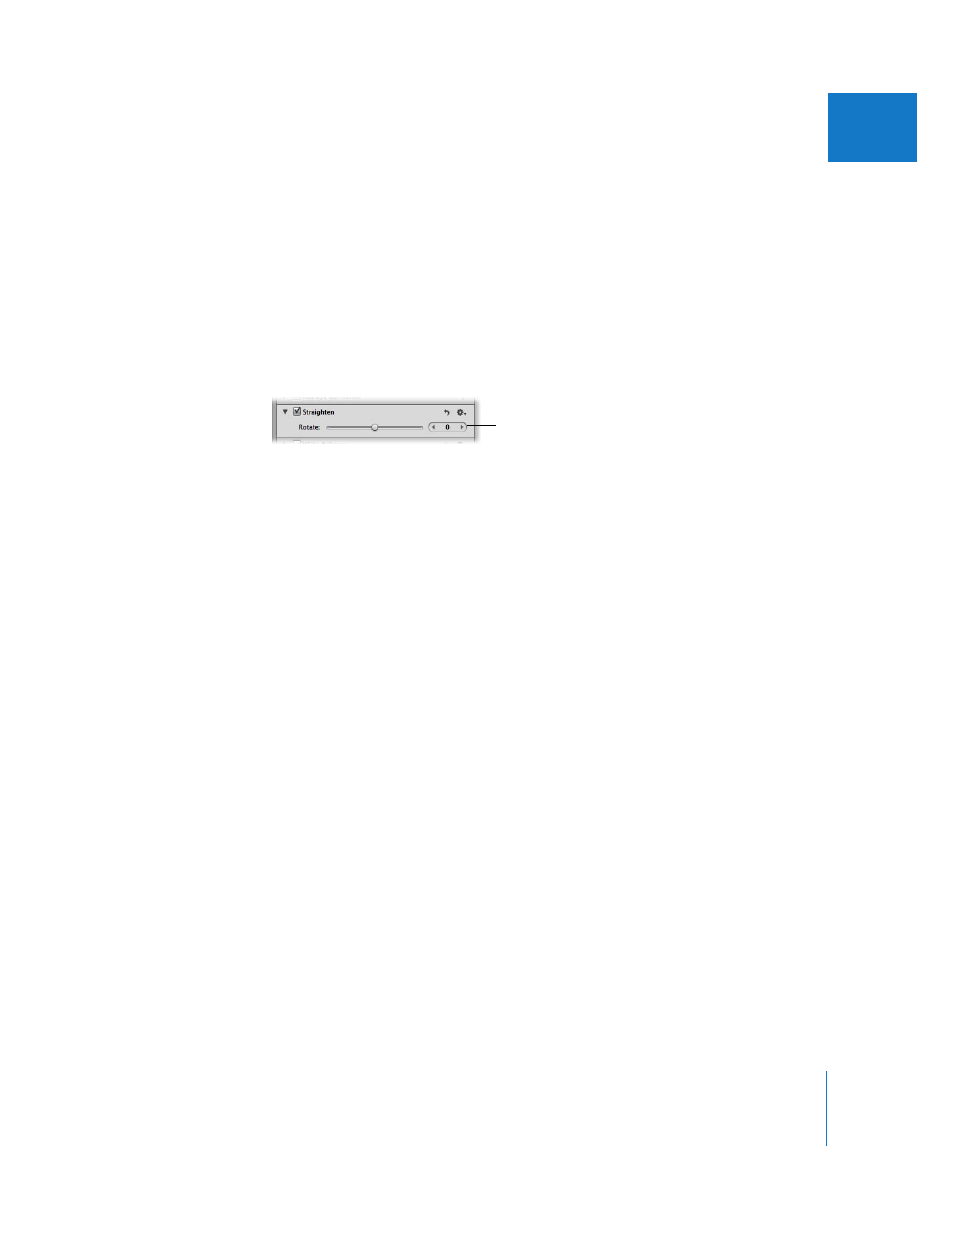
Rotating Images with the Straighten Controls
You can also straighten an image using the Straighten adjustment controls. Using these
controls provides more precision.
To straighten an image using the Straighten controls:
1
Select the image.
2
If the Straighten controls are not shown in the Adjustments inspector or the
Adjustments pane of the Inspector HUD, choose Straighten from the Add Adjustments
pop-up menu.
3
Change the value for the Rotate parameter by doing one of the following:
 Drag the Rotate slider.
 Click the left or right arrow in the Rotate value slider, or drag in the value field.
 Double-click the number in the Rotate value slider, then enter a value from –20 to 20
degrees and press Return.
Decreasing the value rotates the image clockwise, and increasing the value rotates the
image counterclockwise.
As you rotate the image, a yellow grid overlay appears to help you make the horizon
perfectly straight, and the image is cropped to prevent gaps from appearing in the
corners of the image.
Note: It’s a good idea to turn zooming off when straightening an image, so that the full
image fits within the Viewer. If an image is zoomed in to actual size, you can turn off
zooming by clicking the Zoom Viewer button in the tool strip or the Full Screen view
toolbar (or pressing Z).
Use the Rotate slider and
value slider to straighten
the image.