Working with the straighten controls, P. 399) – Apple Aperture 2 User Manual
Page 399
Chapter 15
Making Image Adjustments
399
III
3
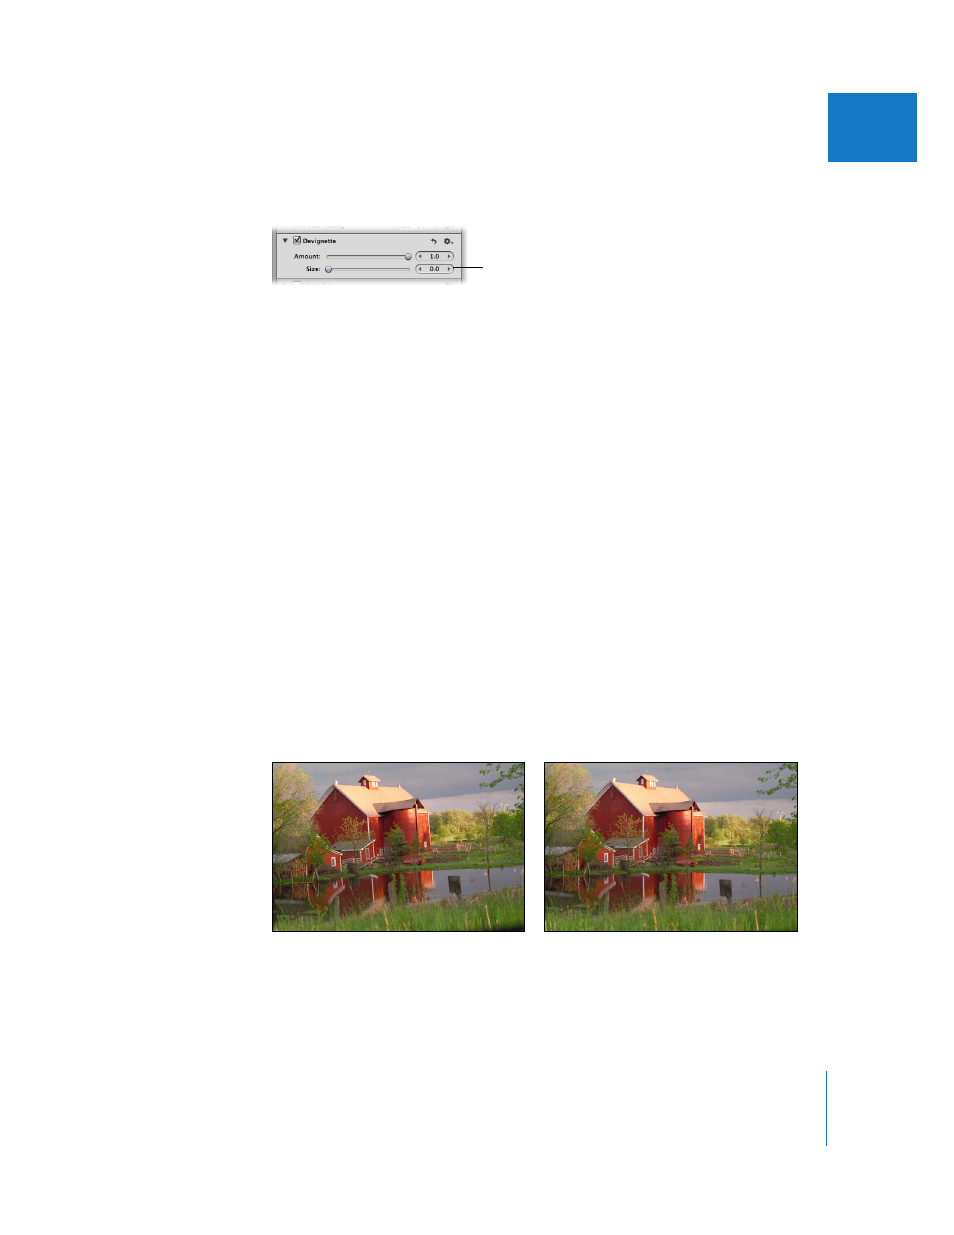
To adjust the distance Aperture goes from the edge of the image, in pixels, to apply the
devignette adjustment, do one of the following:
 Drag the Size slider to the right to increase the number of pixels Aperture goes
toward the center of the image to apply the devignette adjustment, or drag it to the
left to limit the vignette to the edges of the image.
 Click the left or right arrow in the Size value slider, or drag in the value field.
The left arrow limits the devignette adjustment to the edges of the image, and the
right arrow moves the devignette adjustment toward the center point of the image.
 Double-click the number in the Size value slider, then enter a value from 0.0 to 2.00
and press Return.
The vignette is removed from the image.
You can also apply a vignette to an image. For more information, see “
Working with the Straighten Controls
When you shoot photos, environmental conditions often make it difficult to frame an image
that is level in relation to the horizon—either real or virtual. In Aperture, you can straighten
an image so that the horizon in the image is parallel to the bottom and top edges.
Use the Size slider and
value slider to adjust the
size of the area over
which the devignette
adjustment is applied.
Before Straighten adjustment
After Straighten adjustment