Using the monochrome mixer controls – Apple Aperture 2 User Manual
Page 454
454
Using the Monochrome Mixer Controls
You use the Monochrome Mixer’s Red, Green, and Blue parameter controls when a
Monochrome Mixer preset does not produce the effect you were looking for or needs
to be fine-tuned to suit your image. The key to the successful use of the Monochrome
Mixer is to experiment with changing values for the Red, Green, and Blue parameters
until you are satisfied with the effect on the image.
Note: A good rule of thumb is to keep the total percentage of the red, green, and blue
channels at or below 100 percent to prevent you from blowing out the highlights in
your image.
To convert a color image to black and white using the Monochrome Mixer controls:
1
Select an image.
2
If the Monochrome Mixer controls are not shown in the Adjustments inspector or the
Adjustments pane of the Inspector HUD, choose Monochrome Mixer from the Add
Adjustments pop-up menu.
3
Adjust the mixture of red, green, and blue channels by doing one of the following:
 Drag a color slider to the left to decrease its percentage in the color mix, or drag the
color slider to the right to increase its percentage.
 Click the left or right arrows in the value sliders to modify the percentages by single
increments, or drag in the value fields.
The left arrows decrease the percentage, and the right arrows increase it.
 Double-click the number in a value slider, then enter a value from 0% to 100% and
press Return.
The tonal and contrast values in your black-and-white image are set.
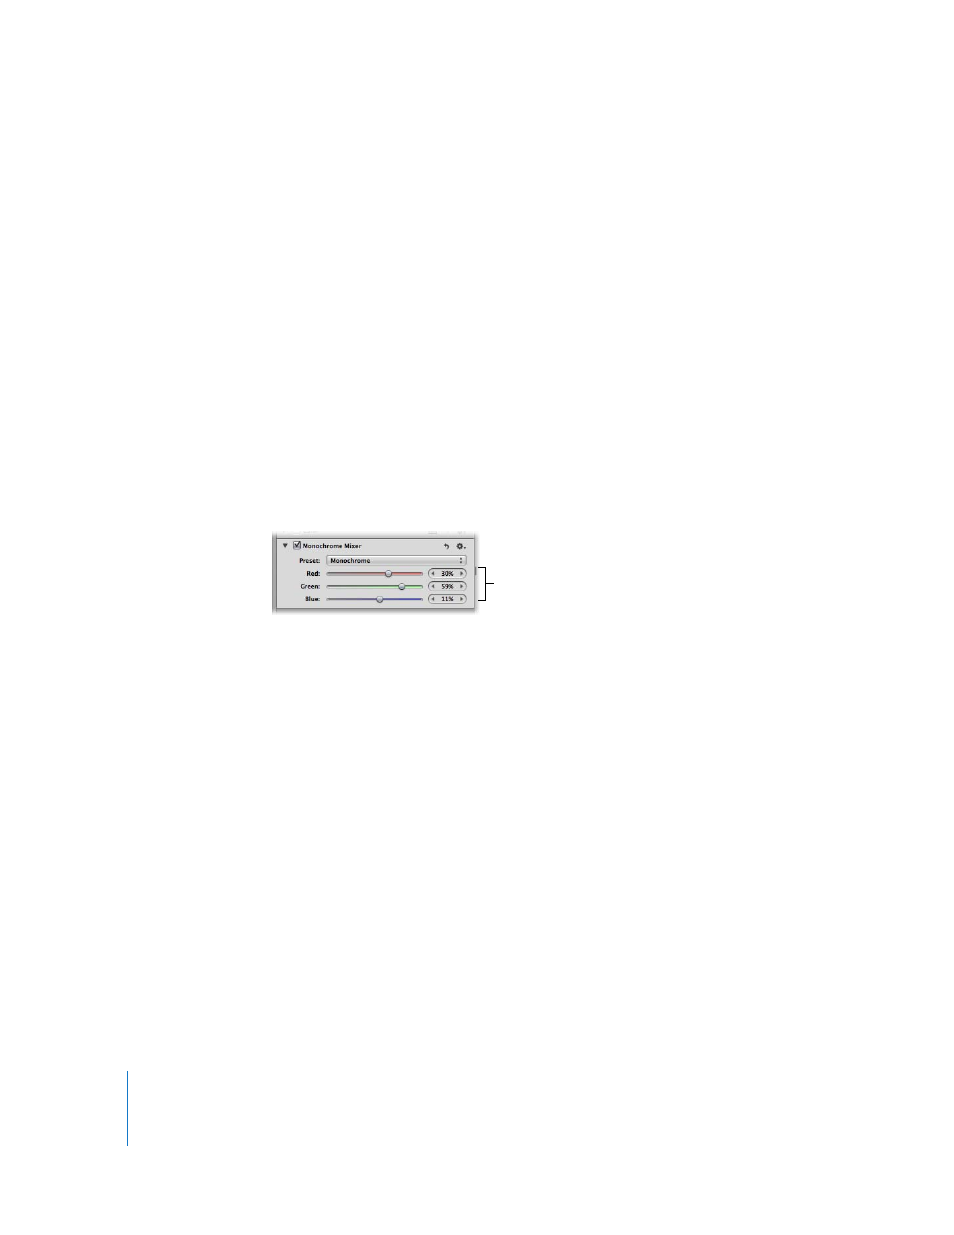
Use the Red, Green, and
Blue sliders and value
sliders to manually adjust
the mix of color channels.