Recovering highlight details in the image – Apple Aperture 2 User Manual
Page 413
Chapter 15
Making Image Adjustments
413
III
To correct the exposure of an image:
1
Select an image.
2
In the Exposure area of the Adjustments inspector or the Adjustments pane of the
Inspector HUD, adjust the Exposure parameter by doing one of the following:
 Drag the Exposure slider.
 Click the left or right arrow in the Exposure value slider to change the exposure of
the image by tenths of an f-stop, or drag in the value field.
 Double-click the number in the Exposure value slider, then enter a value from
–9.99 to 9.99 stops and press Return.
A negative value decreases the exposure (darkening the image), and a positive value
increases the exposure (lightening the image). The exposure of the image updates as
you change the parameter value.
Recovering Highlight Details in the Image
Many images, especially RAW image files, have additional highlight detail that isn’t
displayed by default. Aperture provides the Recovery parameter controls to give you
access to that additional headroom. Because digital image sensors differ from camera
model to camera model, the highlight headroom varies. In some cases, you can recover
significant detail that appears lost or blown out in the most extreme highlight areas of
the image.
Note: The Recovery slider is not available for RAW decoding versions 1.0 and 1.1. To
make the Recovery slider available, migrate the image to Aperture 2.0 or later. For more
information, see “
Working with the RAW Fine Tuning Controls
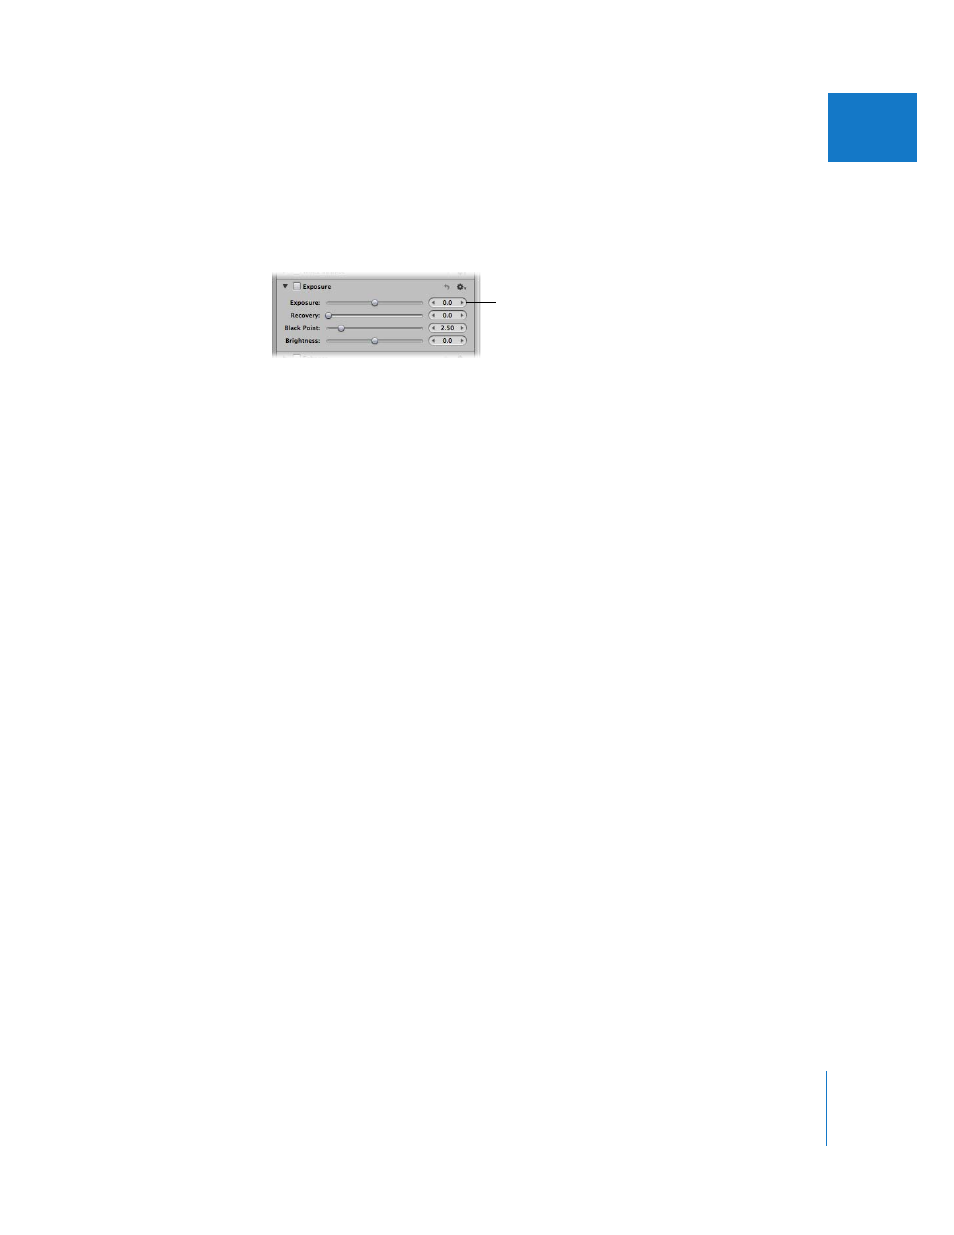
Use the Exposure
slider and value slider
to correct the image’s
exposure.