Using the spot & patch controls, Adjusting the size of spot & patch target overlays – Apple Aperture 2 User Manual
Page 391
Chapter 15
Making Image Adjustments
391
III
Using the Spot & Patch Controls
When using the Spot & Patch tool to spot or patch your images, you can modify the
appearance of the pixels within the target overlays using the Spot & Patch adjustment
controls. You can also adjust the size of Spot & Patch target overlays.
Adjusting the Size of Spot & Patch Target Overlays
You can change the size of a Spot & Patch target overlay before and after it’s placed on an
image. It’s best to adjust the size of the target overlay so it fits the area around the
blemish as tightly as possible. A tight fit ensures that any visual aberrations are minimal.
To change the size of the Spot & Patch tool’s target, do one of the following:
m
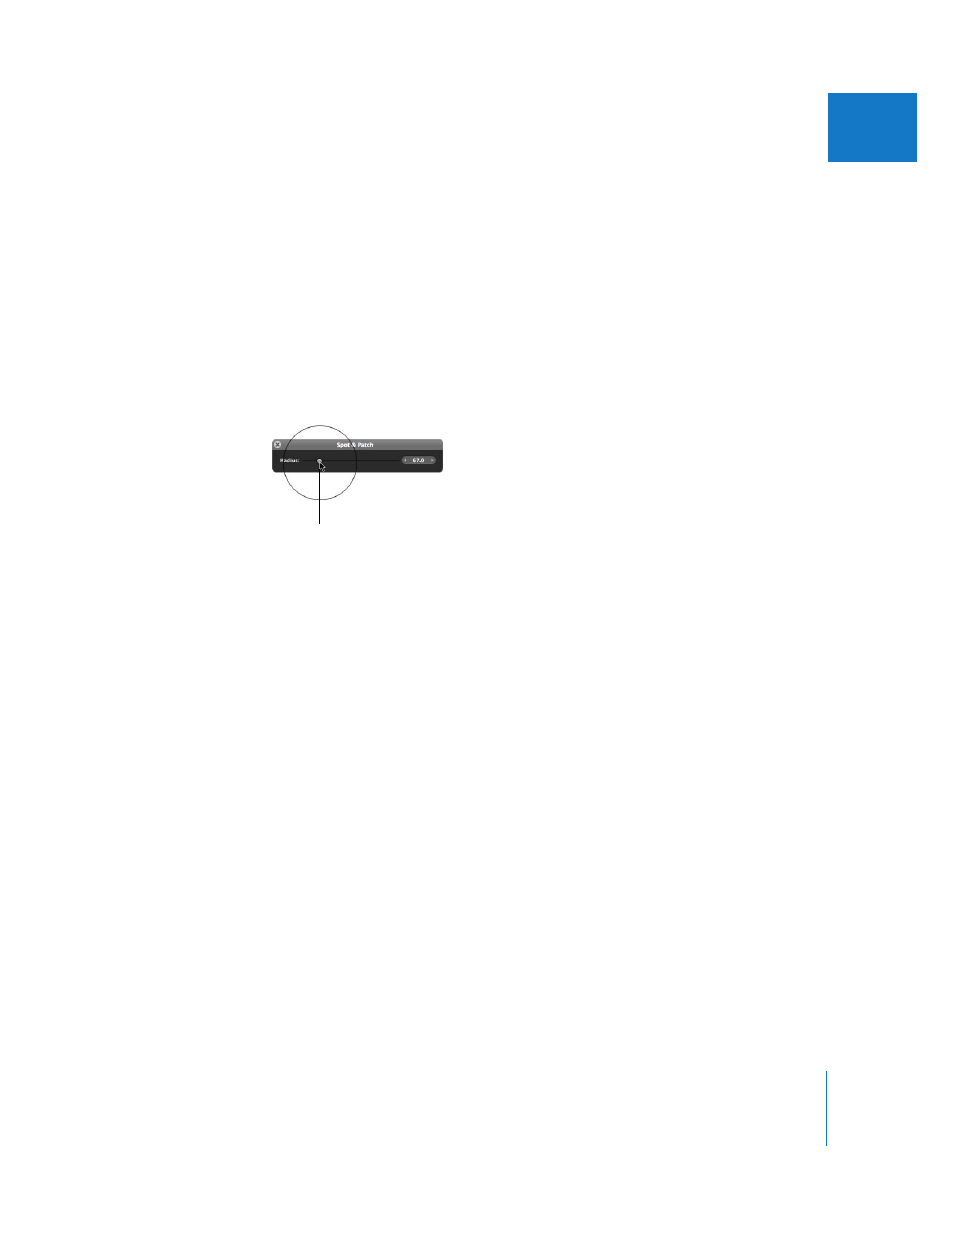
Drag the Radius slider in the Spot & Patch HUD.
m
Click the left or right arrow in the Radius value slider, or drag in the value field.
m
Double-click the number in the Radius value slider, then enter a value from 3.00 to
400.0 and press Return.
m
If you have a mouse with a scroll wheel, rotate the scroll wheel.
The size of the Spot & Patch tool’s target changes.
You can also change the size of any Spot & Patch target overlay that you’ve already
placed on an image.
Drag the Radius slider
in the Spot & Patch HUD
to adjust the size of the
Spot & Patch target
overlay that the tool
places on an image.