Working with the sepia tone controls, P. 456) – Apple Aperture 2 User Manual
Page 456
456
Working with the Sepia Tone Controls
The Sepia Tone adjustment controls behave similarly to the Color Monochrome
controls, except that the sepia color is already selected.
To apply a sepia tone to an image:
1
Select an image.
2
If the Sepia Tone controls are not shown in the Adjustments inspector or the
Adjustments pane of the Inspector HUD, choose Sepia Tone from the Add Adjustments
pop-up menu.
3
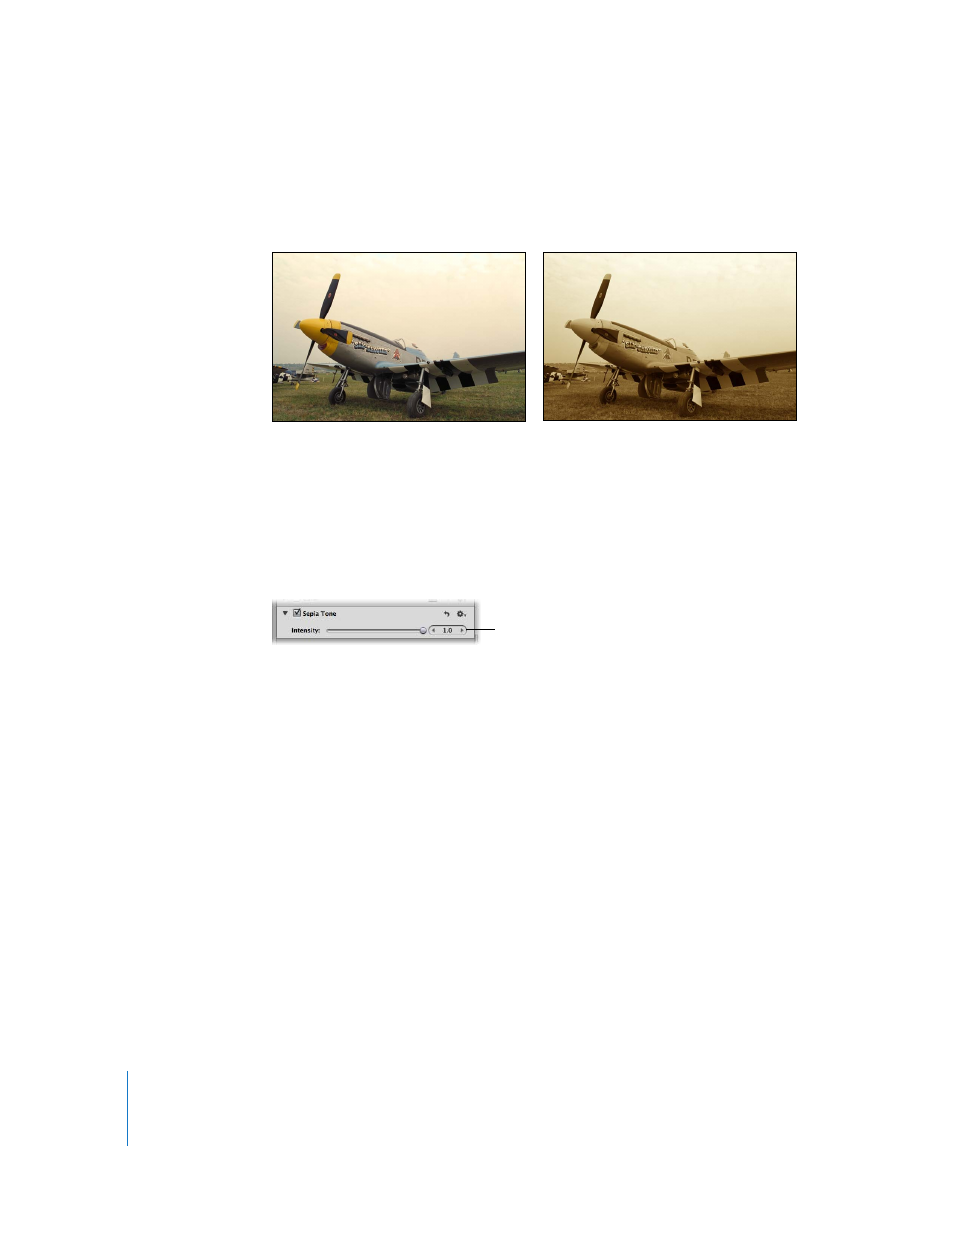
By default, the intensity of the sepia color is set to the maximum value of 1.0. Adjust the
intensity of the sepia color by doing one of the following:
 Drag the Intensity slider to the left to decrease the intensity of the sepia color in the
image’s midtones, or drag the slider back to the right to increase its intensity.
 Click the left or right arrow in the Intensity value slider to modify the intensity by
10 percent increments, or drag in the value slider.
The left arrow decreases the intensity, and the right arrow increases it.
 Double-click the number in the Intensity value slider, then enter a value from 0.0 to
1.0 and press Return.
The image is converted to black and white, with the sepia color tint applied to
the midtones.
Before Sepia Tone adjustment
After Sepia Tone adjustment
Use the Intensity slider
and value slider to adjust
the strength of the sepia
tint applied to the image.