Apple Aperture 2 User Manual
Page 145
Chapter 4
Importing Images
145
I
Migrating a RAW Image Selection
You can choose to migrate all images, migrate only images with adjustments, or
migrate only images without adjustments. You can also migrate images one at a time
using the RAW Fine Tuning controls in the Adjustments inspector or the Adjustments
pane of the Inspector HUD. For more information about migrating individual images,
see “
Migrating Images Individually with the RAW Fine Tuning Controls
Important:
The Migrate Images command cannot be undone. However, you can return
an individual image to the previous version’s RAW decoding process using the Version
pop-up menu in the RAW Fine Tuning area of the Adjustments inspector or the
Adjustments pane of the Inspector HUD. For more information, see “
Individually with the RAW Fine Tuning Controls
To migrate a selection of RAW images:
1
Select an image or group of images.
2
Choose File > Migrate Images.
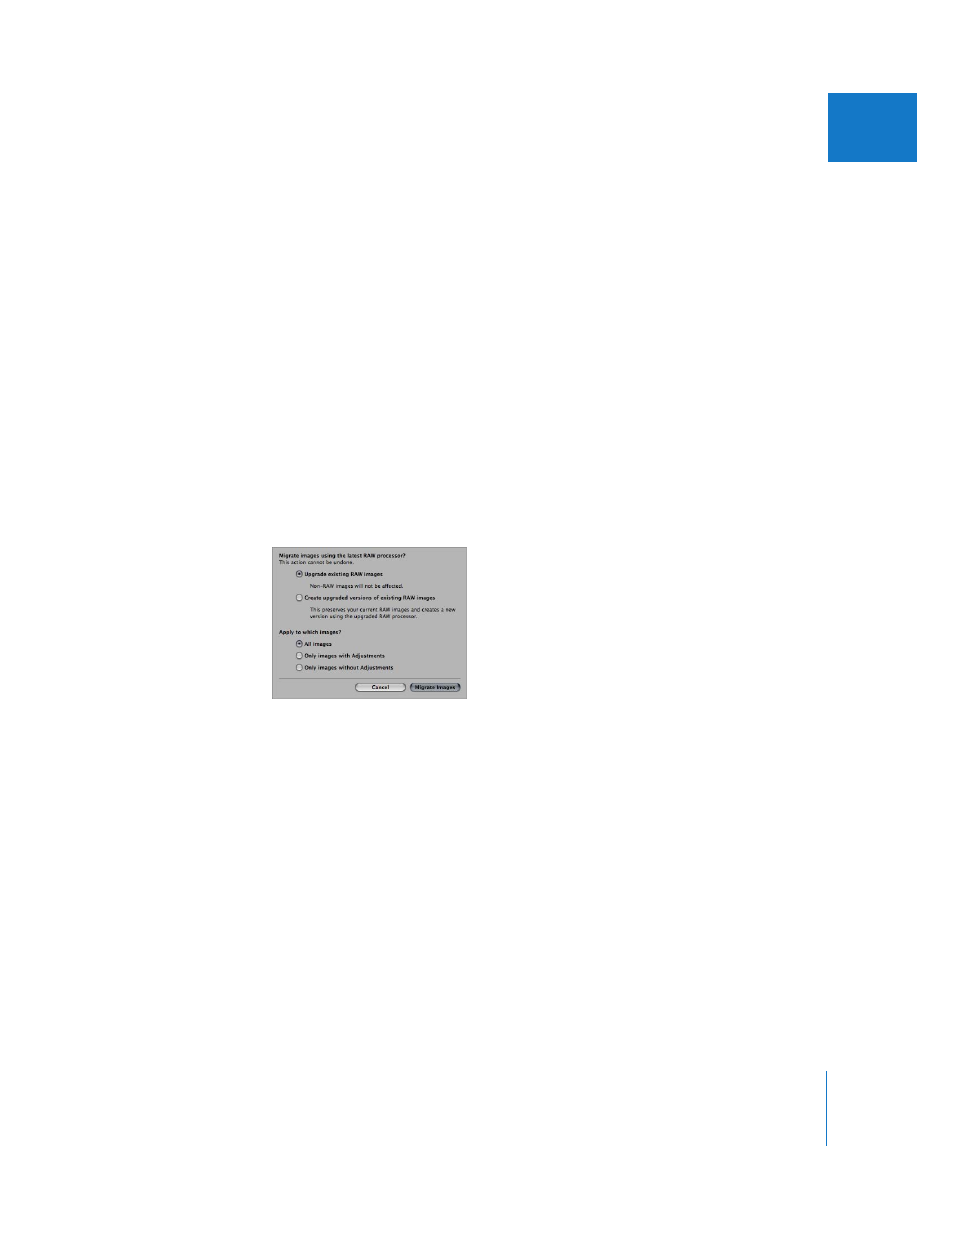
3
In the dialog that appears, select the appropriate migration criteria, then click the
Migrate Images button.
The RAW image files are migrated from the earlier RAW decoding process to the
Aperture 2 RAW decoding process according to the criteria you specified.
You can also migrate all the images in a selected project, book, webpage, web journal,
Light Table album, album, or Smart Album.
To migrate a project or album:
1
In the Projects inspector, select a project or album.
2
Choose File > Migrate [Item].
3
In the dialog that appears, select the appropriate migration criteria, then click the
Migrate Images button.
All RAW images in the selected project or album are migrated to the Aperture 2 RAW
decoding process.
You can also migrate all the RAW images in the library at once. However, this migration
process may take a long time for large libraries.