Apple Aperture 2 User Manual
Page 424
424
To set the tint of the shadows in an image:
1
Select an image.
2
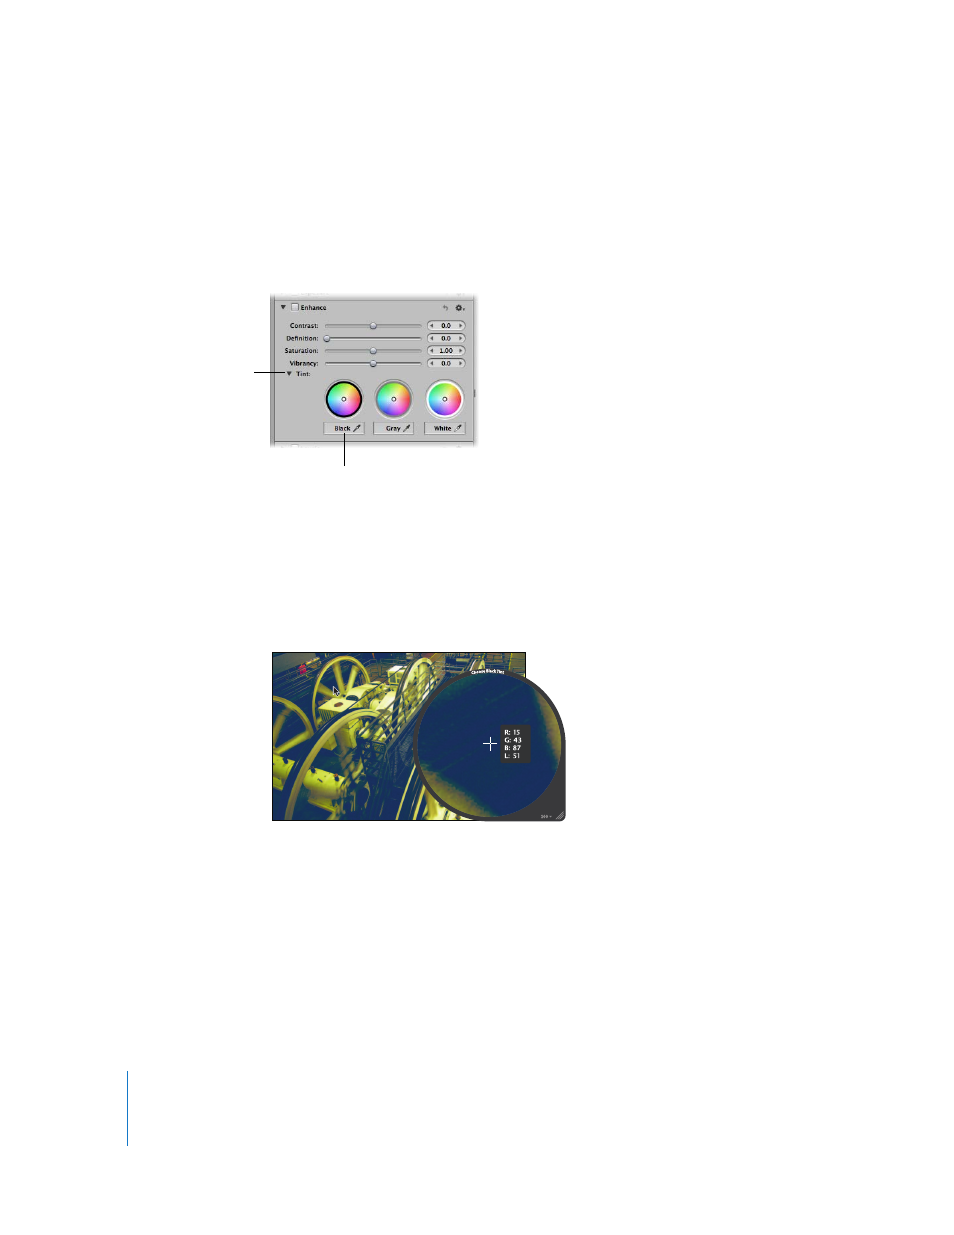
If necessary, click the Tint disclosure triangle in the Enhance area of the Adjustments
inspector or the Adjustments pane of the Inspector HUD to reveal the Tint color wheels,
then select the Black Tint eyedropper.
The pointer changes to the Loupe, showing a magnified view of the target area. By default,
the Loupe is set to magnify the image to 100 percent (full size). If necessary, you can
increase the magnification of the Loupe by pressing Command–Shift–Plus Sign (+). For
more information about the Loupe, see “
3
Position the target area of the Loupe over the darkest pixels in the image, then click.
The tint (hue and saturation) of the black values in the image is set to remove the color
cast in the shadows.
Important:
Make sure that there are no bright pixels in the target area of the Loupe.
Bright pixels in the target area can skew the black tint calculation, making the image
appear different than intended. A simple way to avoid errant bright pixels is to increase
the magnification of the Loupe by pressing Command–Shift–Plus Sign (+).
Select the Black Tint
eyedropper to activate
the Loupe.
Click the disclosure
triangle to reveal the Tint
color wheels.