Setting the camera default – Apple Aperture 2 User Manual
Page 358
358
Setting the Camera Default
When you’ve modified the RAW decoding settings using the controls in the RAW Fine
Tuning area of the Adjustments inspector or the Adjustments pane of the Inspector
HUD, you can save these settings as the default parameter values for the camera model.
All RAW image files from this camera model imported into Aperture are decoded using
these saved settings.
To set the camera default:
1
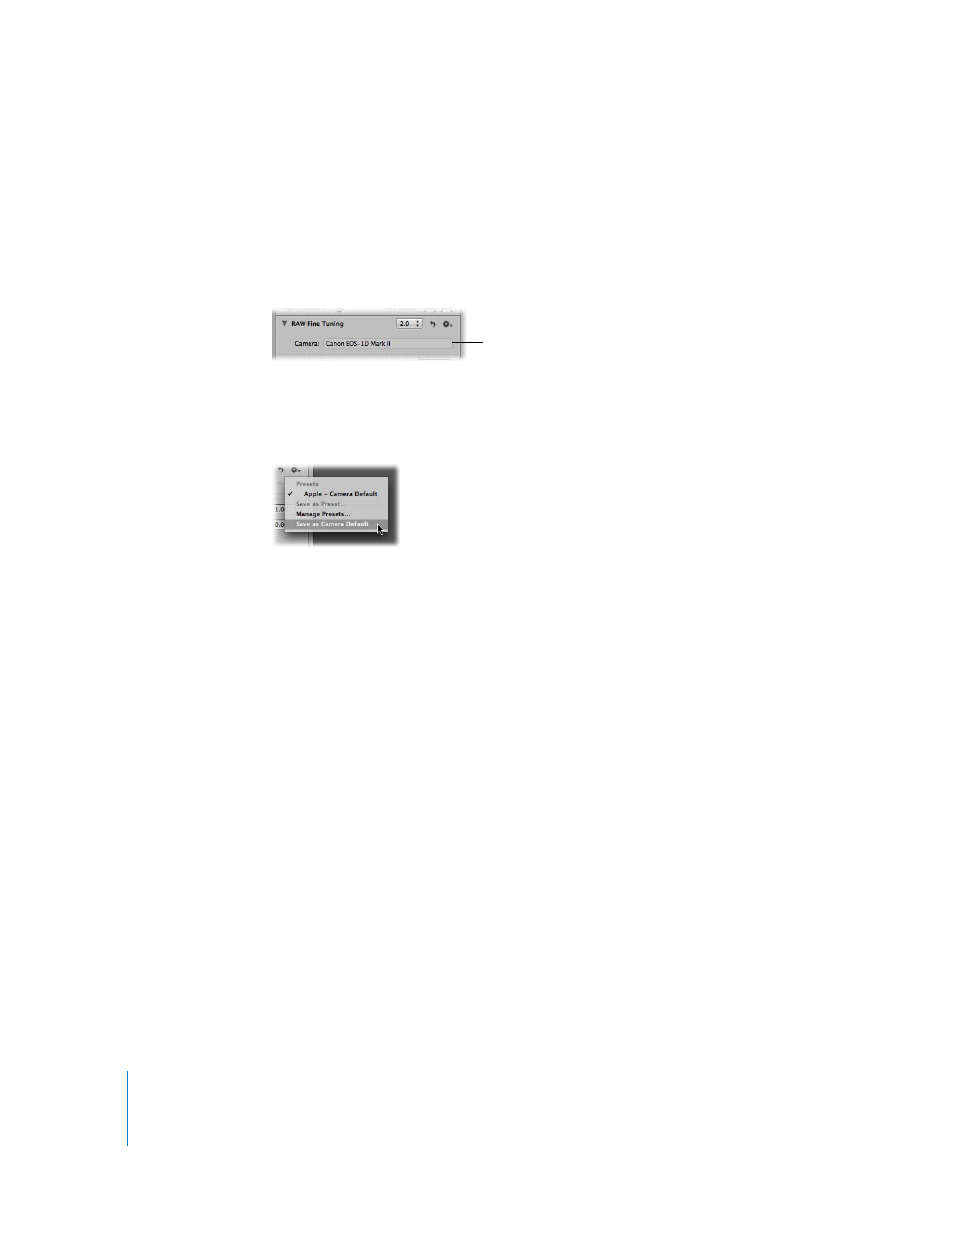
In the RAW Fine Tuning area of the Adjustments inspector or the Adjustments pane of the
Inspector HUD, choose Save as Camera Default from the Preset Action pop-up menu.
The Adjustment Presets dialog appears.
2
Enter a name for the preset and click OK.
The Preset Action pop-up menu displays the preset’s name with a checkmark next to it.
You can always clear the saved camera default settings.
To clear the camera default settings:
m
Delete the camera preset. For more information about deleting adjustment presets, see
“
You can also set the RAW Fine Tuning controls to use the Apple-recommended RAW
decoding settings.
To use the Apple-recommended camera default settings:
m
In the RAW Fine Tuning area of the Adjustments inspector or the Adjustments pane of the
Inspector HUD, choose Apple - Camera Default from the Preset Action pop-up menu.
A checkmark appears next to Apple - Camera Default in the Preset Action pop-up menu.
The camera model
is displayed in the
Camera field.