Working with the noise reduction controls, P. 457) – Apple Aperture 2 User Manual
Page 457
Chapter 15
Making Image Adjustments
457
III
Working with the Noise Reduction Controls
You use the Noise Reduction adjustment controls when you need to reduce digital
noise in an image. Digital noise is often caused by shooting at high ISO settings in
low-light conditions. When you reduce noise in an image, you often have to sharpen
the image to prevent blurry edges or loss of detail. For more information about
sharpening an image, see “
Working with the Edge Sharpen Controls
To reduce digital noise in an image:
1
Select an image.
2
If the Noise Reduction controls are not shown in the Adjustments inspector or the
Adjustments pane of the Inspector HUD, choose Noise Reduction from the
Add Adjustments pop-up menu.
3
Reduce digital noise in the image by doing one of the following:
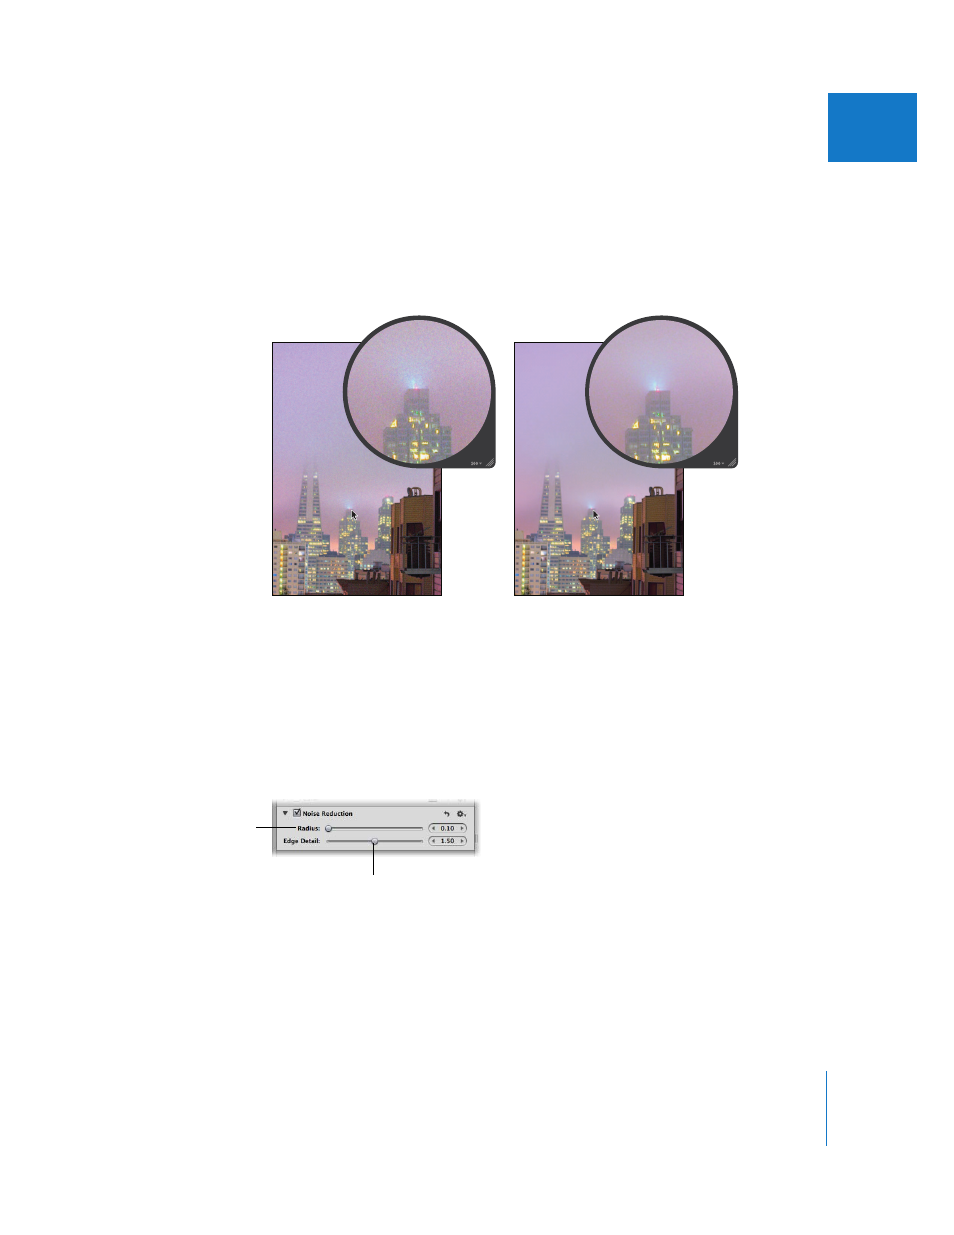
 By default, the Radius slider is set to the left side of the slider control. Drag the
Radius slider to the right to decrease digital noise in the image, or drag the slider
back to the left to reduce the effect of the noise reduction.
After Noise Reduction adjustment
Before Noise Reduction adjustment
Use the Edge Detail
slider and value slider
to maintain details
in areas of contrast.
Use the Radius slider and
value slider to decrease
digital noise in the image.