Scan settings, Scan settings(p. 266), The scan settings. scan settings(p. 266) – Canon imageCLASS MF753Cdw Multifunction Wireless Color Laser Printer User Manual
Page 276: Setting the original size and orientation

Scan Settings
84CU-00U
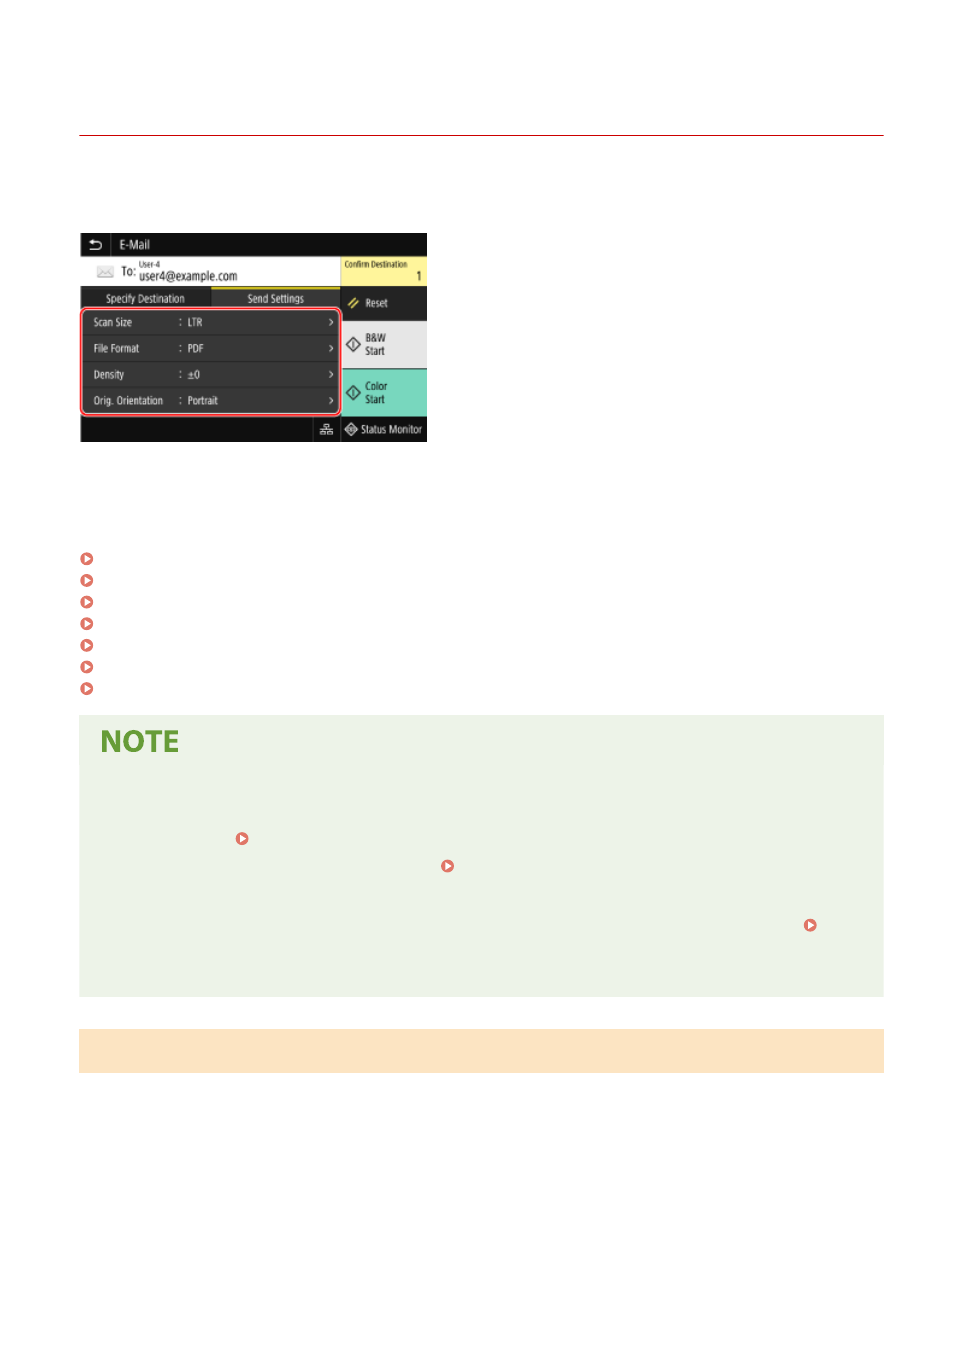
When scanning with the machine, you can use the [Send Settings] tab on the scanning screen to set the original size
and adjust the image quality.
If the scanned data does not appear as expected, you can change the settings and scan again.
* To start scanning, select the scanning color (black and white or color) by pressing [Start B&W] or [Start Color].
* To save scanned data to a computer, configure the settings with MF Scan Utility or ScanGear MF installed on the
computer. You cannot use the operation panel to configure the settings.
Setting the Original Size and Orientation(P. 266)
Adjusting Image Quality(P. 267)
2-Sided Scan Settings(P. 268)
Setting Preview(P. 268)
Skipping Blank Pages(P. 268)
Setting File / Division(P. 269)
E-mail and I-Fax Settings(P. 269)
Registering Favorite Settings
●
You can register frequently used scan settings as Favorite Settings to easily call up these settings as needed
when scanning. Registering and Calling Up Favorite Settings(P. 180)
●
You can also change the default scan settings. Changing the Default Settings(P. 183)
Recalling Past Settings - TX Job Log
●
You can use the TX Job Log to recall the scan settings used to send or save scanned data in the past.
Specifying Destinations (TX Job Log)(P. 176)
* TX Job Log is not available when saving scanned data to a USB memory device.
Setting the Original Size and Orientation
Set the size and orientation according to the original to be scanned.
[Scan Size]
Select the size of the placed original.
Configuring Custom Sizes
Select [Specify Custom Size], enter the dimensions in [X] and [Y], and press [Apply].
When frequently used non-standard sizes are registered, you can call these up by pressing [S1] to [S3].
Registering a Non-standard Size
Scanning
266
