Set jpeg/tiff details] screen(p. 228), Set jpeg/tiff details] screen – Canon imageCLASS MF753Cdw Multifunction Wireless Color Laser Printer User Manual
Page 238

[Width Adjustment]
Specify whether to adjust the printing of text and fine lines so that they appear bold.
If you specify [On] in this setting, select what is to be adjusted.
* When you select [On], the printing speed may decrease or the image quality may change.
[Advanced Smoothing]
Specify processing that will produce smoother printed outlines for text and graphics (illustrations created in
an application). For details about the settings, see the following:
[Gradation Smoothing]
Specify processing that will produce smoother printed gradations in images such as graphics (illustrations
created in an application) and bitmap images. For details about the settings, see the following:
[Enhance Text for B&W Printing]
When printing a document that includes color text in black and white, specify whether to adjust the text
density to make it easier to read.
* If you specify [Off] in this setting when printing a document that includes light-colored text in black and
white, the text will be printed more faintly and will be more difficult to see than when [On] is specified.
* If the text appears enhanced even when [Off] is specified, specify [Advanced Smoothing] to disable the
smoothing e
ff
ect.
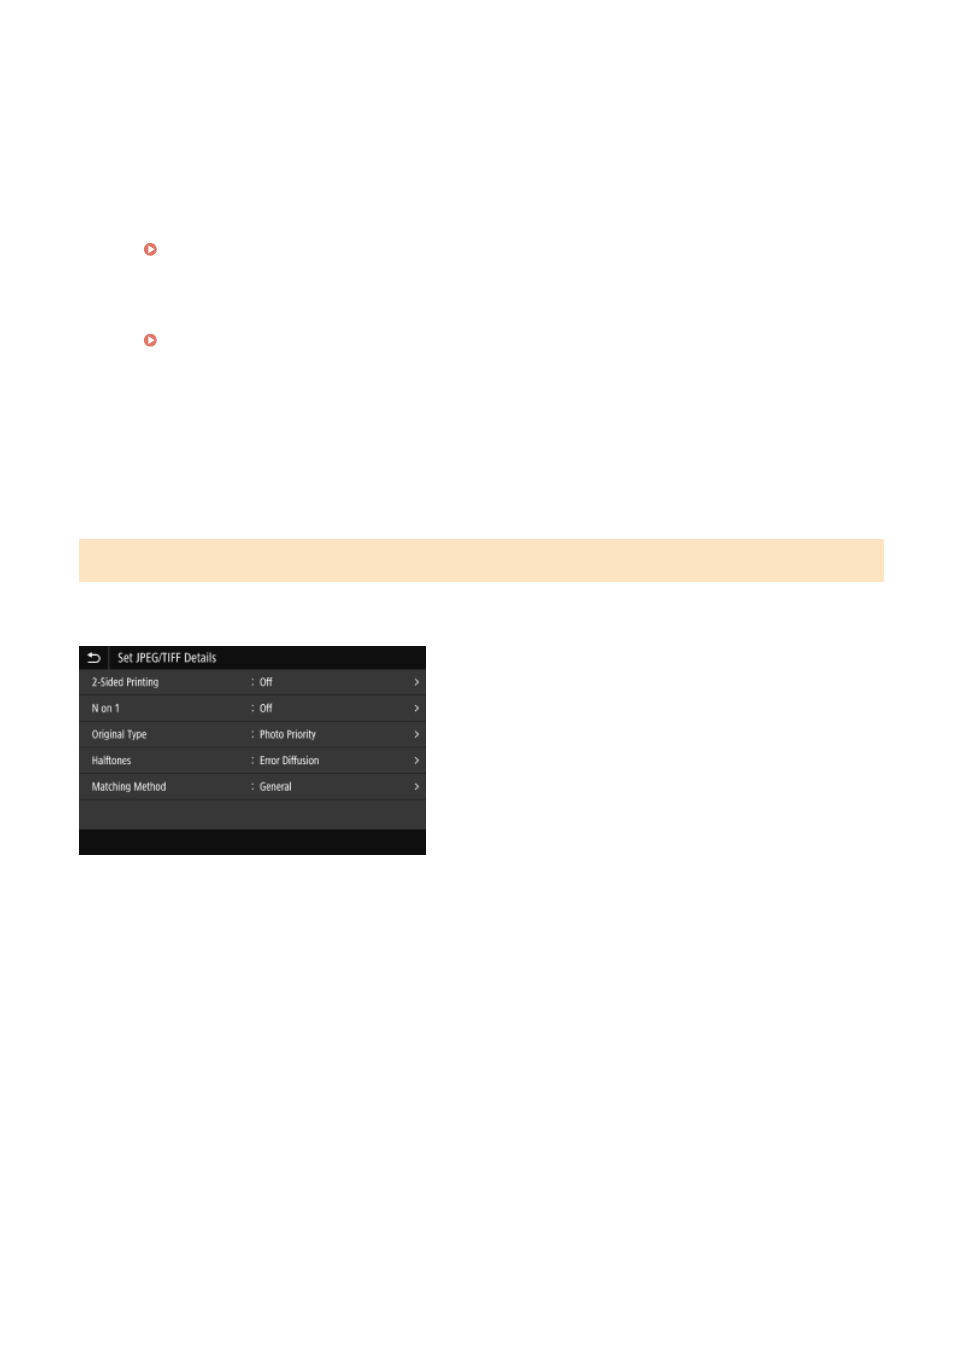
[Set JPEG/TIFF Details] Screen
Use this screen to configure detailed print settings for JPEG and TIFF files, such adjusting the image quality.
To display the screen, press [Set JPEG/TIFF Details] on the Memory Media Print settings screen.
[2-Sided Printing]
Specify whether to use 2-sided printing. When using 2-sided printing, select how printed pages are opened when the
paper is bound.
* This is the same setting as [2-Sided Printing] on the Memory Media Print settings screen.
[N on 1] (JPEG file)
Specify whether to reduce the size of a multiple-page image and arrange the pages on one side of a sheet of
paper.
When combining pages, use the button to select the number of pages to be combined.
Example:
When combining a 4-page image onto one side of a sheet of paper
Select [4 on 1].
* This is the same setting as [N on 1] on the Memory Media Print settings screen.
[Original Type]
Select whether to prioritize smoothness of a photo or clarity of text when printing.
[Halftones]
Printing
228
