Apply custom ease in/ease out to motion tweens – Adobe Flash Professional CS3 User Manual
Page 252
FLASH CS3
User Guide
246
The group or symbol follows the motion path when you play the animation.
Link layers to a motion guide layer
❖
Do one of the following:
•
Drag an existing layer below the motion guide layer. The layer is indented under the motion guide layer. All objects
on this layer automatically snap to the motion path.
•
Create a new layer under the motion guide layer. Objects you tween on this layer are automatically tweened along
the motion path.
•
Select a layer below a motion guide layer. Select Modify > Timeline > Layer Properties, and select Guide.
Unlink layers from a motion guide layer
❖
Select the layer to unlink and do one of the following:
•
Drag the layer above the motion guide layer.
•
Select Modify > Timeline > Layer Properties, and select Normal as the layer type.
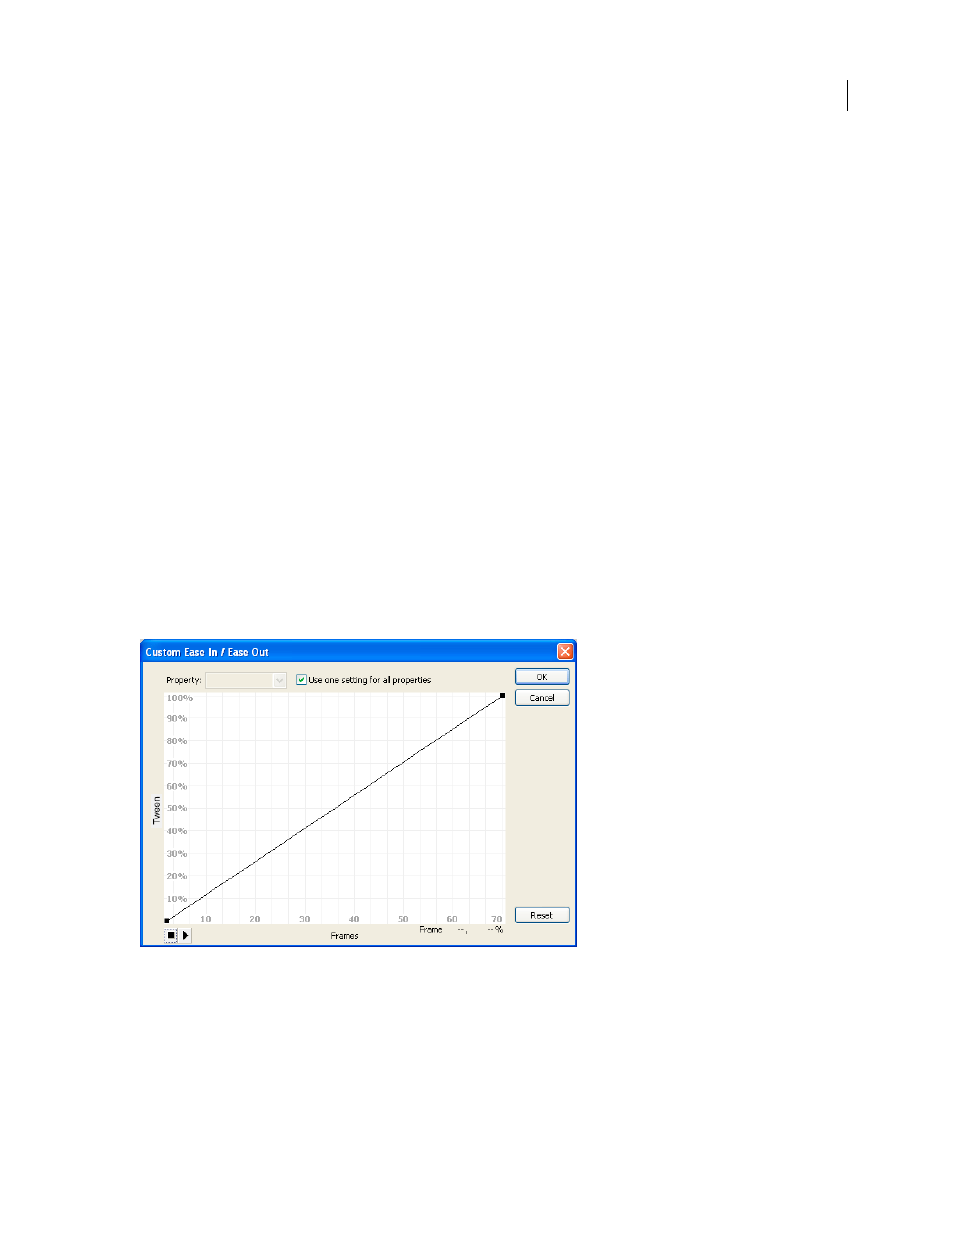
Apply custom ease in/ease out to motion tweens
The Custom Ease In/Ease Out dialog box displays a graph representing the degree of motion over time. The
horizontal axis represents frames, and the vertical axis represents percentage of change. The first keyframe is repre-
sented as 0%, and the last keyframe is represented as 100%.
The slope of the graph’s curve represents the rate of change of the object. When the curve is horizontal (no slope),
the velocity is zero; when the curve is vertical, an instantaneous rate of change occurs.
Custom Ease In/Ease Out graph showing constant velocity
Additional controls for the Custom Ease In/Ease Out dialog box
Use One Setting For All Properties check box
The default is selected; the displayed curve is used for all properties,
and the Properties pop-up menu is disabled. When the check box is not selected, the Properties pop-up menu is
enabled, and each property has a separate curve defining the velocity of that property.