Create and edit tints, Create a tint swatch using the swatches panel, Create a tint swatch using the color panel – Adobe InDesign CC 2015 User Manual
Page 481: Create an unnamed tint, Edit a tint or base color swatch, Mixing inks
476
Color
Last updated 6/6/2015
Create and edit tints
You can adjust the tint of an individual object, or create tints by using the Tint slider in the Swatches panel or Color
panel. The tint range is from 0% to 100%; the lower the number, the lighter the tint will be.
Because colors and tints update together, if you edit a swatch, all objects that use a tint of that swatch update accordingly.
You can also edit the base swatch of a named tint using the Swatch Options command in the Swatches panel menu; this
updates any other tints based on the same swatch.
Create a tint swatch using the Swatches panel
1
In the Swatches panel, select a color swatch.
2
Select the arrow next to the Tint box.
3
Drag the Tint slider, and click the New Swatch button
or select New Tint Swatch in the Swatches panel menu.
The tint appears in the Swatches panel with the name of its base color and the percentage of the tint.
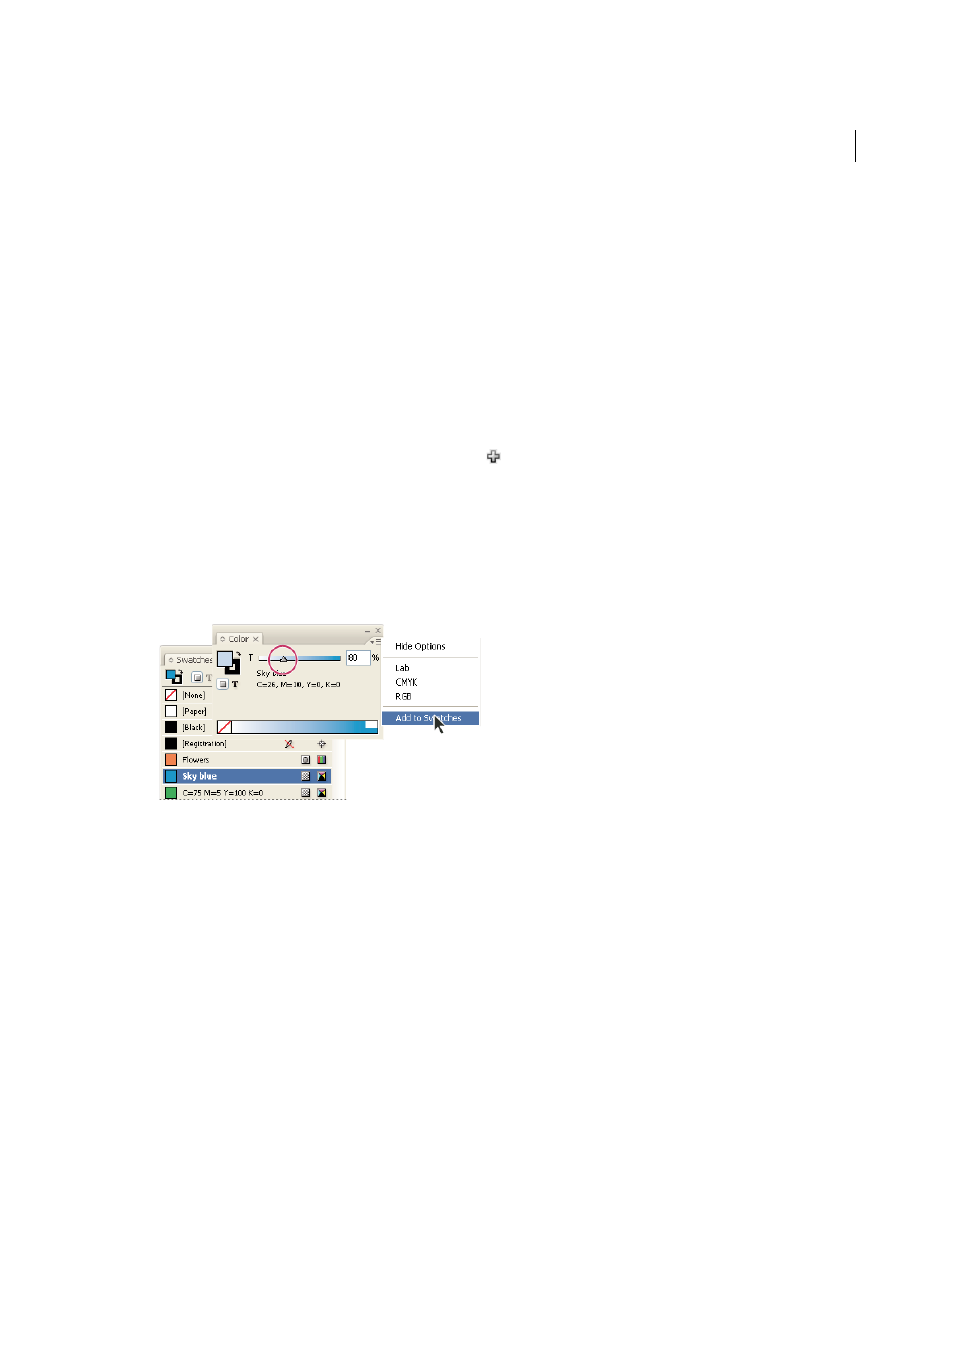
Create a tint swatch using the Color panel
1
In the Swatches panel, select a swatch.
2
In the Color panel, drag the Tint slider, or enter a tint value in the Percentage box.
3
In the Color panel menu, click Add To Swatches.
Create an unnamed tint
1
In the Swatches panel, select the Fill box or the Stroke box.
2
Drag the Tint slider, or enter a tint value in the percentage box.
Edit a tint or base color swatch
1
In the Swatches panel, double-click the tint swatch.
2
Do one of the following, and click OK:
• To edit the tint, change the Tint value. This updates all objects using that tint swatch.
• To edit the tint’s base color swatch, change the Color Mode or the Color Mode values. This also updates all other
tints based on that same color swatch.
Mixing inks