Align objects using the gap tool – Adobe InDesign CC 2015 User Manual
Page 160
155
Layout and design
Last updated 6/6/2015
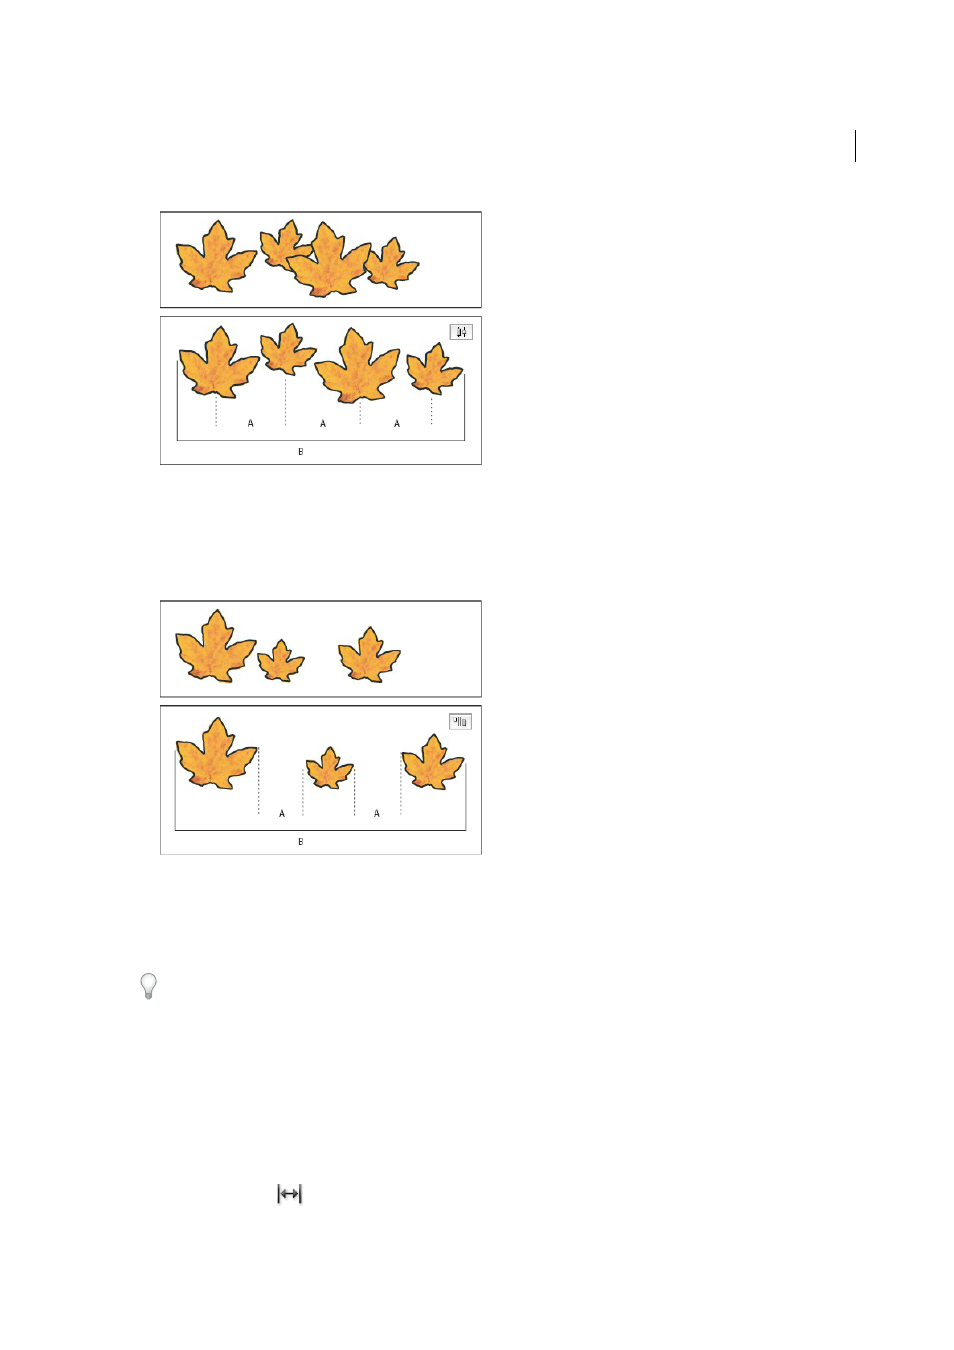
A Spaces the objects evenly from their centers by a specified value B Changes the overall width of the objects as a whole
• To set the space between objects (facing edge to facing edge), under Distribute Spacing, select Use Spacing and
type the amount of space you want between the objects. (If Distribute Spacing is not visible, choose Show
Options in the Align Panel menu.) Then, click the Distribute Spacing button to distribute the objects along their
horizontal or vertical axes.
A Creates spaces of a specified value between each object B Changes the overall width of the objects as a whole
When you use spacing with vertical distribution, selected objects are spaced from top to bottom, starting with the top-
most object. When you use spacing with horizontal distribution, selected objects are spaced from left to right, starting
from the left-most object.
You can also use the Smart Spacing feature to align or distribute objects while moving them. For example, if two vertical
objects are 12 points apart, moving a third object 12 points below the second object causes temporary guides to appear,
allowing you to snap the object into alignment.
Align objects using the Gap tool
The Gap tool provides a quick way to adjust the size of a gap between two or more objects. It also lets you resize several
objects that have commonly aligned edges simultaneously, while keeping the gaps between them fixed. It’s a one-step
way to adjust your layout by directly manipulating the space between objects.
The Gap tool ignores locked objects and master page items.
1
Select the Gap tool
.