Comparing colors in indesign and illustrator, Tints, About tints – Adobe InDesign CC 2015 User Manual
Page 480

475
Color
Last updated 6/6/2015
Comparing colors in InDesign and Illustrator
Adobe InDesign and Adobe Illustrator use slightly different methods for applying named colors. Illustrator lets you
specify a named color as either global or nonglobal, and InDesign treats all unnamed colors as nonglobal, process colors.
The InDesign equivalents to global colors are swatches. Swatches make it easier to modify color schemes without having
to locate and adjust each individual object. This is especially useful in standardized, production-driven documents like
magazines. Because InDesign colors are linked to swatches in the Swatches panel, any change to a swatch affects all
objects to which a color is applied.
The InDesign equivalents to nonglobal swatches are unnamed colors. Unnamed colors do not appear in the Swatches
panel, and they do not automatically update throughout the document when the color is edited in the Color panel. You
can, however, add an unnamed color to the Swatches panel later.
Named and unnamed colors only affect how a particular color updates in your document, never how colors separate
or behave when you move them between applications.
More Help topics
Tints
About tints
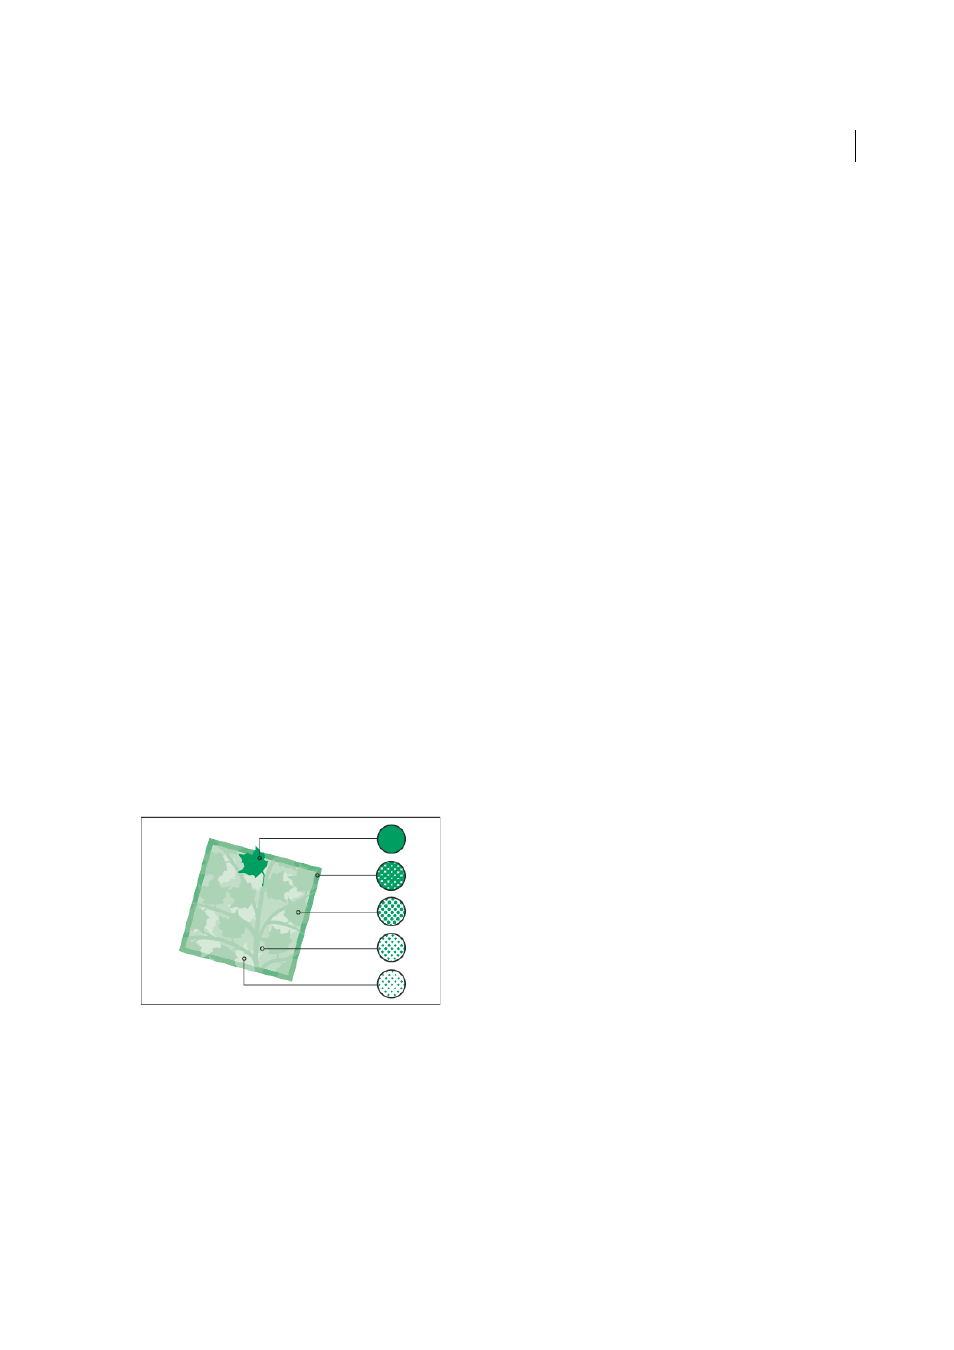
A tint is a screened (lighter) version of a color. Tinting is an economical way to make additional spot color variations
without having to pay for additional spot color inks. Tinting is also a quick way to create lighter versions of process
colors, although it doesn’t reduce the cost of printing process colors. As with non-tinted colors, it’s best to name and
store tints in the Swatches panel so that you can easily edit all instances of that tint in your document.
A tint of a spot color is printed on the same printing plate as the spot color. A tint of a process color multiplies each of
the CMYK process inks by the tint percentage; for example, an 80% tint of C10 M20 Y40 K10 results in C8 M16 Y32 K8.
Because colors and tints update together, if you edit a swatch, all objects that use a tint of that swatch update accordingly.
You can also edit the base swatch of a named tint using the Swatch Options command in the Swatches panel menu; this
updates any other tints based on the same swatch.
The tint range in Adobe Creative Suite 3 is 0% to 100%; the lower the number, the lighter the tint.
