Brocade Mobility 7131N-FGR Access Point Product Reference Guide (Supporting software release 4.0.0.0-35GRN and later) User Manual
Page 115
Brocade Mobility 7131N-FGR Product Reference Guide
103
53-1001947-01
Configuring the LAN interface
5
Access Point. The Brocade Mobility 7131N-FGR Access Point sends this MAC address to a host
housing a copy of the Dynamic VLAN database. This database houses the records of MAC
addresses and VLAN assignments. The VLAN database looks up the MAC to determine what VLAN
is assigned to it. If it is not in the database, it simply uses a default VLAN assignment. The VLAN
assignment is sent to the Brocade Mobility 7131N-FGR Access Point. The Brocade Mobility
7131N-FGR Access Point then maps the target WLAN for the assigned VLAN and traffic passes
normally, allowing for the completion of the DHCP request and further traffic.
To create new VLANs or edit the properties of an existing VLAN:
1. Select Network Configuration -> LAN from the Brocade Mobility 7131N-FGR Access Point
menu tree.
2. Ensure the Enable 802.1q Trunking button is selected from within the LAN Setting field.
Trunk links are required to pass VLAN information between destinations. A trunk port is by
default a member of all the VLANs existing on the Brocade Mobility 7131N-FGR Access Point
and carry traffic for all those VLANs. Trunking is a function that must be enabled on both sides
of a link.
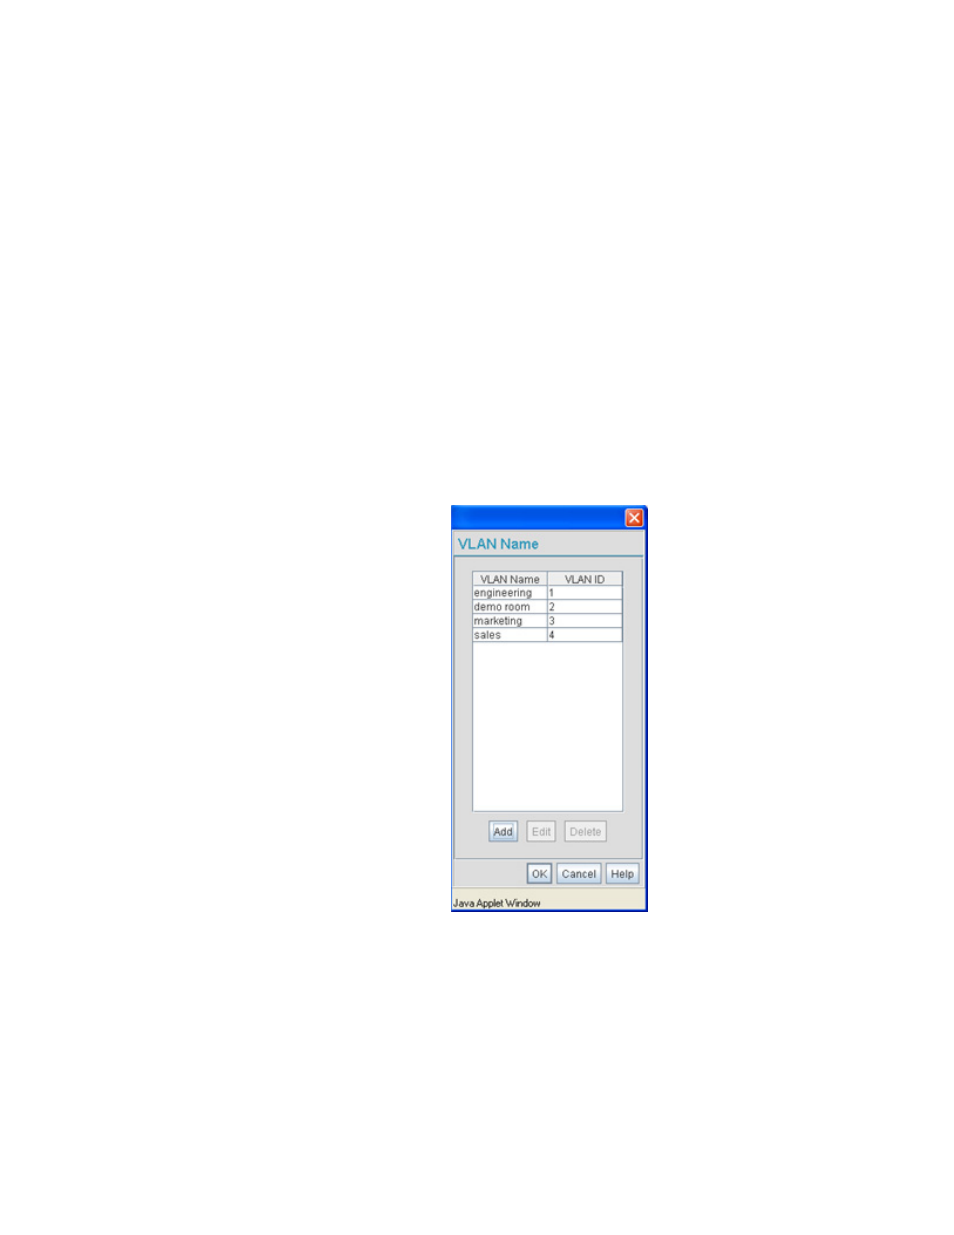
3. Select the VLAN Name button.
The VLAN name screen displays. The first time the screen is launched a default VLAN name of
1 and a default VLAN ID of 1 display. The VLAN name is auto-generated once the user assigns
a VLAN ID. However, the user has the option of re-assigning a name to the VLAN using New
VLAN and Edit VLAN screens.
To create a new VLAN, click the Add button, to edit the properties of an existing VLAN, click the
Edit button.