2 historical block database configuration window, 3 add historical block, 1 historical block name – Micromod Micro-PWC: 53PW6000 MicroPWC Configuration Guide User Manual
Page 316
Micro-PWC CONFIGURATION GUIDE
296 Historical Block Data Collection
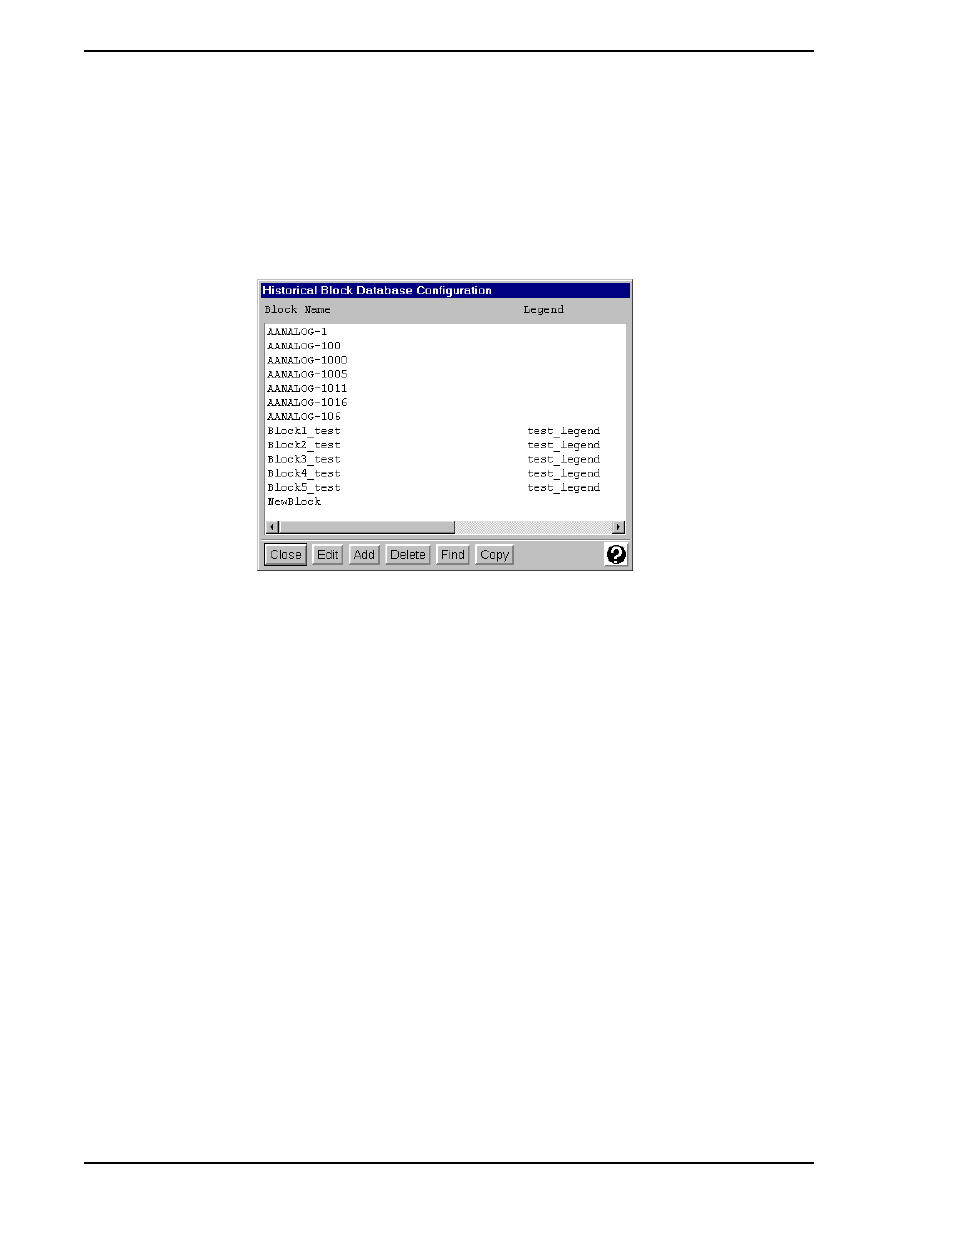
10.2 Historical Block Database Configuration Window
Access Historical Block Configuration by using from the System Window by selecting Menu > Configure >
Historical Blocks. The Historical Block Database Configuration window (
) will be displayed. The
main portion of this display is a list box which contains the Block Name and Legend for all the Historical
Blocks which have been configured in the Historical Block Database. Below this list are buttons which are
used to add, copy, locate, edit and delete blocks in the Historical Block Database.
10.3 Add Historical Block
To create a block in the Historical Block Database, click Add in the Historical Block Database Configuration
window. The Historical Block Configuration window (
) will appear. The window is divided into
two main portions:
•
Collection and storage parameter configuration
•
Controller tag.atom specifications
10.3.1 Historical Block Name
Click in the Block Name entry box to enter the string to be used to identify the block in the Historical Block
Database. This name can be up to 37 characters in length, cannot contain spaces, and must begin with an
alphabetic character. The block name must also be unique on the network.
TC00215A
Figure 10-1. Historical Block Database Configuration Window
✎ Note
A block name must be specified; if no entry is made in the Block
Name entry box, an error message will be displayed.