12 creating text rectangles – Micromod Micro-PWC: 53PW6000 MicroPWC Configuration Guide User Manual
Page 115
Micro-PWC CONFIGURATION GUIDE
Grafx Editor 95
4.2.4.12 Creating Text Rectangles
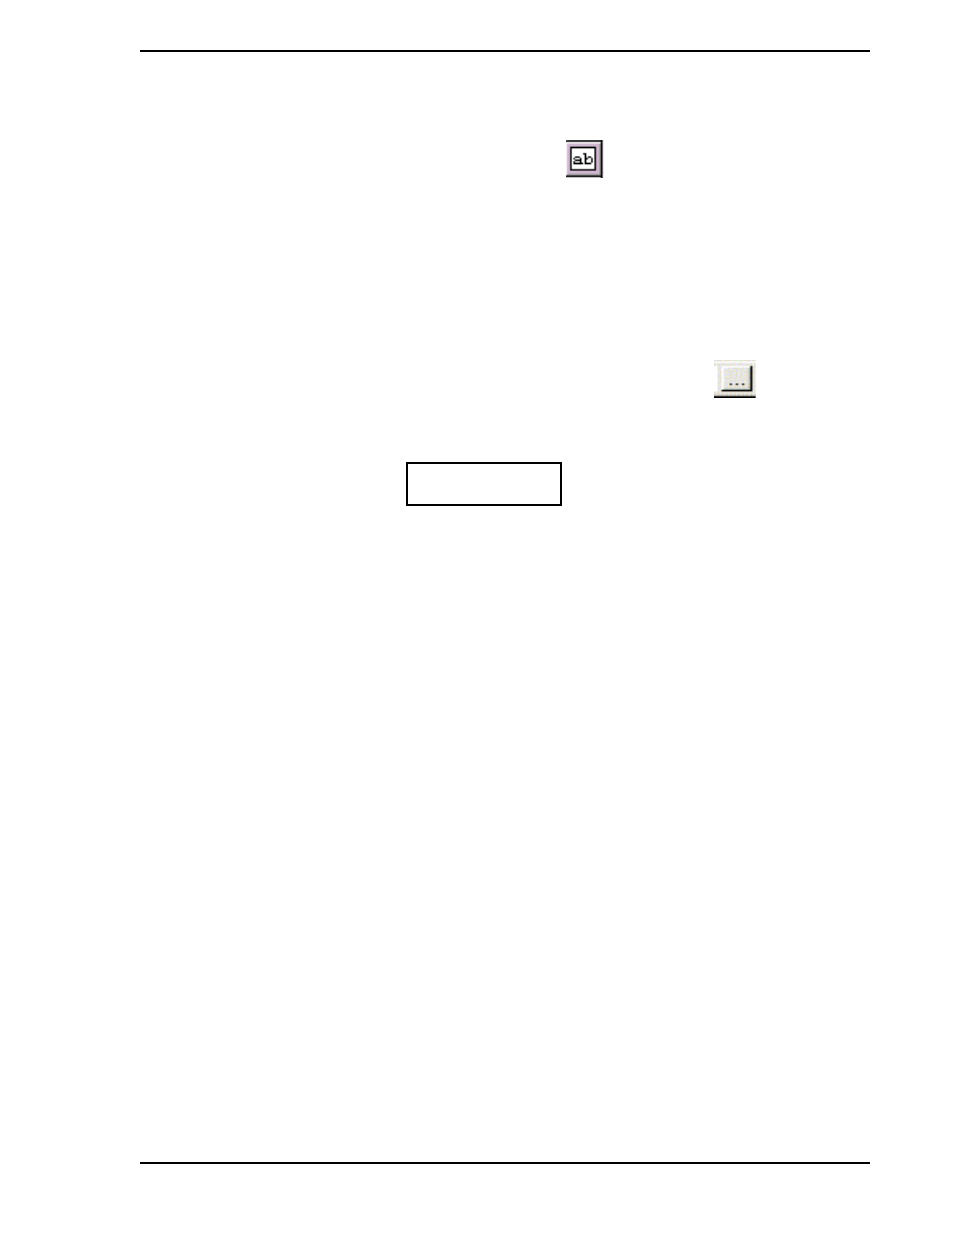
Text Rectangles are created using the Text Rectangle button
. Text Rectangles are filled rectangles
with text written on top of them.
Text Rectangles are created by picking the two opposing corners for the rectangle and entering text fol-
lowed by
R
ETURN
. To change Text attributes, use the TEXT tab in the Settings window or the Properties win-
dow before the corners of the Rectangle are picked, or after text is entered.
EXAMPLE:
1.
Click the Text Rectangle button.
2.
Modify text attributes, if necessary (see
Section 4.2.5.2, The Properties Window
and
3.
Position the pointer where you want the first corner of the rectangle.
4.
Press and hold the left mouse button, then drag the pointer to the location of the second,
opposite corner; release the mouse button to complete the rectangle. A filled rectangle
appears on the screen.
5.
Enter characters. (Text appears positioned within the rectangle.)
6.
Repeat steps
to configure additional text rectangles.
7.
Terminate the procedure by choosing a different toolbar button, or by clicking the right mouse
button.
✎ Note
Text is not prevented from appearing outside of a Text Rectangle.
Text appearing outside the filled Rectangle is not erased when Text
inside the Rectangle is changed. It is important that a large enough
Text Rectangle be used. Use the Properties window to enter
multi-line text, or click on the Expand Entry button
in the
status bar.
TEXT