1 the add/edit auto-attendant screen, Figure 167 auto-attendant > add/edit, Table 103 auto-attendant > add/edit – ZyXEL Communications IP PBX X6004 User Manual
Page 312
Chapter 19 Auto-Attendant
X6004 User’s Guide
312
Each field is described in the following table.
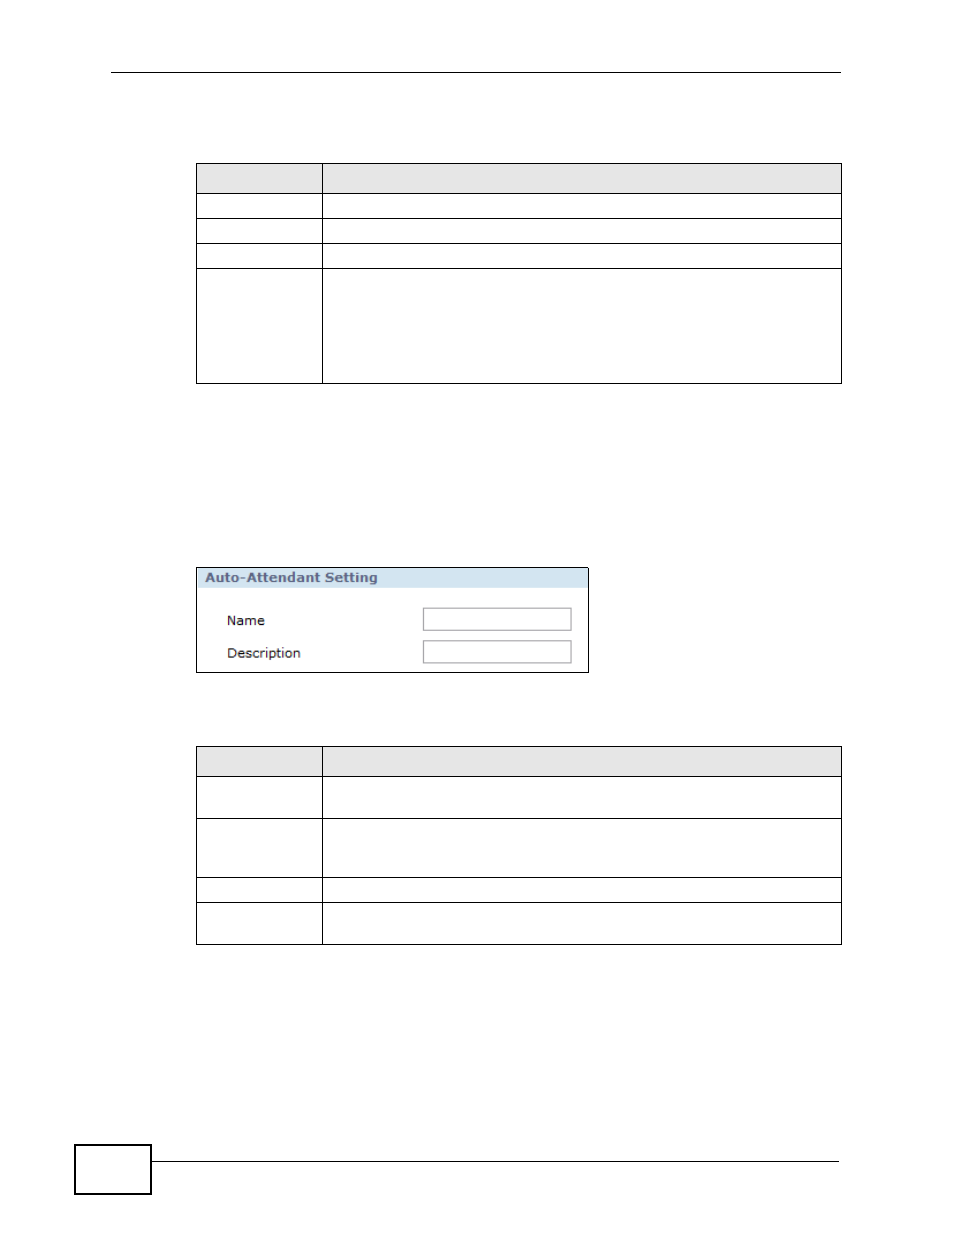
19.3.1 The Add/Edit Auto-Attendant Screen
Use this screen to add or edit an auto-attendant. To access this screen, click the
Add or Edit icon in the Configuration > PBX > Outbound Line Management
> Auto-Attendant > Customized screen to view the screen as shown.
Figure 167 Auto-Attendant > Add/Edit
Each field is described in the following table.
Table 102 Outbound Line Management > Auto-Attendant
LABEL
DESCRIPTION
ID
This field displays the ID assigned to an auto-attendant.
Name
This field displays the name assigned to an auto-attendant.
Description
This field displays the description for an auto-attendant.
Add, Advanced,
Edit, Delete
Click:
• Add - to create a new auto-attendant.
• Advanced - to configure an auto-attendant.
• Edit - to change the description of an auto-attendant.
• Delete - remove an existing auto-attendant.
Table 103 Auto-Attendant > Add/Edit
LABEL
DESCRIPTION
Name
Type a name for this auto-attendant. This field can be 1-20
alphanumeric characters (A-Z, a-z, 0-9) and underscores (_).
Description
Type a description for this auto-attendant. This field can be 0-63
alphanumeric charactes (A-Z, a-z, 0-9), underscores (_), hyphens (-)
and spaces. 0 means this field can be left blank.
Add/Edit
Click Add to save your changes.
Cancel
Click Cancel to go back to the previous screen without saving your
changes.