RISCO Group LightSYS 2 User Manual
Page 65

Installer Programming
Page 65
Step 3: Allocating Wireless Device
Each wireless device must identify itself to the system wireless expander, in a process
termed “enrollment”.
Enrollment can be performed by sending an RF signal from each device, or by typing the
device’s unique serial code into the system. Enrollment can be done locally using the
keypad or remotely using the configuration software.
To quick enroll by RF signal using a keypad
1.
From the Installer menu, select
(Zones, Parameters, By Category, Advanced,
WL Parameters)
2. Using the numeric keys, enter the desired device number and press
3. The wireless device is in learn mode. Send a write message from the your wireless
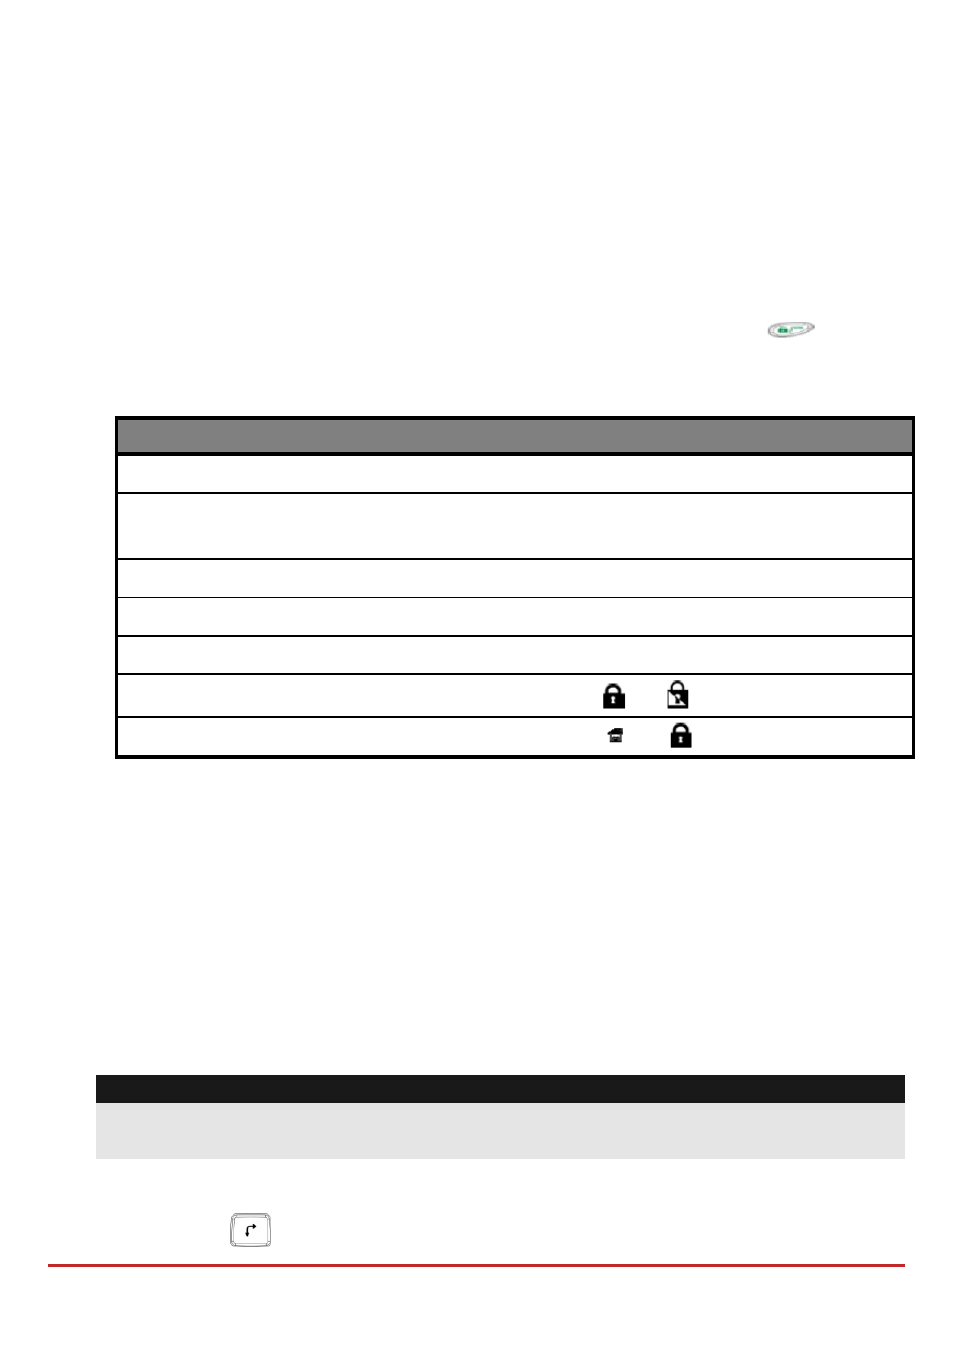
device as shown in the table below:
Wireless Device
Sending Write Message
Detector/Contacts/Siren
Depress the tamper switch for 3 seconds.
Smoke Detector
Insert battery. Write message is sent automatically
within 10 seconds.
Gas, CO detectors
Depress the test button for 3 seconds.
2 Panic ButtonKey fob
Depress both buttons for at least 7 seconds.
4 Button Keyfob
Depress the button for at least 2 seconds
2‐way Keyfob
Depress both buttons (
and
) for at least 7 seconds.
2‐Way Slim Keypad
Depress both buttons (
and
) for at least 7 seconds.
4. Repeat steps 2 to 3 until all required wireless device have been enrolled.
5. Continue entering the wireless device attributes section.
Bus Detectors Programming Workflow
The following section describes the flow of adding bus detectors to the LightSYS2. Bus
detectors can be programmed to the main unit or to a bus zone expander.
Programming bus detectors on the main bus
Step 1: Adding Bus Detector to the Main Unit
Note:
If you have already performed Auto Settings, skip to Step 2 below: Assign Bus Detectors
to a Zone ID and set basic parameters.
1. From the main installer menu press
to access the bus Zone
category.
2. Press
to move the cursor to the ID field.
