About full/background bind – Grass Valley K2 Storage System Instruction Manual v.3.2 Sep.24 2007 User Manual
Page 748
748
K2 Storage System Instruction Manual
September 7, 2007
Chapter 18 Administering and maintaining the K2 Storage System
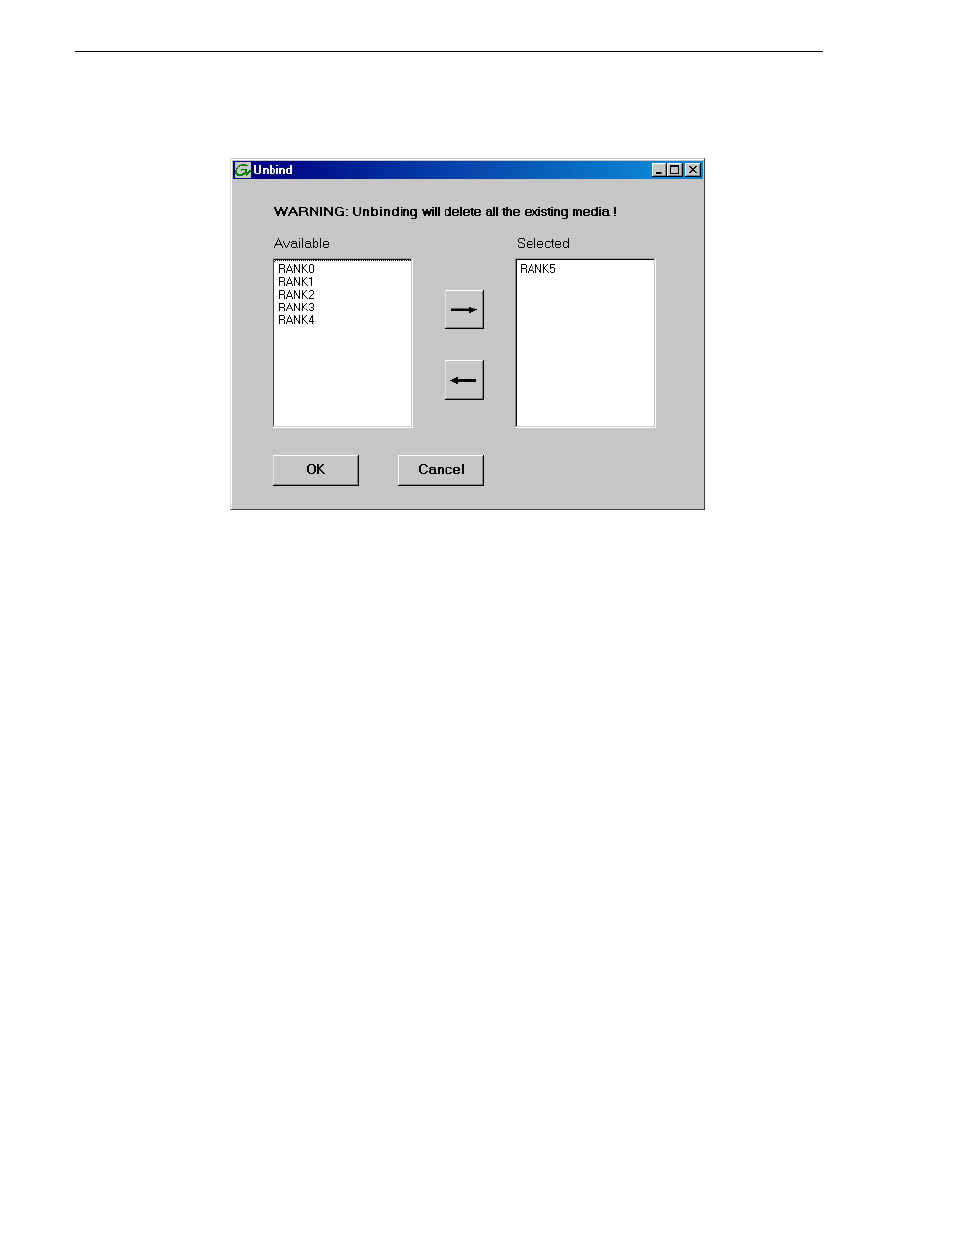
3. Verify that the RANK or RANKs you intend to unbind is in the Selected box. If
not, select RANKs and click the arrow buttons until the RANKs you intend to bind
are in the Selected box and the RANKs you do not intend to unbind are in the
Available box.
NOTE: As an aid in identifying a disk module’s physical location, select it in the
Selected Disks list, then click
Identify Disks.
This causes the disk drive LED to flash.
4. Click
OK
to close the Unbind dialog box and begin the unbinding process. The
Progress Report dialog box opens, showing the status of the unbinding process.
5. When progress reports 100% complete, the RANK is unbound.
6. Restart the K2 Media Server.
About full/background bind
When binding RAID disks, you can now choose to do either a full bind or a
background bind. Background bind is recommended, which is a change from previous
instructions, in which full bind only was allowed. These binding processes are
described as follows:
• Full bind — During this process, the K2 Storage System must be in the offline
mode. While the full bind process is underway, disks are not available for data
access of any kind. On a large storage system, the full bind process can take many
hours, so you should plan ahead for this process. For example, binding 750 Gig
SATA drives can take up to 3 days.
• Background bind — During this process, the K2 Storage System can be in a
restricted online mode. Disks are available for data access, but the overall
performance of the RAID storage is significantly reduced. While the background
bind process is underway, you can initiate media access on your storage system for
limited testing of operations, such as record, play, and transfer, but do not run