Setting up the nh1-10ge k2 media server – Grass Valley K2 Storage System Instruction Manual v.3.2 Sep.24 2007 User Manual
Page 509

September 7, 2007
K2 Storage System Instruction Manual
509
Setting up the NH1-10GE K2 Media Server
you received with the server’s product bundle.
• Provide power to the server.
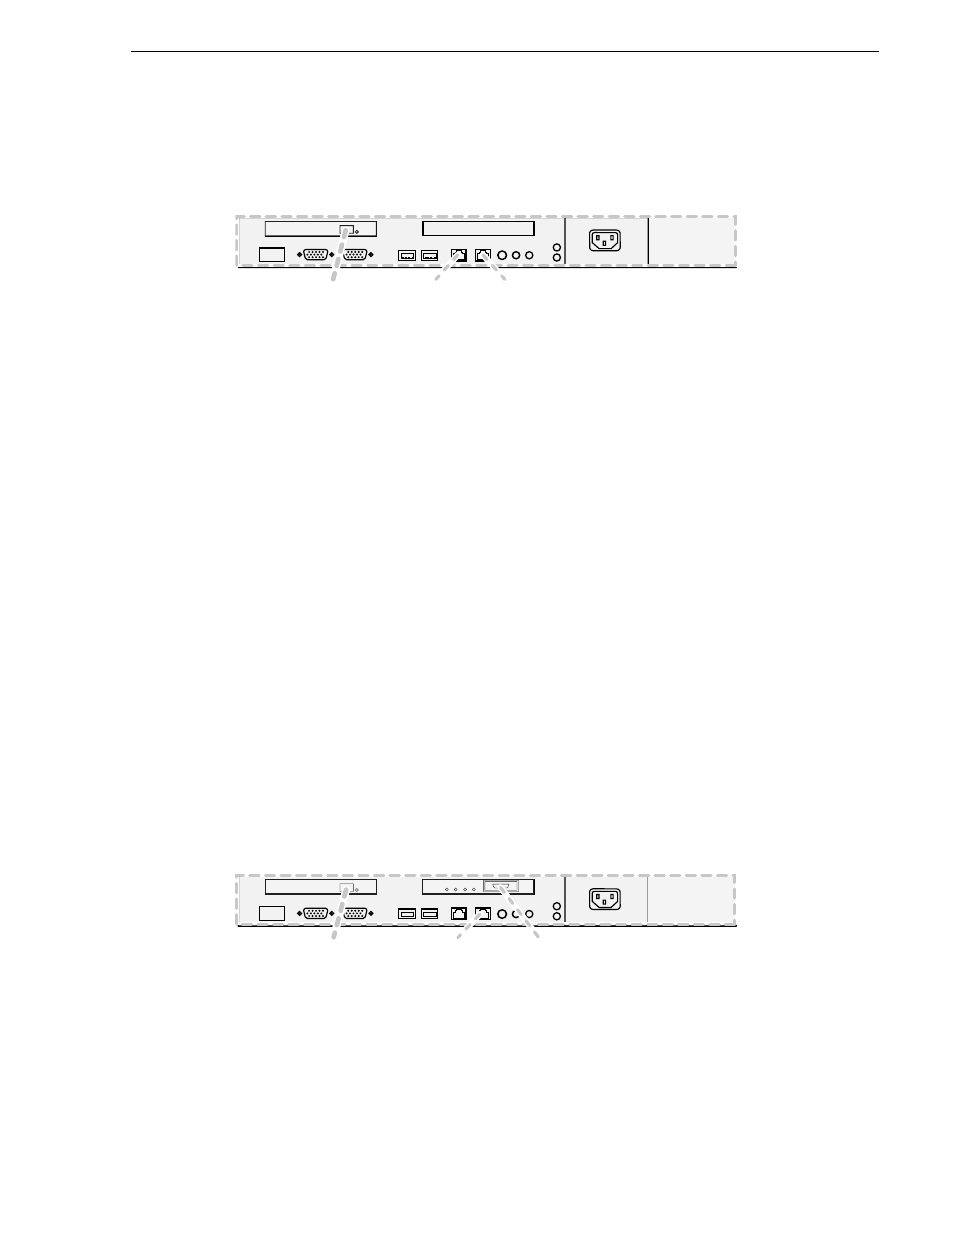
• Connect cables as follows:
Connect the motherboard GigE port 1 (control) and GigE port 2 (FTP) to control
ports on the GigE switch.
Connect the Fibre Channel port to the RAID storage device.
• Assign a control network IP address to GigE port 1. Use standard Windows
procedures. Refer to
“Networking tips” on page 106
.
• Change the hostname. Use standard Windows procedures.
• Configure SNMP properties so the trap destination points to the NetCentral server
PC. Use standard Windows procedures. If you are not using the SNMP community
name “public”, configure the community name and set permissions to RW. Also
make sure that the Authentication trap is enabled.
“K2 Media Server descriptions” on page 653
.
Setting up the NH1-10GE K2 Media Server
If your system has one or more NH1-10GE K2 Media Servers, prepare the servers
using this section.
The Dell PowerEdge 1950 is qualified as the platform for the NH1-10GE K2 Media
Server.
Do the following to prepare a NH1-10GE K2 Media Server:
• Install the server in its permanent location. Refer to the rack mount instructions that
you received with the server’s product bundle.
• Provide power to the server.
• Connect cables as follows:
Connect the motherboard GigE port 1 (control) to a control port on the GigE
switch.
Connect the 10 Gig FTP port to the 10 Gig port on the rear of the GigE switch.
Connect the Fibre Channel port to the RAID storage device.
• Assign a control network IP address to GigE port 1. Use standard Windows
1
2
G
b
2
G
b
1
Fi
b
re Ch
a
nnel
to RAID controller
To control port
on GigE
s
witch
FTP: To control port
on GigE
s
witch
1
2
G
b
2
G
b
1
FTP: To 10 Gig port
on GigE
s
witch
Fi
b
re Ch
a
nnel
to RAID controller
To control port
on GigE
s
witch
