Installing 8b modules warning, Caution – Measurement Computing DBK Part 2 User Manual
Page 84
DBK48, pg. 4
967792
8B Isolated Signal Conditioning Module
Installing 8B Modules
WARNING
Electric shock hazard! Turn off power to the DBK48 and all connected modules and
devices before inserting or removing modules. Failure to do so could lead to injury or
death due to electric shock.
CAUTION
Handle the 8B module carefully while inserting pins into the circuit board.
Do not over-tighten the mounting screw.
CAUTION
The discharge of static electricity can damage some electronic components.
Semiconductor devices are especially susceptible to ESD damage. You should always
handle components carefully, and you should never touch connector pins or circuit
components unless you are following ESD guidelines in an appropriate ESD
controlled area. Such guidelines include the use of properly grounded mats and wrist
straps, ESD bags and cartons, and related procedures.
If the DBK48 is not connected to a Daq device via the P1 connector, then remove the
Rnets from S01 and S02. These resistor networks connect each 8B module’s output to
the multiplexer for P1.
Up to sixteen 8B modules can be installed onto the DBK48 circuit board. The preceding figure indicates
module locations.
To install 8B modules:
1.
Turn off power to the DBK48 and all
connected modules and devices
.
2.
Disconnect power, all equipment, and signal
lines from the DBK48 prior to installing 8B
modules.
Be aware that isolated
measurements can present lethal voltages!
3. Remove the DBK48 top cover plate and set aside.
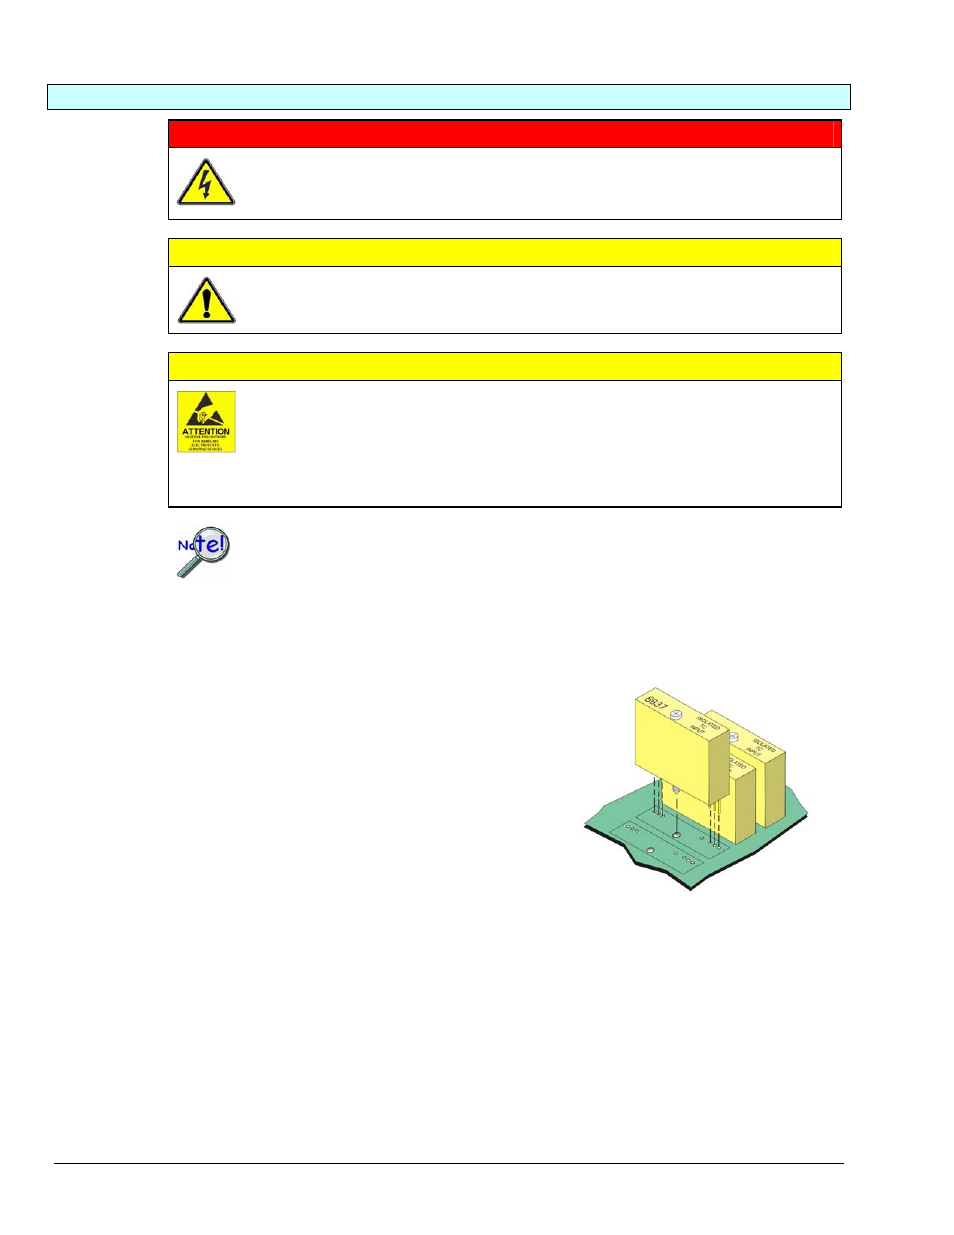
4. Align the 8B module’s retaining screw and pins
with the holes in the circuit board (see figure).
5. Gently press the module into place.
6. Tighten the retaining screw snug, but DO NOT OVERTIGHTEN.
7. Repeat steps 3, 4, and 5 for each additional module.
8. Return and secure the cover plate to the unit.