Apple Keynote '09 User Manual
Page 101
Chapter 5
Working with Images, Shapes, and Other Objects
101
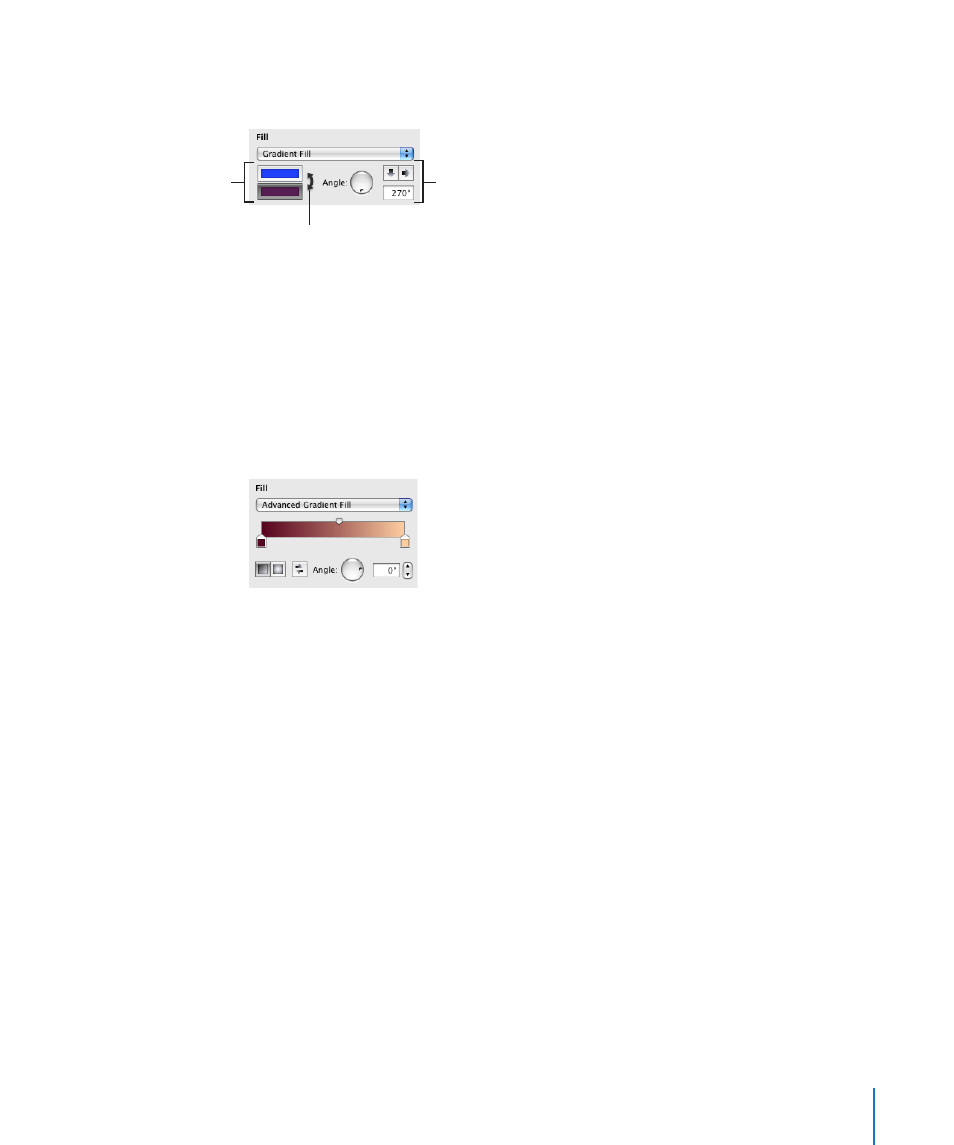
To fill an object with a linear, two-color gradient:
1
In the Graphic inspector, choose Gradient Fill from the Fill pop-up menu.
Click the double-headed
arrow to invert the gradient.
Flip the gradient orientation or
set its direction by using the
arrow buttons or the Angle
wheel, or by typing a value.
Click each color well
to select colors.
2
Click each color well and choose the colors you want to blend together in the Colors
window.
3
To set a direction for the gradient, use the Angle wheel or field.
4
To flip it horizontally or vertically, click the Angle arrow buttons.
5
To invert the gradient, click the double-headed arrow next to the color wells.
To fill an object with a multi-color gradient:
1
In the Graphic inspector, choose Advanced Gradient Fill from the Fill pop-up menu.
2
To add another color to the gradient, hold the pointer at the point just below the
gradient strip in the inspector where you want the new color to begin. When a plus
sign (+) appears, click to add a new color control. Add a new color control for each
color you want to appear in your gradient.
3
To change a color in the gradient, click a color control (just below the gradient strip),
and then select a color from the Colors window. Do this for each of the colors you
want to appear in your gradient.
4
If you want to remove a color control, drag it downward and away from the inspector.
It vanishes.
You can’t have fewer than two color controls below the gradient strip.
5
To change how sharply or subtly the colors blend along the gradient, drag the blend
point controls (on top of the gradient strip in the inspector).
6
To change the direction of a linear gradient, use the Angle wheel or field.
7
To invert the gradient, click the double-headed arrow next to the color wells.
To create a radial gradient:
1
Set up the colors of your gradient, as described in the directions for creating a
multicolor gradient, above.