Managing switch point settings – Grass Valley UniConfi NVISION Series v.1.3 User Manual
Page 89
UniConfig Configuration Application • User’s Guide
77
9. Managing Switch Point Settings
Setting Up Switch Points
How to Select Switch Point Settings for the NV7512 Router
1 Launch UniConfig. (See
2 Select a control card. (See
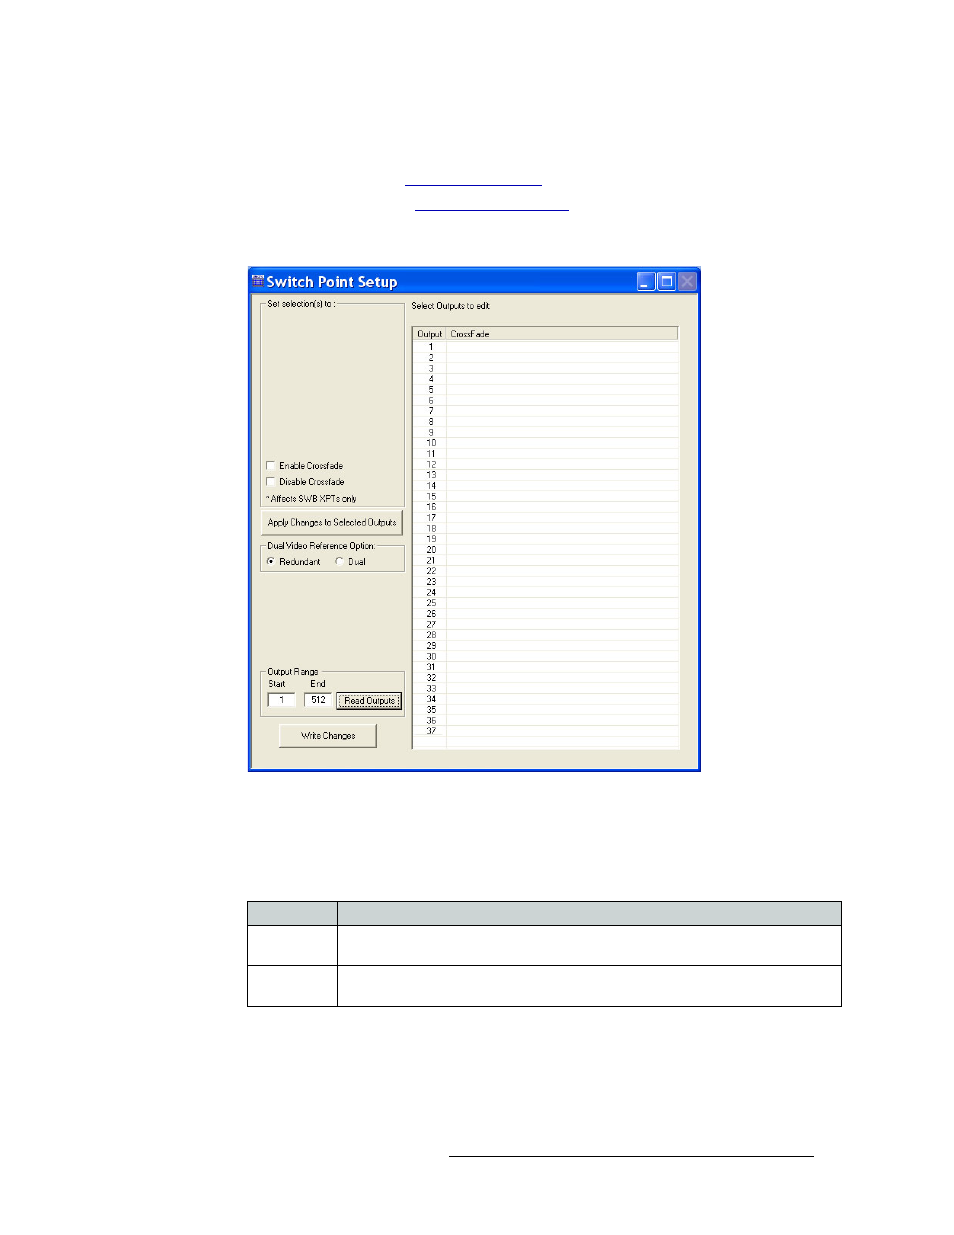
3 From the menu bar, select ‘Window > Switch Point Setup’. The ‘Switch Point Setup’ window
appears displaying current output settings for the router being configured:
Figure 9-3. Switch Point Setup Window
4 In the ‘Output Range’ section, enter a ‘Start’ and ‘End’ output signal number in the fields pro-
vided and click
Read Outputs
. Outputs corresponding to the range entered display in the ‘Select
Outputs to edit’ pane with default settings.
The following lists each column and the information it presents:
5 In the ‘Select Outputs to edit’ pane, select the outputs being updated:
To select specific outputs, use your keyboard and mouse.
Or
To select all outputs, from the menu bar select ‘Edit > Select All’.
Column
Description
Output
The number assigned to the signal for internal routing reference purposes. The number
usually refers to the physical port through which the signal is distributed.
Crossfade
Indicates if the crossfade functionality is applied to the signal. Crossfade requires the
installation of the DSP sub-module. See step 5.