Automatic refresh after ‘take, How to set automatic refresh after a take, Automatically increment/decrement after ‘take – Grass Valley UniConfi NVISION Series v.1.3 User Manual
Page 100: Managing inputs and outputs
88
Rev 1.3 • 14 Dec 09
10. Managing Inputs and Outputs
Setting ‘Connection’ Window Preferences
Automatic Refresh After ‘Take’
Once set, clicking the
Read
button on the “Connections’ window automatically refreshes the ‘Con-
nection’ window with the results of the ‘take’.
How to Set Automatic Refresh after a Take
1 Launch UniConfig. (See
2 From the menu bar, select ‘Window > Connections’. The ‘Connections’ window appears with
blank fields. (See Figure 10-6 on page 93.) The ‘Connections’ window must be active to acti-
vate the necessary menu bar options.
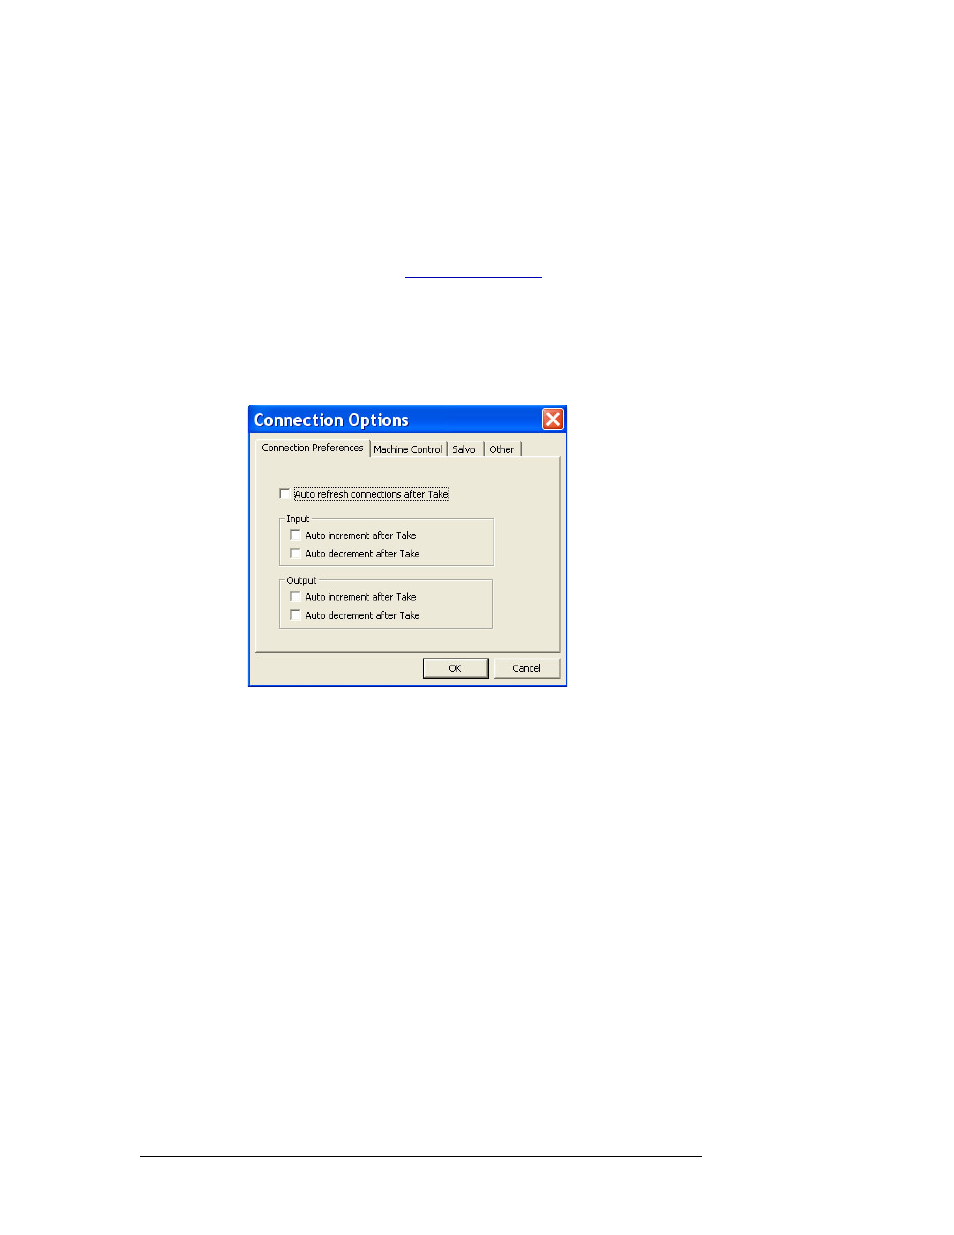
3 Again from the menu bar, select ‘Tools > Options’. The ‘Connections Options’ dialog box
appears:
Figure 10-1. Connections Options Dialog Box with Connection Preference Tab in Front
4 Select the ‘Connections Preferences’ tab to bring it to the front.
5 Check the ‘Auto refresh connections after Takes’ check box to automatic read function each
time a ‘take’ is performed in the ‘Connections’ window.
6 Click
OK
to save changes and close the dialog box.
Or
Click
Cancel
to close the dialog box without saving any changes.
Automatically Increment/Decrement after ‘Take’
Once set, clicking the
Read
button on the “Connections’ window automatically increments or dec-
rements the input and/or output listed in the ‘Single Take’ fields. Increment means the number
advances by one; decrement means the number decreases by one. For example, if increment is
selected and the current input in the ‘Single Take’ section is 15, the number listed in the ‘Input’
field increases by one (16, 17, 18...) each time the
Read
button is clicked. If decrement is selected,
the number decreases by one (18, 17, 16...)