Setting up communication – Grass Valley UniConfi NVISION Series v.1.3 User Manual
Page 41
UniConfig Configuration Application • User’s Guide
29
6. Setting Up Communication
Entering Initial Serial and Ethernet Settings
c In the ‘Router Ethernet Settings’ section, enter an ‘IP Address’ and ‘Subnet Mask’ in the
fields provided as determined by your network. Make sure that the unit (e.g., PC) running
UniConfig is configured to operate on the same subnet as the control card(s).
For details on what IP addresses to use and additional network information, see
d Click
Write All
to write changes to the control card, overwriting any previous settings.
10 Again from the menu bar, select ‘Communication > Ethernet’. This informs UniConfig that
communication with the router is through an Ethernet port. The ‘Control Card’ pane appears on
the left-hand side of the UniConfig screen. Be sure all Ethernet cables are connected to the
router and UniConfig PC.
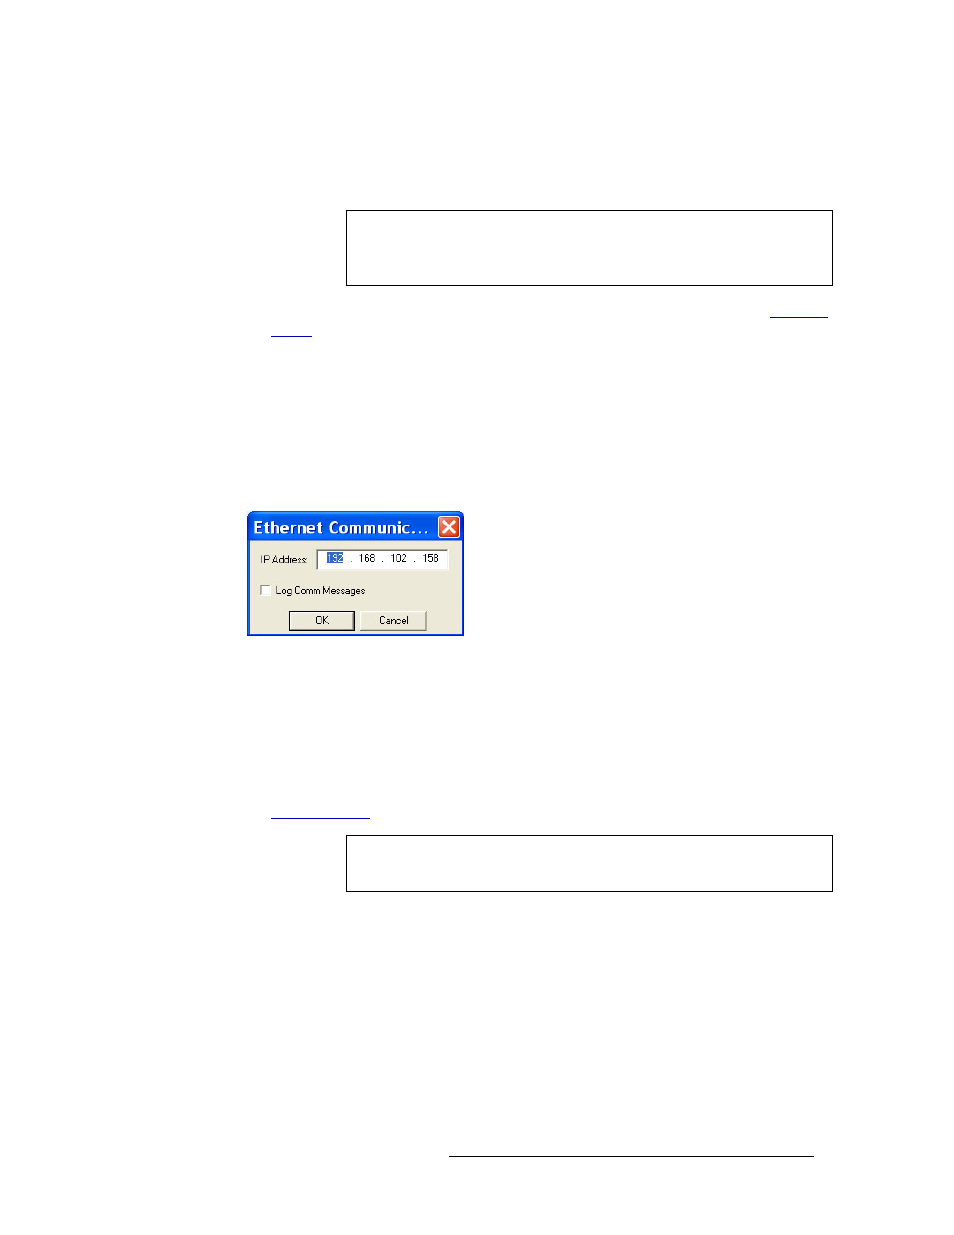
11 Again from the menu bar, select ‘Communication > Setup’. The ‘Ethernet Communication’ dia-
log box appears:
Figure 6-5. Ethernet Communication Dialog Box
The ‘Ethernet Configuration’ window sets Ethernet communication parameters (IP address) for
UniConfig.
12 On the ‘Ethernet Communication’ dialog box, select settings as follows:
a Enter an ‘IP Address’ for the router control card in the field provided. Make sure that the
unit (e.g., PC) running UniConfig is configured to operate on the same subnet as the control
card(s). For details on what IP addresses to you and additional network information, see
b Click
OK
to save changes and close the dialog box.
Or
c Click
Cancel
to close the dialog box without saving changes.
13 If a secondary (optional for redundancy) control card is installed, make a temporary connection
to the secondary control card and repeat steps 2 though 12.
Note
Be sure to change Ethernet settings for both the router and UniConfig. Uni-
Config and the router must be on the same subnet to successfully commu-
nicate.
Note
The ‘Log Comm Messages’ check box is used for creating a log when per-
forming troubleshooting tasks. Do not check the check box.