Updating individual takes within a salvo, How to create a salvo using individual takes, Opening and uploading a salvo – Grass Valley UniConfi NVISION Series v.1.3 User Manual
Page 160: How to upload a salvo, Working with salvos
148
Rev 1.3 • 14 Dec 09
17. Working With Salvos
Updating Individual Takes Within a Salvo
Updating Individual Takes Within a Salvo
After individual takes are added to a salvo, the takes can be updated to meet changing needs.
How to Create a Salvo Using Individual Takes
1 Launch UniConfig. (See
2 From the menu bar, select ‘Window > Connections’. The ‘Connections’ window appears with
the ‘Salvo’ section displaying, as shown in Figure 17-3. The ‘Connections’ window must be
open to activate the needed menu options.
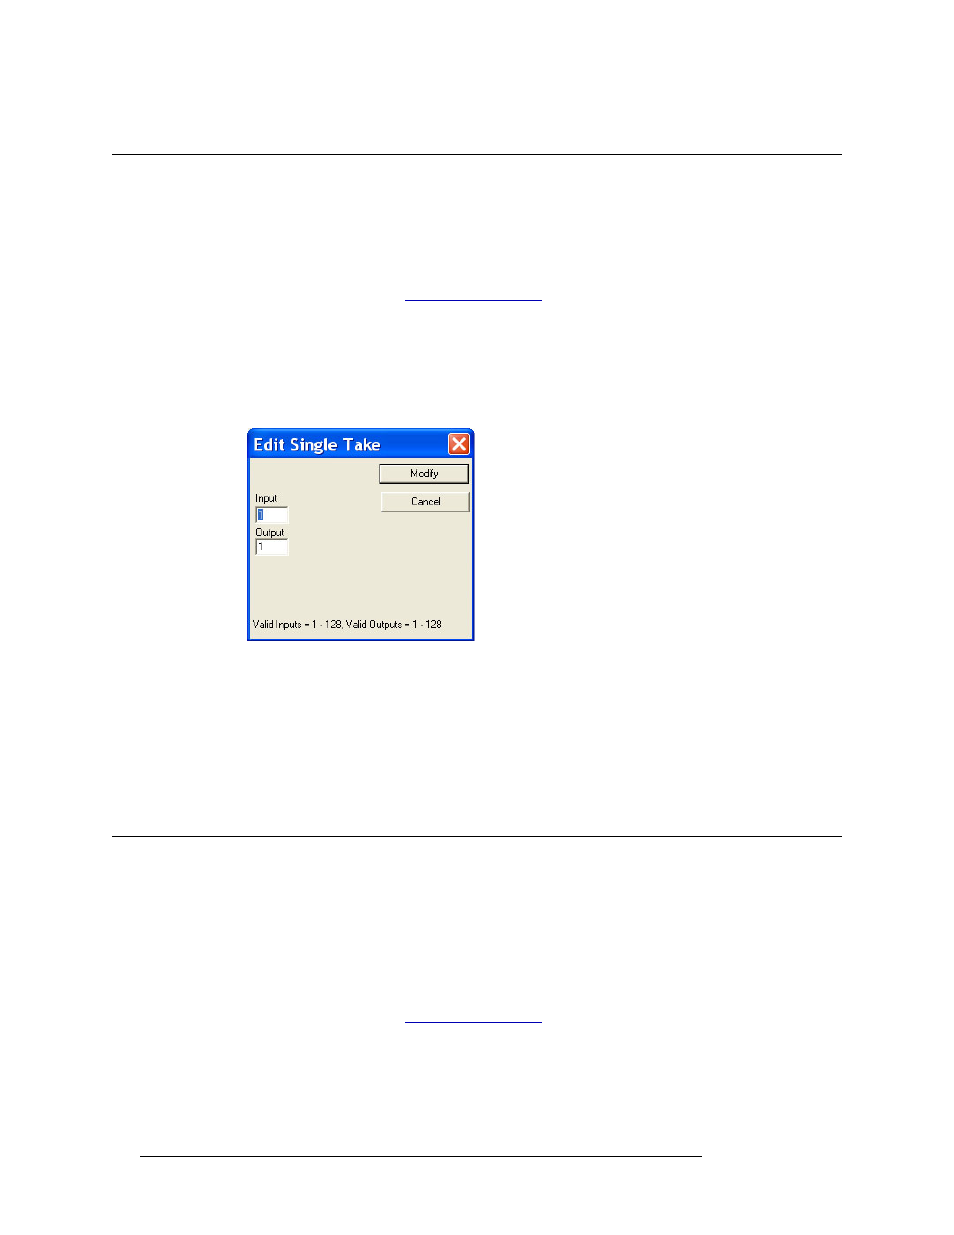
3 From the menu bar, select ‘Actions > Edit/Change Salvo > Modify Single Take’. The ‘Edit Sin-
gle Take’ dialog box appears:
Figure 17-5. Edit Single Take Dialog Box for Salvos
4 Enter the ‘Input’ number and the ‘Output’ number of the single take being updated and click
Modify
.
5 Repeat step 4 until all individual takes you want updated have been entered. The entered takes
display in the ‘Salvo’ section on the ‘Connections’ window. (See Figure 17-3.)
6 When all takes have been added, click
Close
to close the dialog box.
Opening and Uploading a Salvo
Salvos can be opened and uploaded at any time. Be sure that the salvo you are uploading contains
the current configuration you want. Uploading a salvo overwrites any existing switching configura-
tion information.
How to Upload a Salvo
1 Launch UniConfig. (See
2 From the menu bar, select ‘Window > Connections’. The ‘Connections’ window appears dis-
playing current input and output settings, as shown in Figure 17-3. The ‘Connections’ window
must be open to activate the needed menu option.
3 From the menu bar, select ‘File > Open Existing Salvo’. The ‘Open’ window appears.