Allied Telesis AT-S62 User Manual
Page 80
Chapter 7: Static Port Trunks
Section I: Basic Operations
80
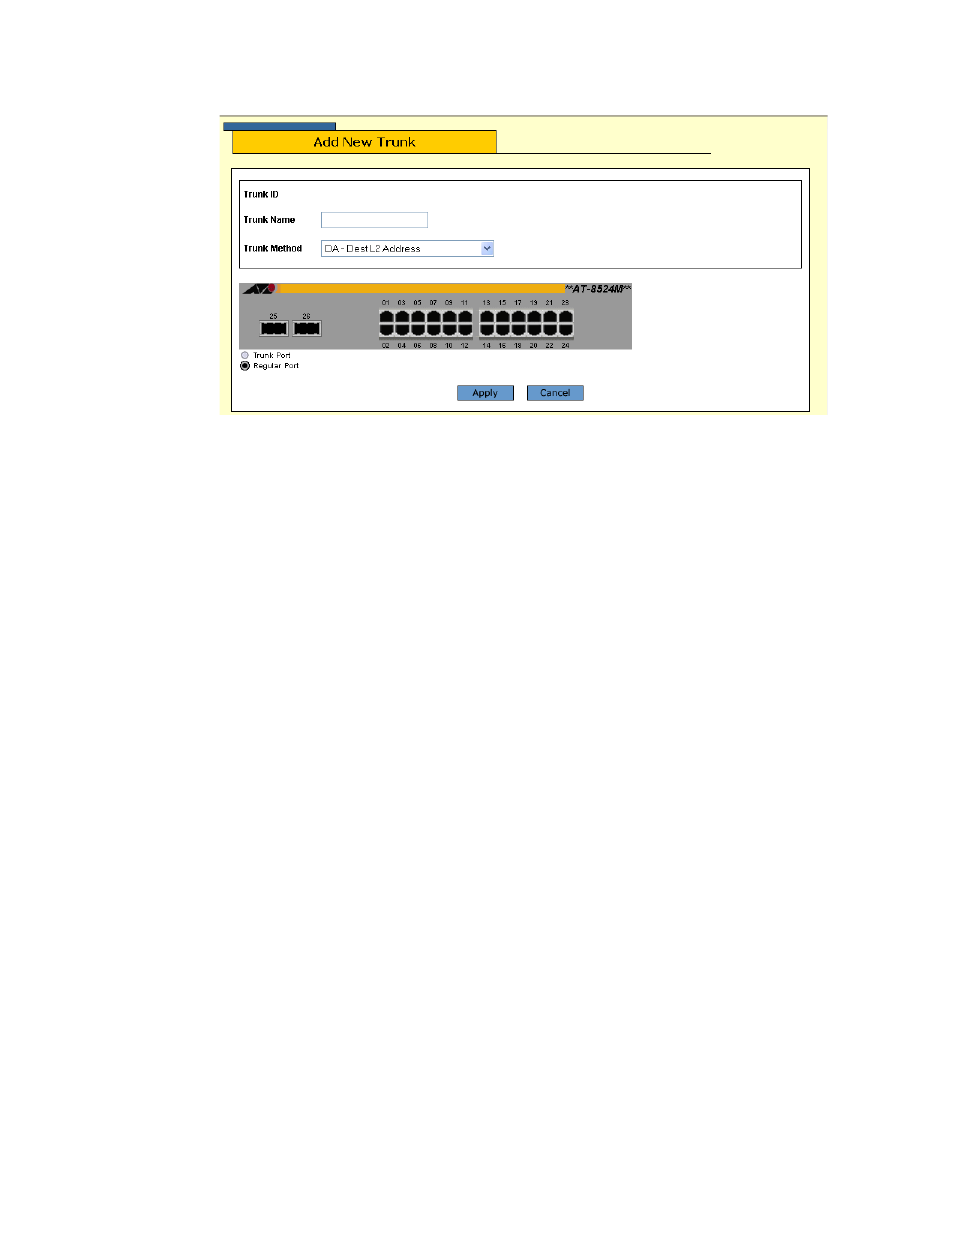
The Add New Trunk page is shown in Figure 22.
Figure 22 Add New Trunk Page
5. In the Trunk Name field, enter a name for the port trunk. The name
can be up to sixteen alphanumeric characters. No spaces or special
characters, such as asterisks and exclamation points, are allowed.
Each trunk must be given a unique name.
6. From the Trunk Method list, select a distribution method. Options are:
❑ SA - Source MAC address (Layer 2)
❑ DA - Destination MAC address (Layer 2)
❑ SA/DA - Source MAC address /destination MAC address (Layer 2)
❑ SI - Source IP address (Layer 3)
❑ DI - Destination IP address (Layer 3)
❑ SI/DI - Source IP address /destination IP address (Layer 3)
7. Click the ports that will make up the port trunk. A selected port
changes to white. An unselected port is black. A port trunk can
contain up to eight ports.
8. Click Apply. The new port trunk is now active on the switch.
9. To permanently save the change, click the Save Config menu option.
10. Configure the ports on the remote switch for port trunking.
11. Connect the cables to the ports of the trunk on the switch.
The port trunk is ready for network operations.