Allied Telesis AT-S62 User Manual
Page 172
Chapter 17: Denial of Service Defense
Section II: Advanced Operations
172
b. In the DoS Subnet Mask field, enter the LAN’s mask. A binary “1”
indicates the switch should filter on the corresponding bit of the
IP address, while a “0” indicates that it should not. As an example,
assume that the devices connected to a switch are using the IP
address range 149.11.11.1 to 149.11.11.50. The mask would be
0.0.0.63.
c. If you are activating the Land defense, in the DoS Uplink Port field
enter the number of the port connected to the device (e.g., DSL
router) that leads outside your network. You can specify only one
uplink port. The default is the highest numbered existing port in
the switch. For example, the default uplink port for an AT-8524M
switch with no installed expansion modules would be Port 24.
5. Click the ports in the switch image where you want to enable or
disable a defense mechanism. A selected port turns white. To
deselect a port, click it again. You can select more than one port at a
time.
6. Using the DoS Type list, select the Denial of Service defense you want
to either enable or disable on the ports. Your choices are:
❑ Syn Flood attack
❑ Smurf attack
❑ Land attack
❑ Tear drop attack
❑ Ping of death attack
❑ IP Options
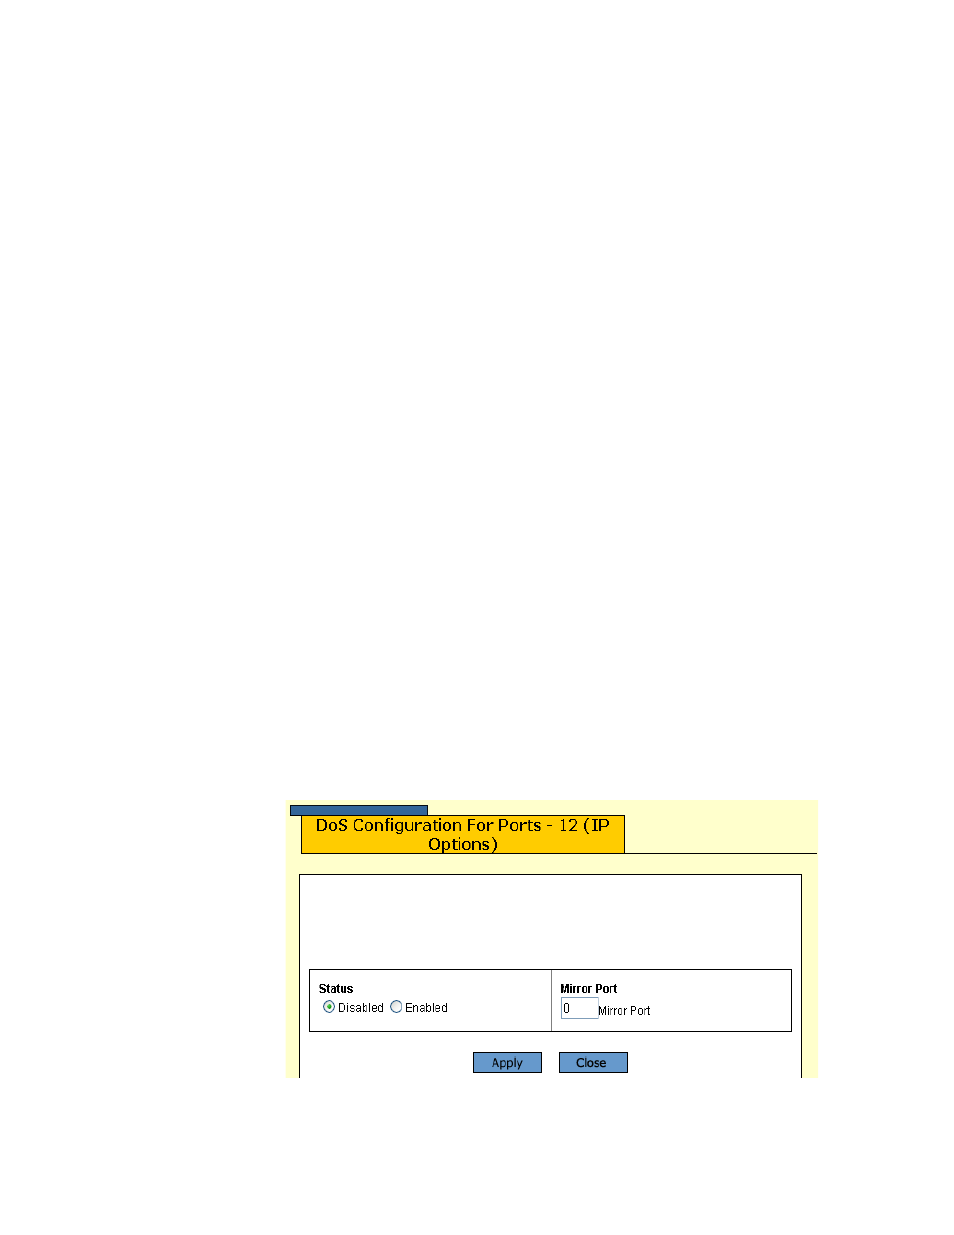
7. Click Modify. To configure all the ports, click Modify All.
The DoS Configuration page opens, as shown in Figure 54.
Figure 54 DoS Configuration Page