Changing format in internet fax, Mode -63, Changing colour mode -63 – Sharp MX-6070N User Manual
Page 592: Changing format in internet fax mode, Changing colour mode, Tap the [detail] key to switch to the normal mode, Tap the [colour mode] key, Scanner/internet fax ►transmitting an image

5-63
SCANNER/INTERNET FAX►TRANSMITTING AN IMAGE
CHANGING FORMAT IN INTERNET FAX MODE
The format for Internet Fax mode is set in the system settings.
►
Internet Fax Settings (page 7-103)
CHANGING COLOUR MODE
Change the colour mode used to scan the original.
In Easy mode
Tap the [B/W Start] or [Colour Start] key when scanning the original.
In Normal mode
To set the settings used when each key is tapped, select "Settings (Web version)" - [System Settings]→ [Image Send
Settings] → [Scan Settings] → [Initial Status Settings] → [Easy Scan Settings].
Mode
Scanning method
Auto
The machine detects whether the original is colour or black and white and automatically selects full colour or
black and white (Mono2 or Greyscale) scanning.
Full Colour
The original is scanned in full colour. This mode is best for full colour originals such as catalogues.
Mono2
Colours in the original are scanned as black or white. This mode is best for text-only originals.
Greyscale
The colours in the original are scanned in black and white as shades of grey (greyscale).
This function cannot be used in Internet fax mode.
1
Tap the [Detail] key to switch to the normal mode.
► Changing mode from each mode (page 5-10)
2
Tap the [Colour Mode] key.
3
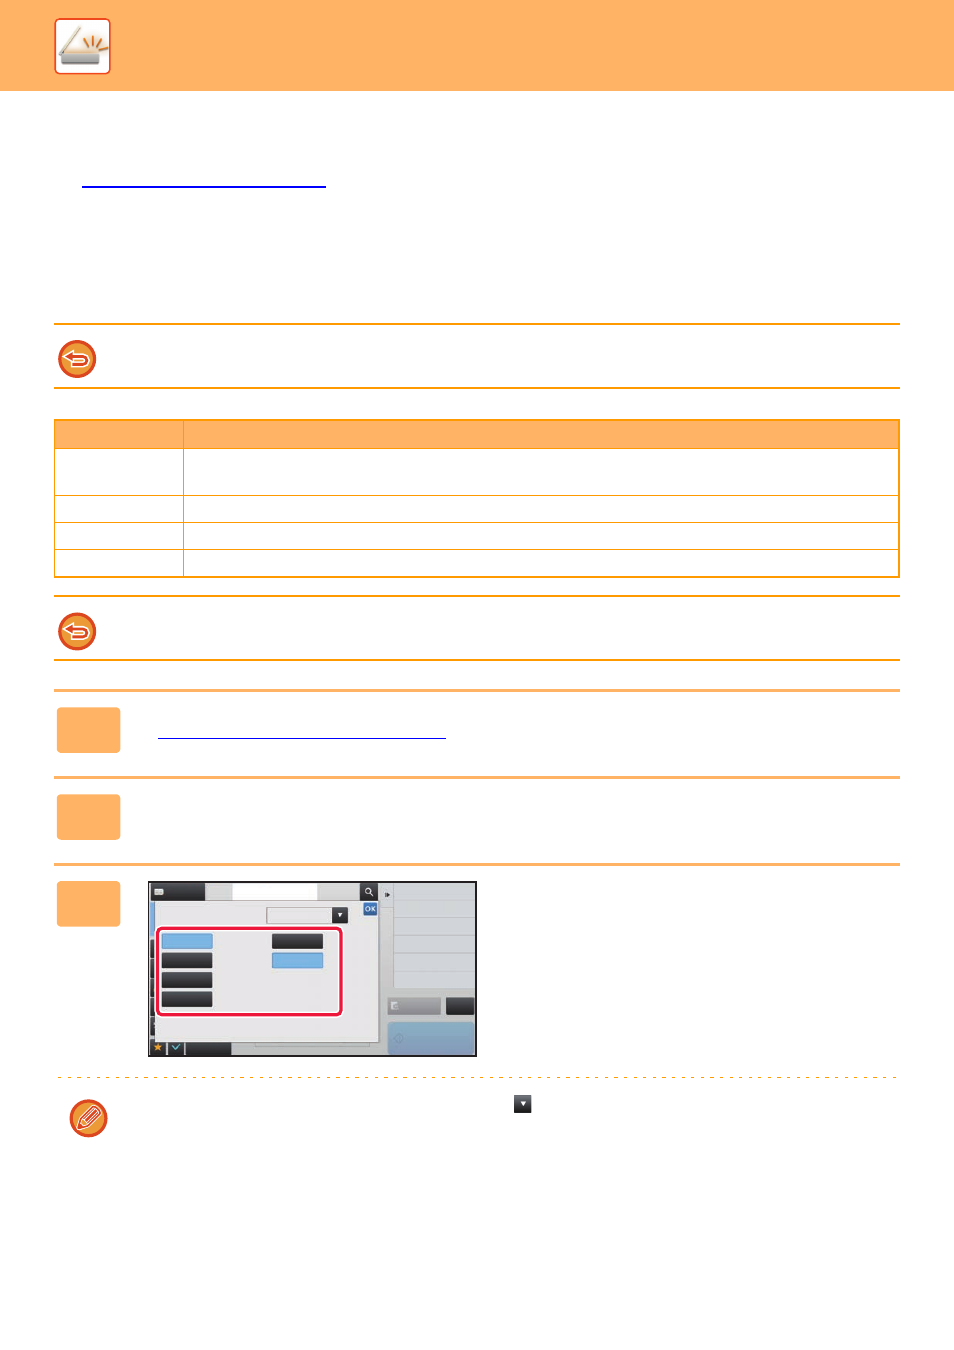
Tap the key of the desired colour mode
for the original.
If there is a mix of destinations in different send modes, tap
to select a send mode (E-mail, DeskTop/FTP or Data
Entry) to set the colour mode for each mode.
Address
Address Book
Touch to input Address
Colour Mode
Select B/W Mode
at colour Auto Select
Change Sending Resolution
Resolution
Others
Preview
Start
Erase Shadow Around
Erase
Skip Blank Page in Original
Blank Page Skip
Select File Format
File Format
Auto
Full Colour
Greyscale
Mono2
Greyscale
Mono2
CA
