Printing received data -59, Printing a pin code-protected fax, Hold setting for received data print) -59 – Sharp MX-6070N User Manual
Page 462: Printing received data, Important points when using this function, Facsimile► fax reception

4-59
PRINTING RECEIVED DATA
PRINTING A PIN CODE-PROTECTED FAX (Hold setting
for received data print)
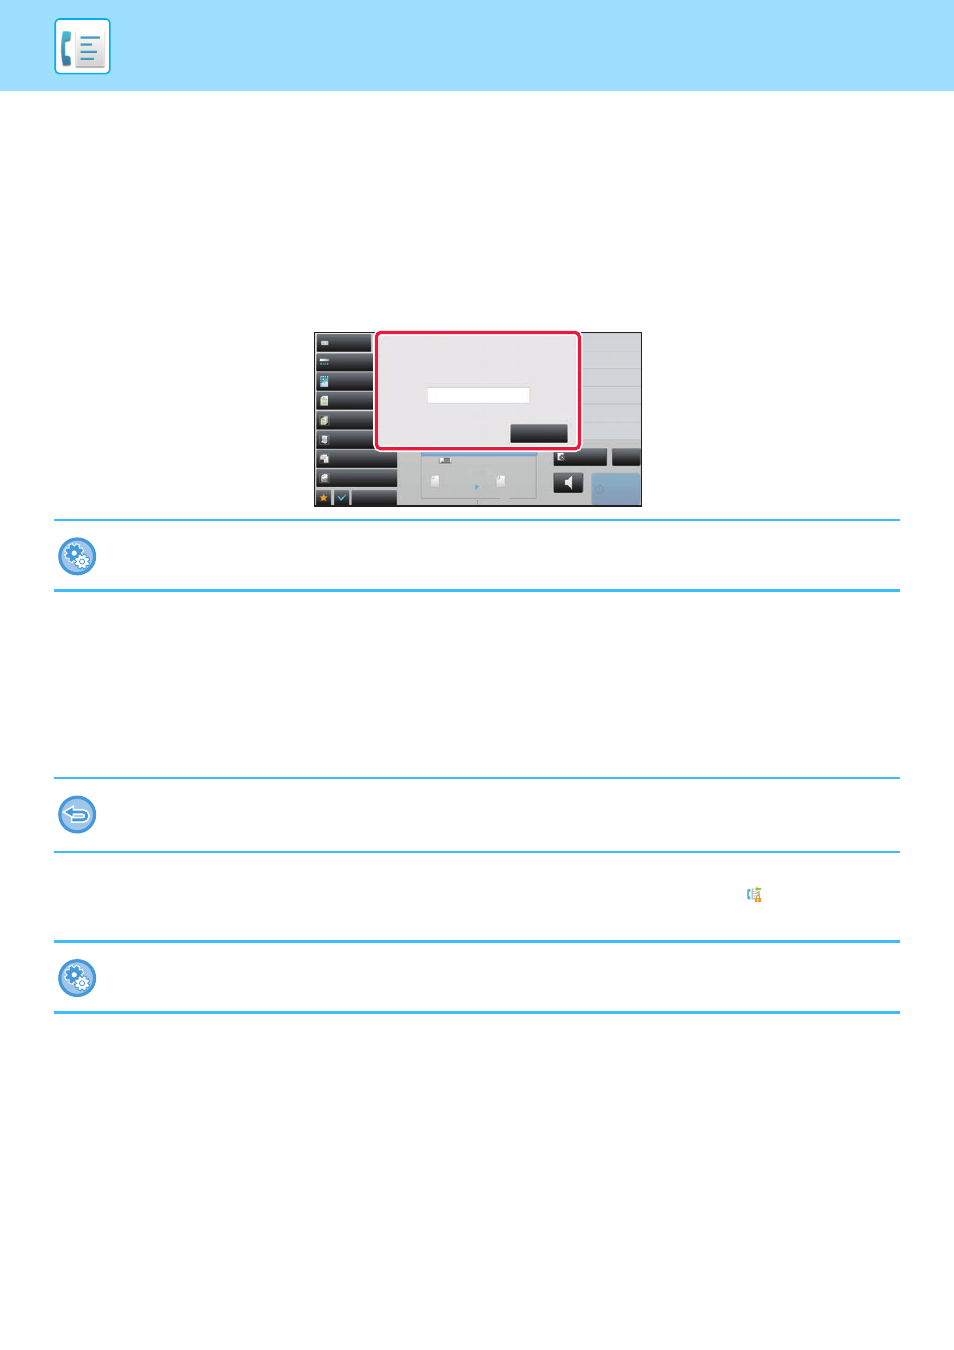
Enable this setting to have faxes received and stored in memory without being printed. To print the faxes, a PIN Code
must be entered. When this function is used, a PIN Code entry screen appears in the touch panel when a fax is
received.
Important points when using this function
If the received fax data is not printed or deleted, the fax memory will run low, and the machine will not be able to receive
any faxes. When using this function, you should print the received data as soon as possible without leaving it in the fax
memory.
You can view the remaining fax memory capacity on the fax mode base screen.
When little space remains in the fax memory, "Manual receive is disabled. Due to out of memory." appears on the touch
panel.
When the previously programmed 4-digit PIN Code is entered using the numeric keys, printing begins.
When the [Cancel] key is tapped, the PIN Code entry screen closes. It will reappear when you tap
or change modes.
The data in memory key will blink in the touch panel.
To enable the hold setting for received data print:
In "Settings (administrator)", select [System Settings] → [Image Send Settings] → [Common Settings] → [Condition Settings]
→ [Hold Setting for Received Data Print].
• The received faxes will be stored in memory regardless of whether they are received automatically or manually.
• When the received data is transferred to other machine, data stored in memory is also transferred. At that time, the same
PIN Code entry screen will appear as for printing. Forwarding will not take place unless the PIN Code is entered.
To display the received data list screen after entering the PIN Code:
In "Settings (administrator)", select [System Settings] → [Image Send Settings] → [Common Settings] → [Condition Settings]
→ [Preview Setting] → [Received Data Image Check Setting].
Exposure
Auto
Original
Mixed Size Orig.
Resolution
Super Fine
Job Build
Original Count
Slow Scan Mode
Others
Sending History
Call Search Number
Call Program
Call Registered settings
Direct TX
Verification Stamp
Send Same Image
as Fax Address
Scan Size
Auto
Auto
reception memory
100%
Send Size
Speaker
Start
Space
Address
CA
Preview
50%
Address Book
Received data is stored.
Enter PIN code via the 10-key.
Cancel
