Copying an openlns ct network design – Echelon OpenLNS Commissioning Tool User Manual
Page 67
OpenLNS CT User’s Guide
51
L
ON
W
ORKS
Device SmartShape, for example) will be used. After OpenLNS CT is done
scanning stencils, the Synchronization Status dialog box opens.
9. You can monitor the progress of the resynchronization. When the resynchronization is complete,
click OK to open your OpenLNS CT network.
Copying an OpenLNS CT Network Design
You can create a new OpenLNS CT network design by copying an existing one. You can use this
procedure to reuse the drawings, options, plug-ins, master SmartShapes, and device templates of an
existing network design. You can also use this procedure to reduce the time required to create a new
network. To do this, create an empty network design with all your desired plug-ins already registered,
and then copy the empty network design for each new network that you create. To copy an existing
OpenLNS CT network design, you must use OpenLNS CT on a local client
To create a new OpenLNS CT network design by copying an existing one, follow these steps:
1. Click Start on the taskbar, point to Programs, point to Echelon OpenLNS CT, and then select
OpenLNS CT. The OpenLNS CT Design Manager opens.
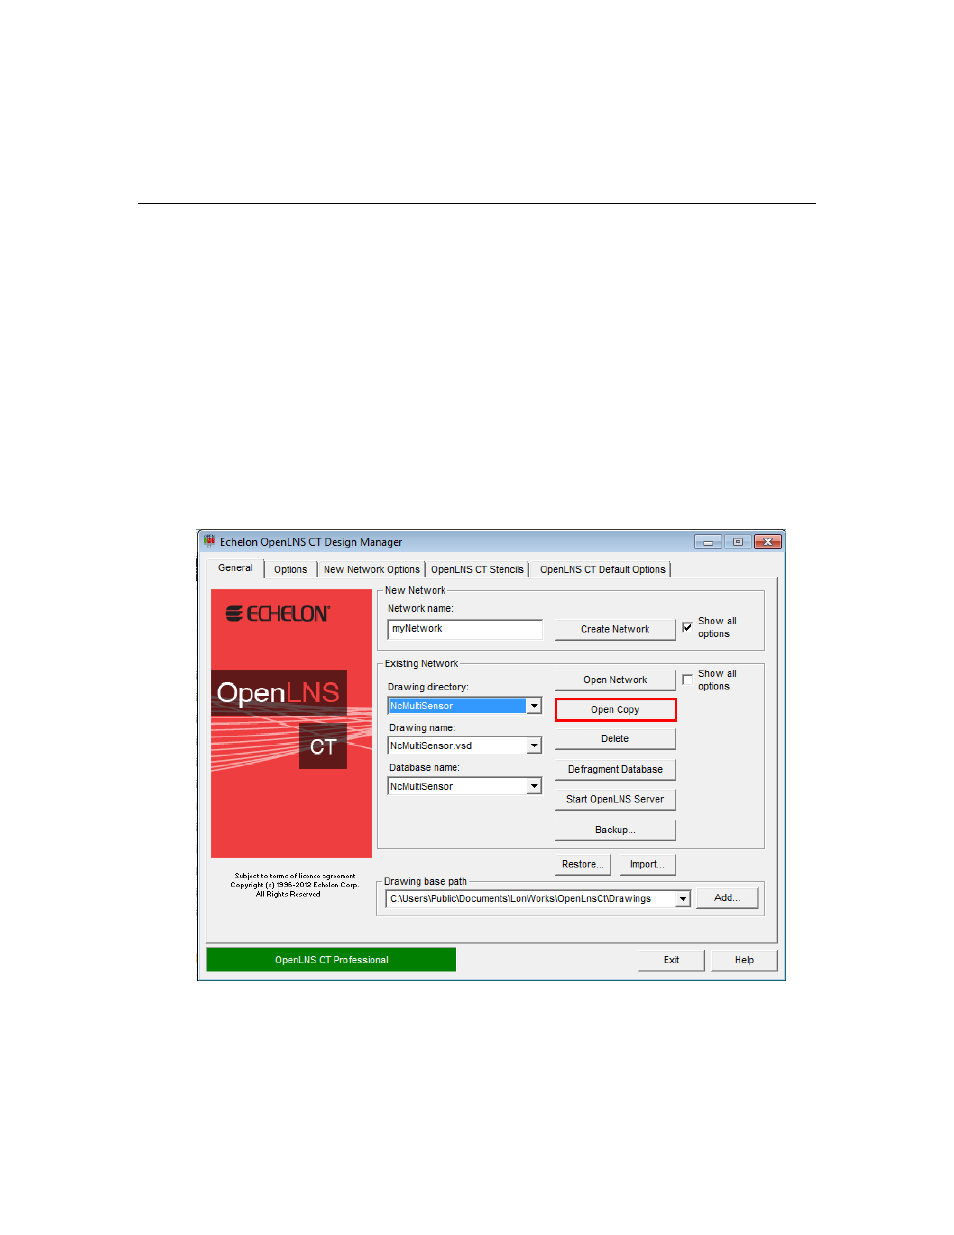
2. Choose an OpenLNS CT network to copy. Under Existing Network, select a drawing directory
from the Drawing Directory list, and then select the network you want to copy from the Drawing
Name list. Click Open Copy. A message opens prompting you to confirm that you want to open
a copy of the selected network, which will create copies of the OpenLNS network database and all
the drawings in the network.
3. Click Yes. The Network Wizard opens and the Naming page opens
4. Follow steps 5–11 in Creating an OpenLNS CT Network Design. By default, the options selected
in the existing network will be used in your new network; however, you can change any option.
When you have completed the Plug-In Registration page, click Next. The Network Properties:
Domain dialog box opens.