Creating a new intercom group, Intercom menu, Creating a new intercom group -5 – ClearOne NetStreams DigiLinX Dealer User Manual
Page 331: Intercom menu -5
IP Intercom
18-5
All specifications subject to change without notification. All rights reserved. Copyright © 2008 NetStreams
Main +1 512.977-9393 / fax +1 512.977.9398 / Toll Free Technical Support +1 866-353-3496
3600 W. Parmer Lane, Suite 100; Austin, TX 7872
Add All - adds all rooms to the right column so that all rooms have the
intercom group enabled.
Clear All - moves all rooms to the left column so that no rooms have the
intercom group enabled.
Move room names up and down in the Intercom Groups column using the up
and down arrow keys.
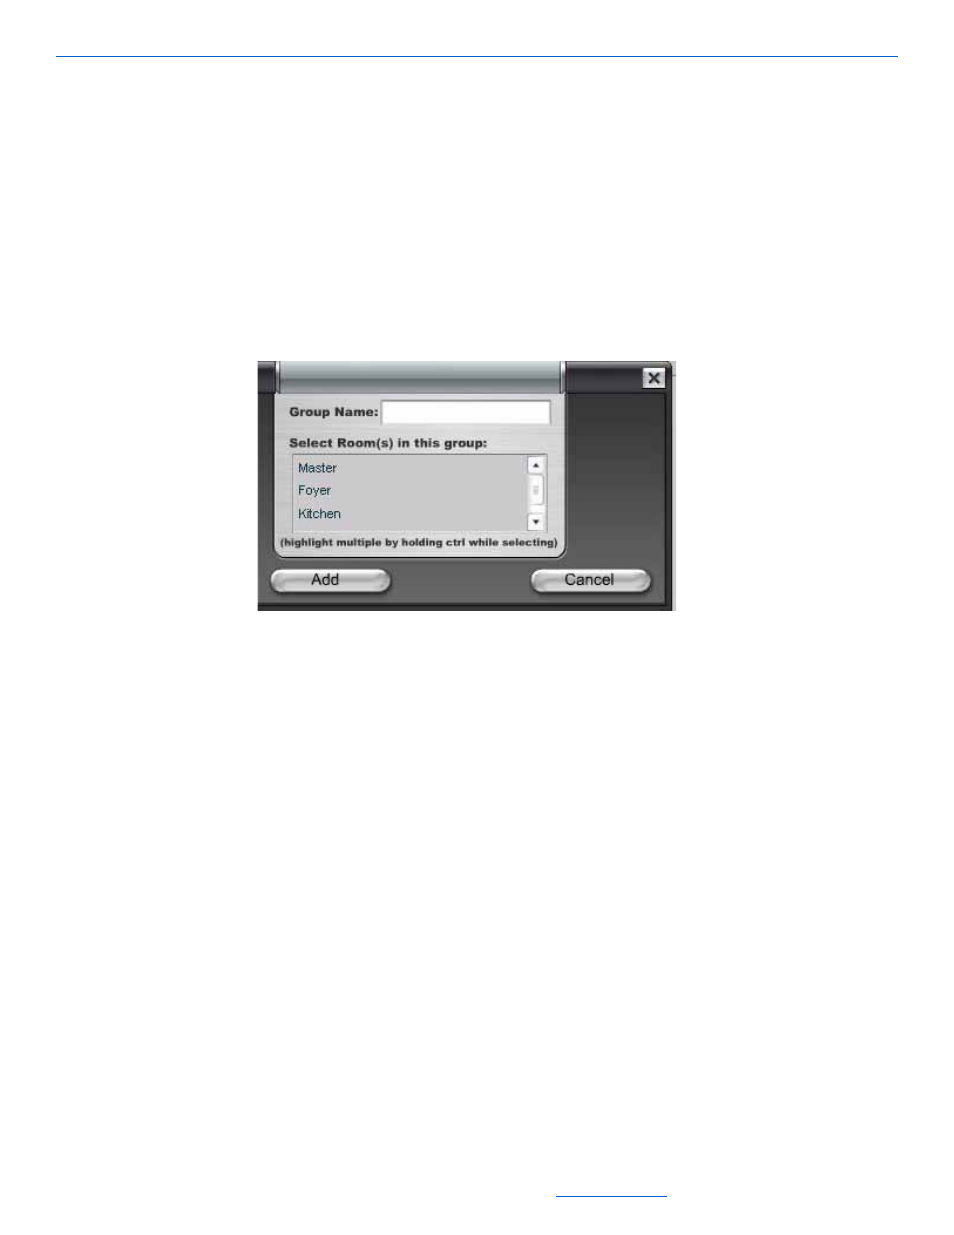
Creating a New Intercom Group
To create a new intercom group, complete the following steps:
1.
Select the Create New Group button.
A dialog box displays (see Figure 18-5).
Figure 18-5
New Group dialog box
2.
Enter a name for the group you want to create.
3.
Select the rooms you want associated with that group (rooms that will be intercom-
enabled when that group is selected).
4.
Select Add.
The group name is placed in the Intercom Groups column.
Intercom Menu
From the Intercom Menu, you can create a menu of rooms and groups for which the
selected room can establish an intercom session.
1.
Select the Intercom Menu tab.
The Intercom GUI Setup screen displays (see Figure 18-6). On the left side are the
Available Rooms/Groups (rooms you can choose from to build this menu). The
Intercom Menu column shows you what the menu for the GUI will look like.