7 activating id tracking of the labware, Defining the application parameters of the labware, Activating id tracking of the labware – Eppendorf epBlue with MultiCon User Manual
Page 44: E (see p. 44)
epBlue Application Editor - Creating and editing applications
epBlue™ with MultiCon
English (EN)
44
6.2.6
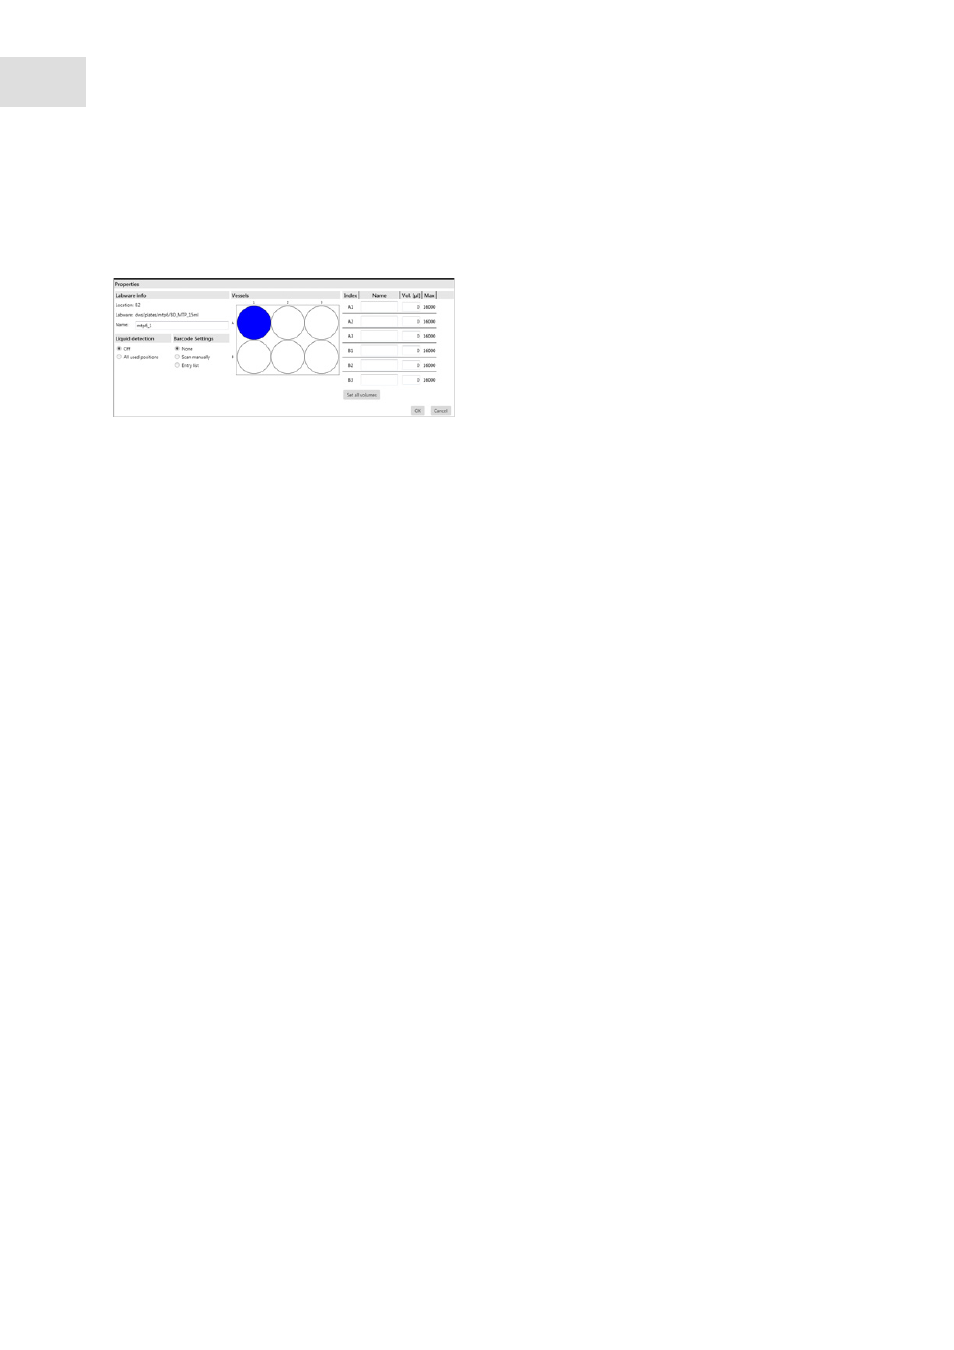
Defining the application parameters of the labware
You can change the properties of each labware used.
Abb. 6-5: Properties window
Fig. 6-5:
Properties
window
To change the properties of a labware, double click on the labware.
Alternatively, select the labware and go to the
Properties
menu with the right mouse button or click on
the
Properties
button.
The
Properties
window appears.
Set the properties for the filling level detection of the selected labware.
A description of the properties for the optical sensor (see Optical sensor on p. 80).
6.2.7
Activating ID tracking of the labware
In order for epBlue to create an ID list for a labware, ID tracking of the labware must be active.
ID tracking is activated separately for each labware. To track IDs activate ID tracking for source labware,
intermediate labware, and destination labware.
Prerequisites
• The application is open.
• The
Worktable
window is open.
Select the option for ID tracking.
The following options are available for ID tracking:
•
Manual scan
: Enter the ID manually or read it with the barcode reader.
•
Entry list
: Select ID list. To check the ID list enter the first position of the list or the list ID when starting
the application.
•
None
: No ID is assigned to the labware.