Yield monitor 2000, Ag leader technology – Ag Leader Yield Monitor 2000 Operators Manual User Manual
Page 148
Site Verification Setup
Yield Monitor 2000
Ag Leader Technology
June 1997
5-12
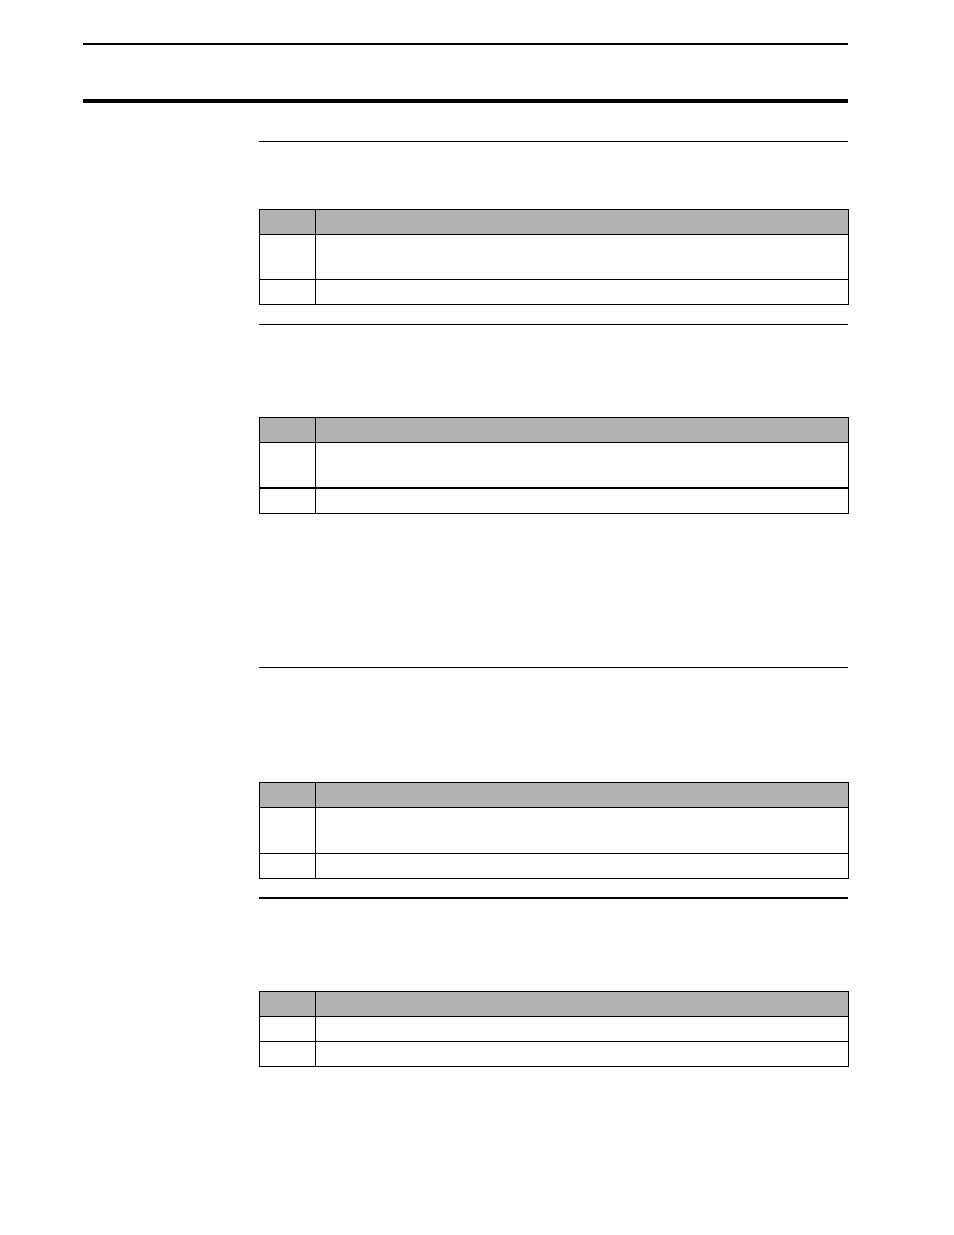
Logging Device
Follow these steps to set the logging device:
Step
Action
1
Press the SETUP key until “LOGGING DEVICE =NONE or EXT
or ?M CARD” appears on the display.
2
Use the UP ARROW key to set this setting to ?M CARD.
Logging Interval
The logging interval is how often the monitor records instantaneous yield
and GPS data to the memory card. Follow these steps the set the interval:
Step
Action
1
Press the SETUP key until “x SECOND LOGGING INTERVAL”
appears on the display.
2
Set to 1, 2, or 3 seconds with the top ARROW keys.
Note: If you are recording field boundaries with an ATV or truck, and are
driving faster than you would if you were operating a combine in the field,
set the logging interval to one second, so that a more solid boundary line is
developed during mapping. For planting and spraying (speeds comparable to
harvesting), you can set the logging interval to three seconds.
Log Without Grain
Flow
You must set the monitor to log without grain flow to allow the monitor to
record data to the memory card without requiring a grain flow signal. Follow
these steps to set the monitor:
Step
Action
1
Press the SETUP key until “LOG W/O GRAIN FLOW = NO or
YES“ appears on the display.
2
Use the top UP ARROW key to select YES.
Stop Height
If you are using an implement switch with your modular tractor kit, you
must set the stop height as follows:
Step
Action
1
Press the STOP HEIGHT key to display the stop height number.
2
Set the stop height to any value between 40 and 60.