Yield monitor 2000, Ag leader technology – Ag Leader Yield Monitor 2000 Operators Manual User Manual
Page 13
Yield Monitor 2000
Before Setup
Ag Leader Technology
June 1997
2-9
Using Power
Supply
Other than for setting the stop height and calibrating the distance, the yield
monitor console does not need to be in the combine to set it up. You can use
the provided power supply (plugs into 120 v outlet) to power up the monitor
console inside your home or shop.
Setting the
Monitor on Field,
Load
When going through the setup procedures, take note of which settings can
be set differently for each load. You should setup the monitor with it set to
Field 1, Load 1, because any new loads you create will use the settings for
the previously created load in that field. The monitor should come from the
factory with only Field 1, Load 1 created. Follow the procedure below to
try to change to a different field and load to verify that only Field 1, Load 1
has been created. If there is more than one field and load already created in
the monitor, you will have to change the settings for each one of those loads.
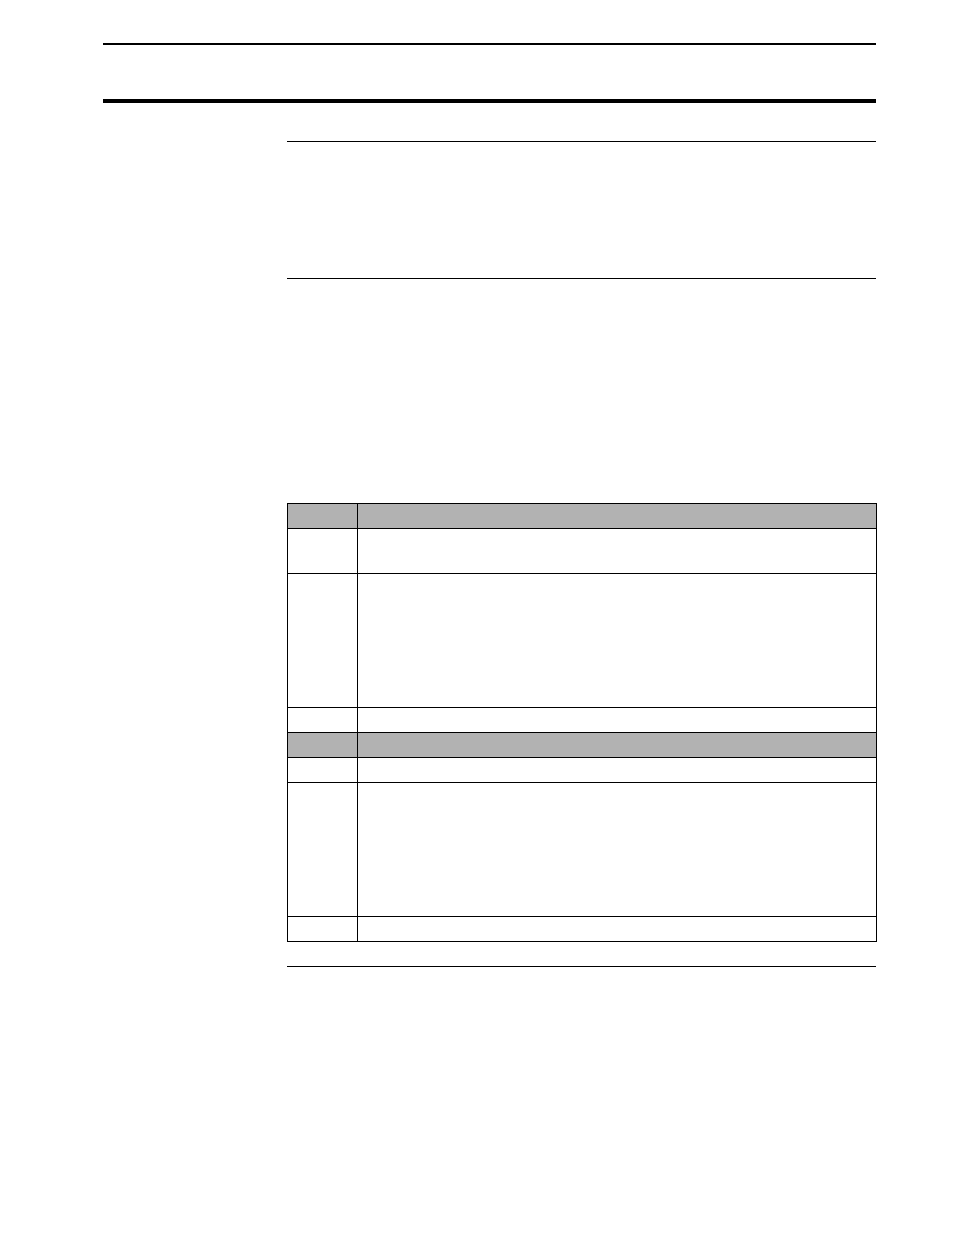
Step
Action
1
Press the FIELD key to display the field only to find the last field
and created.
2
Press the top UP ARROW key until “START NEW FIELD?”
appears on the display.
Note: You can see how many fields are already created by
scrolling through the fields until START NEW FIELD? is
displayed.
3
Press the NO key.
Step
Action
4
Press the LOAD key to display the field and load.
5
Press the top UP ARROW key until “START NEW LOAD?”
appears on the display.
Note: You can see how many loads are already created by
scrolling through the loads until START NEW LOAD? is
displayed.
6
Press the NO key.
* * *