Yield monitor 2000, Ag leader technology – Ag Leader Yield Monitor 2000 Operators Manual User Manual
Page 136
Changing the Program Chip
Yield Monitor 2000
Ag Leader Technology
June 1997
4-70
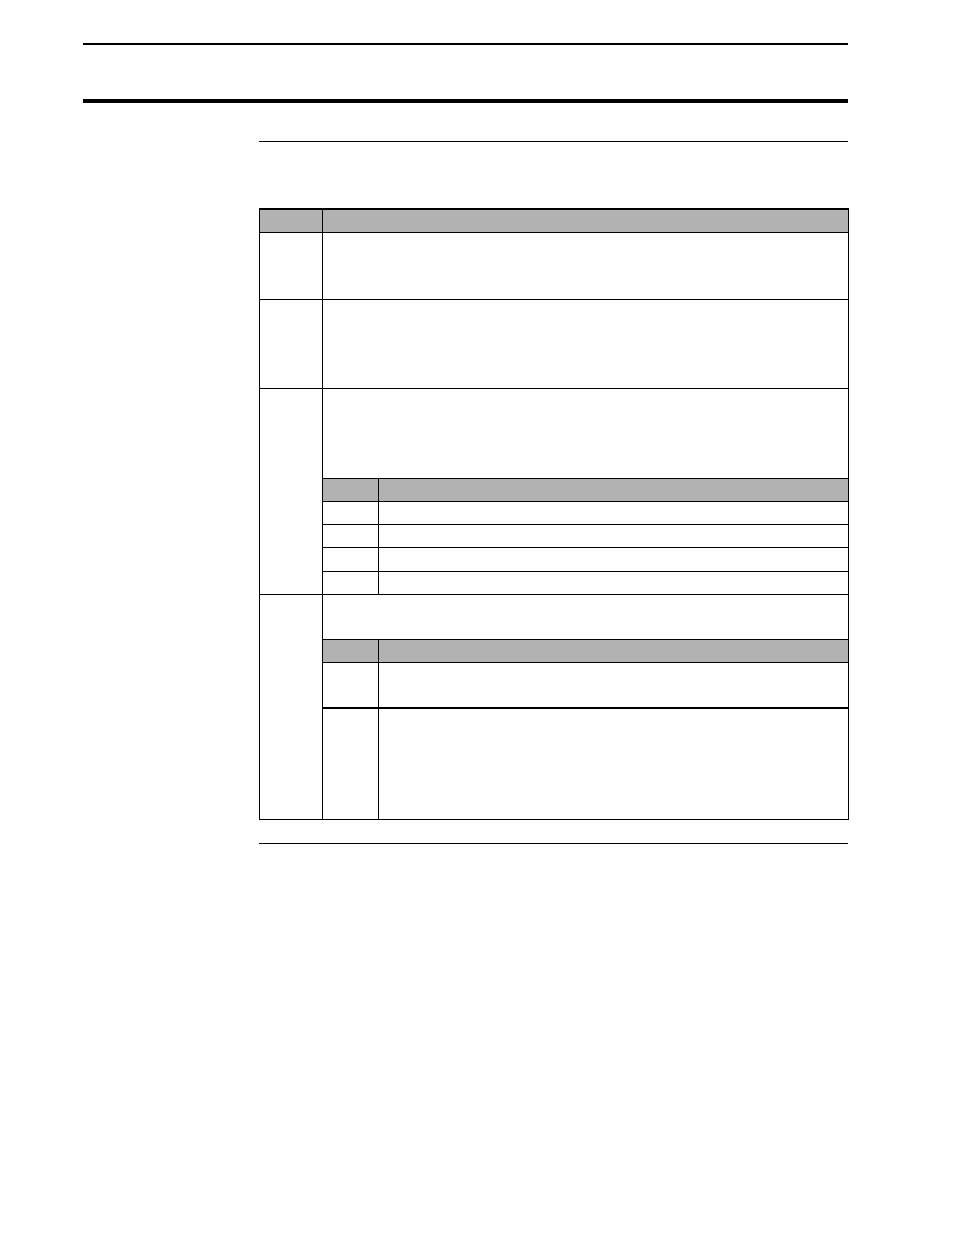
Checking the New
Chip
Follow these steps to test the new program chip:
Step
Action
1
Turn on the monitor. It should beep, and “YIELD MONITOR 2000
VERSION x.xx” should appear on the display for a few seconds.
The monitor should then return to its normal field display mode.
2
Scroll through some fields and loads to verify that the data is
accurate and intact. If everything appears to be working normally,
turn off the monitor and reseat the nine screws that hold the front
cover to the outer shell.
3
If the data looks corrupt (strange field and load numbers and
characters), shut off the monitor and check the new chip for bent
legs that were not inserted in the socket when you installed the new
chip. Follow these steps if legs are bent:
Step
Action
1
Remove the chip.
2
Straighten any bent legs.
3
Carefully reinstall the chip into the blue socket.
4
Turn on the monitor.
4
If the data was corrupted, follow these steps to restore data from
backup:
Step
Action
1
Press the MEM key until “RESTORE MEM FROM
BACKUP?” appears on the display.
2
Press the YES key three times to restore the data from the
backup memory.
Note: The data should be current if you copied memory to
backup before you changed the chip.
* * *